
DIY Self-Watering Plastic Bottle Seed Starter
This post may contain affiliate links which might earn us money. Please read my Disclosure and Privacy policies hereToday, you will learn how to create a DIY Self-Watering Plastic Bottle Seed Starter that is simple, and your kids are going to love.
We have been doing this project for quite some time, and we used other types of plastic, like certain types of plastic fruit cups, to plant our seeds.
Making this DIY self-watering plastic bottle seed start is a fun project and one that your kids will love.
So let’s begin, shall we?
The form you have selected does not exist.
DIY Self-Watering Plastic Bottle Seed Starter

What items do you need to make a self-watering seed starter?
First, you are going to need:
- Scissors
- empty plastic water bottle
- Saran wrap (we used Press ‘n Seal)
- Seeds (we used peppers)
- Popsicle stick
- Potting soil
Now, my friends, there are many ways you can make your own DIY self-watering seed starter. We chose a popsicle stick, and we use Saran wrap, but you can poke a hole into the bottle cap and a string instead.
You can use your favorite potting soil, and you can even buy soil at your local dollar store.
But since my boys are small and this technique will require more work we create this DIY seed starter this way.
These are also items that we have available in our home too!
Back to the project.
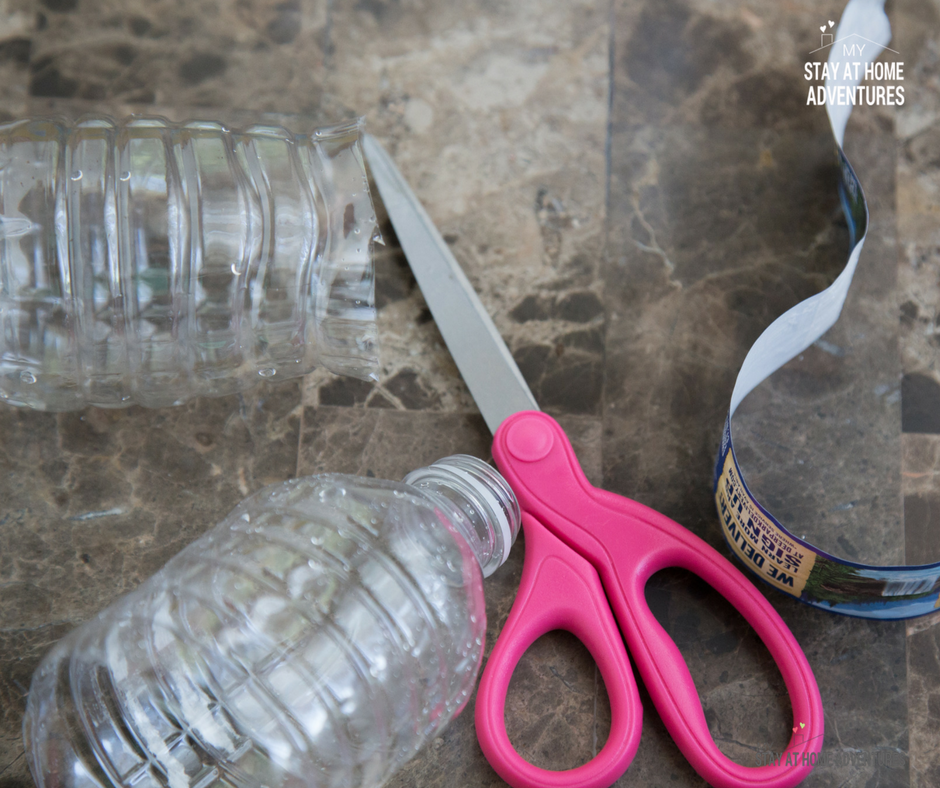
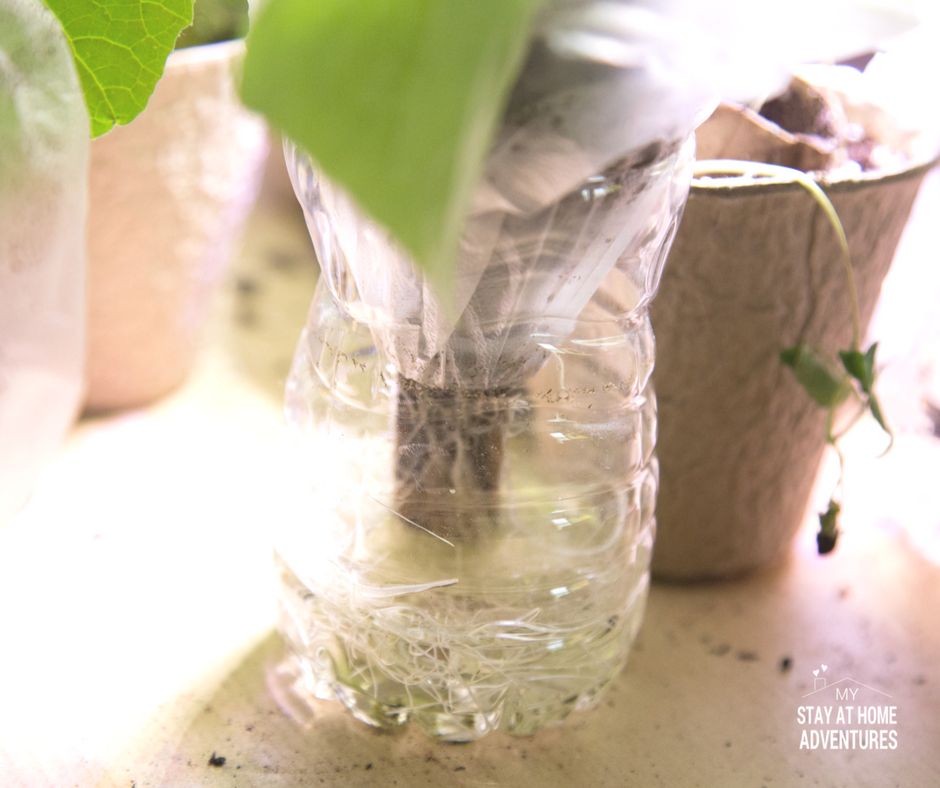
Next, you are going to use your scissors and cut the plastic bottle of water in half. Make sure you remove the water label.
Next step:
Use your scissors and cut a piece of the Saran wrap or, in this case, Press ‘n Seal wrap big enough to wrap around the lower part of the head of the battle shown in the next photo before.
Guess using the Press ‘n Seal wrap was helpful enough.
Next step my friends, you are doing good!
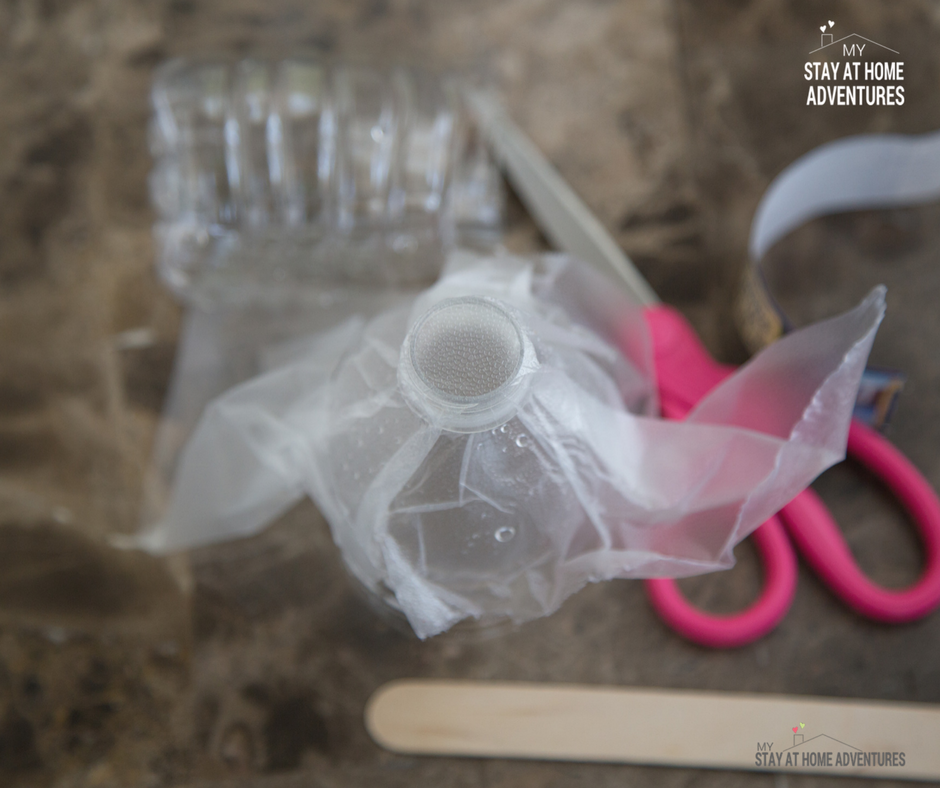
Grab the popsicle stick and insert it through the opening of the bottle like the photo below.
After doing this, flip the half bottle and pull the stick all the way down. And stack the top part of the plastic bottle on top of the bottom part.
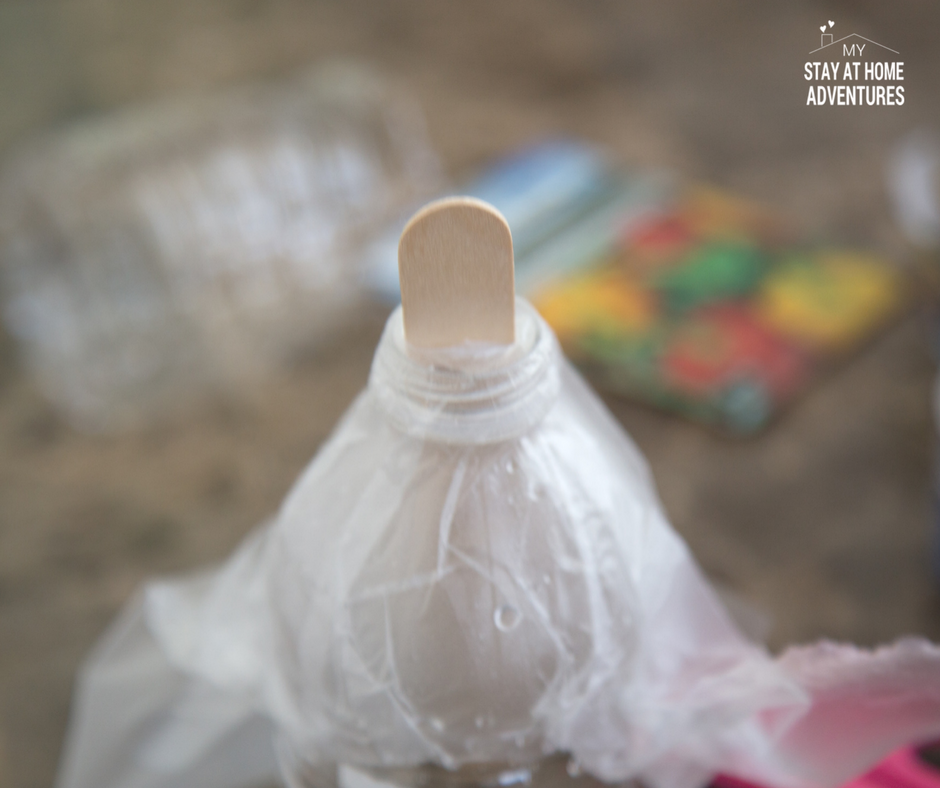
OK, you can cut some of the Saran Wrap down, but hey, my boys were helping, and they were so proud of their accomplishments.
See not bad at all!!
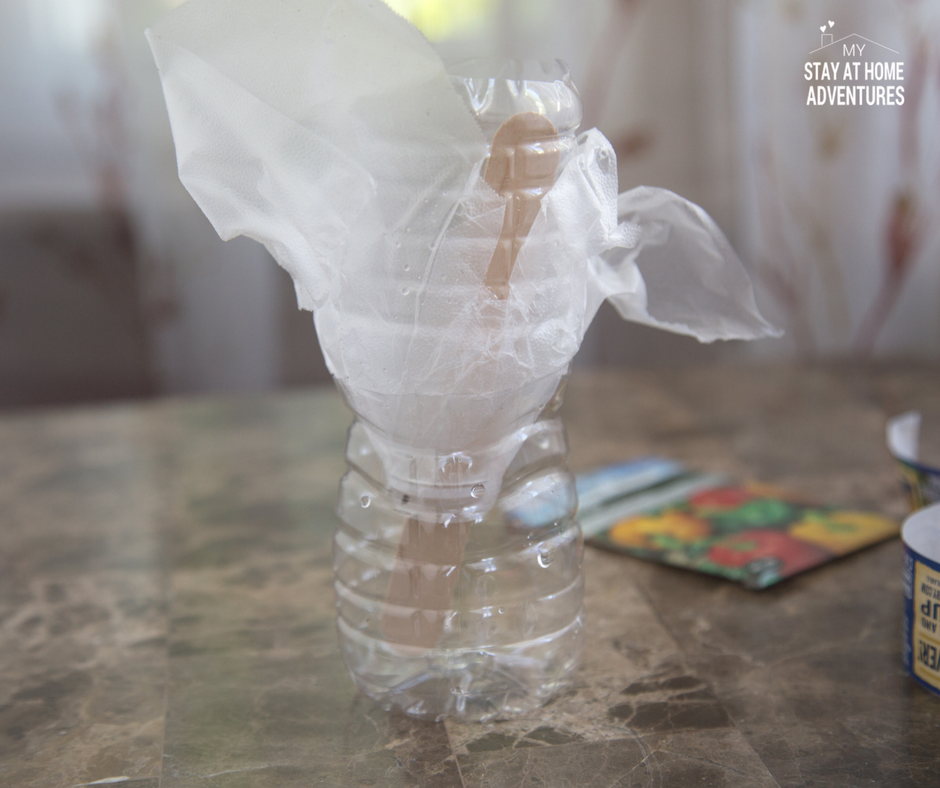
You are almost done, don't give up.
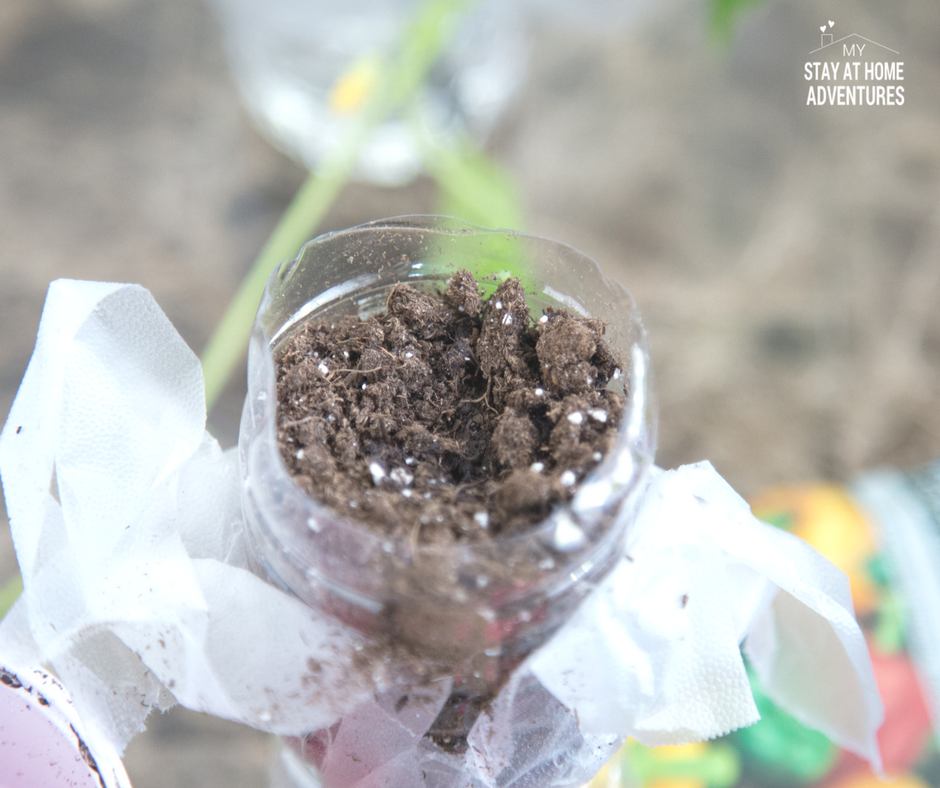
The next step is to fill the upper part of the DIY Self-Watering seed starting with the soil.
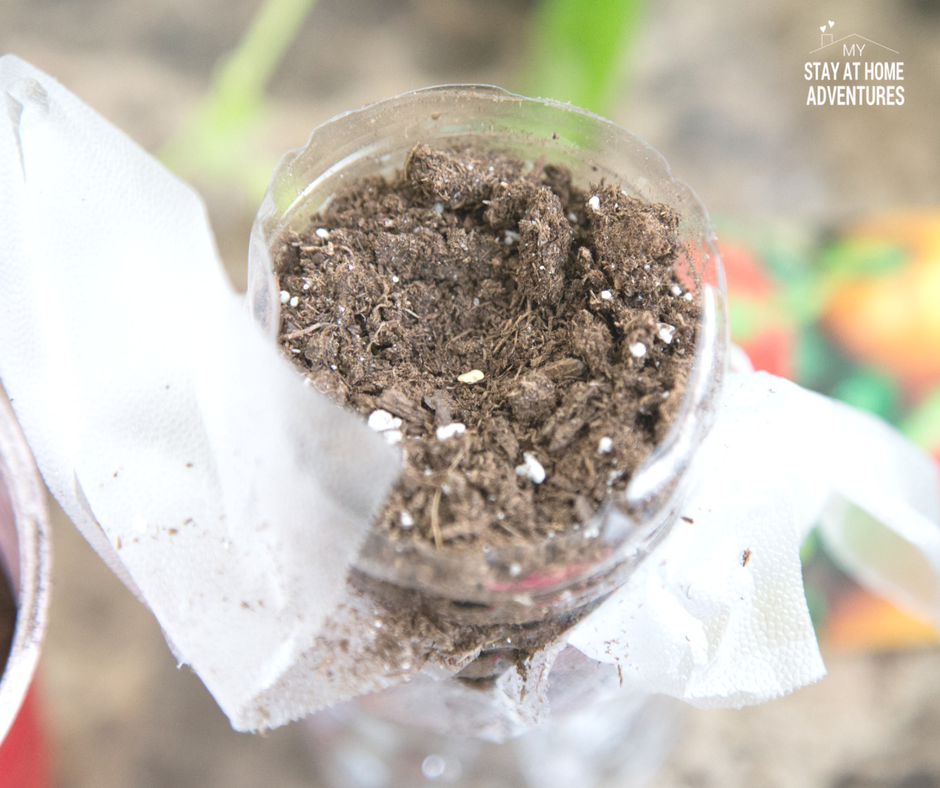
You can now get water and our seed and plant it.
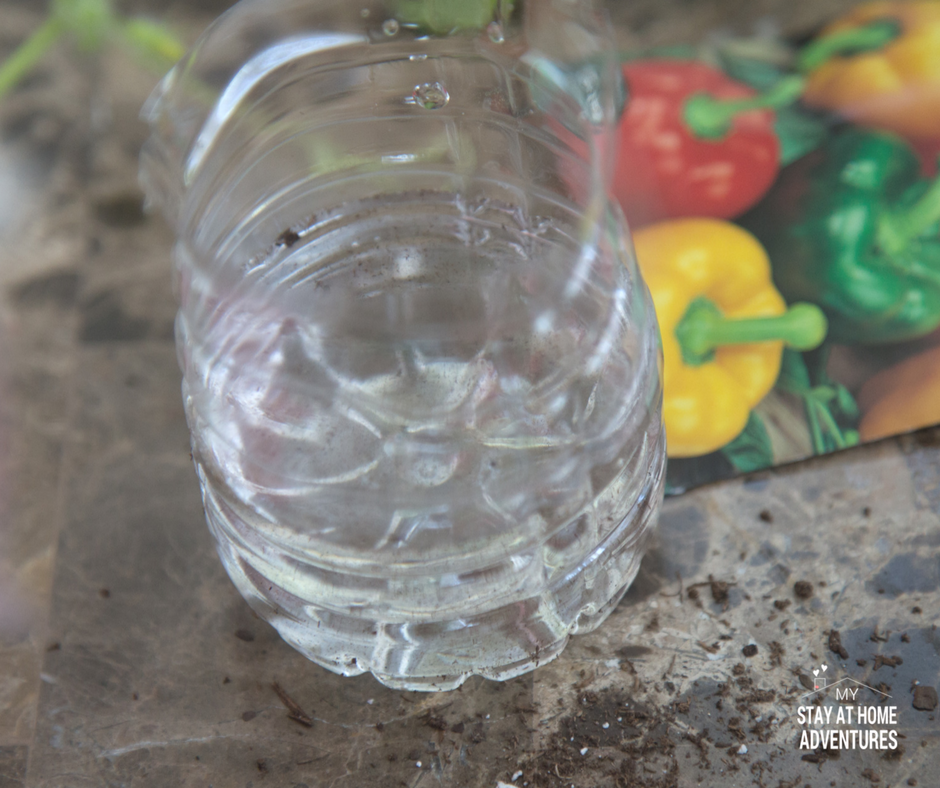
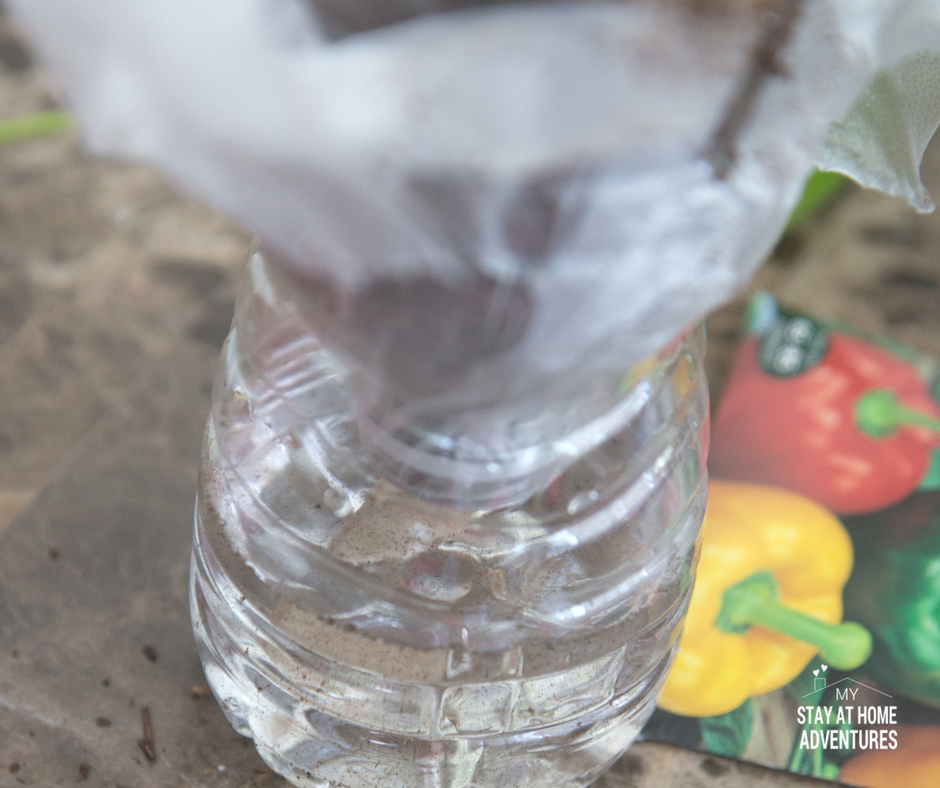
In the next step, add water to the soil and add water to the container's bottom.
Fill the bottom part of the DIY plastic bottle seed starter halfway with water.
Combine the two parts together like the next photo and you are done!
And you, my friend, are done!
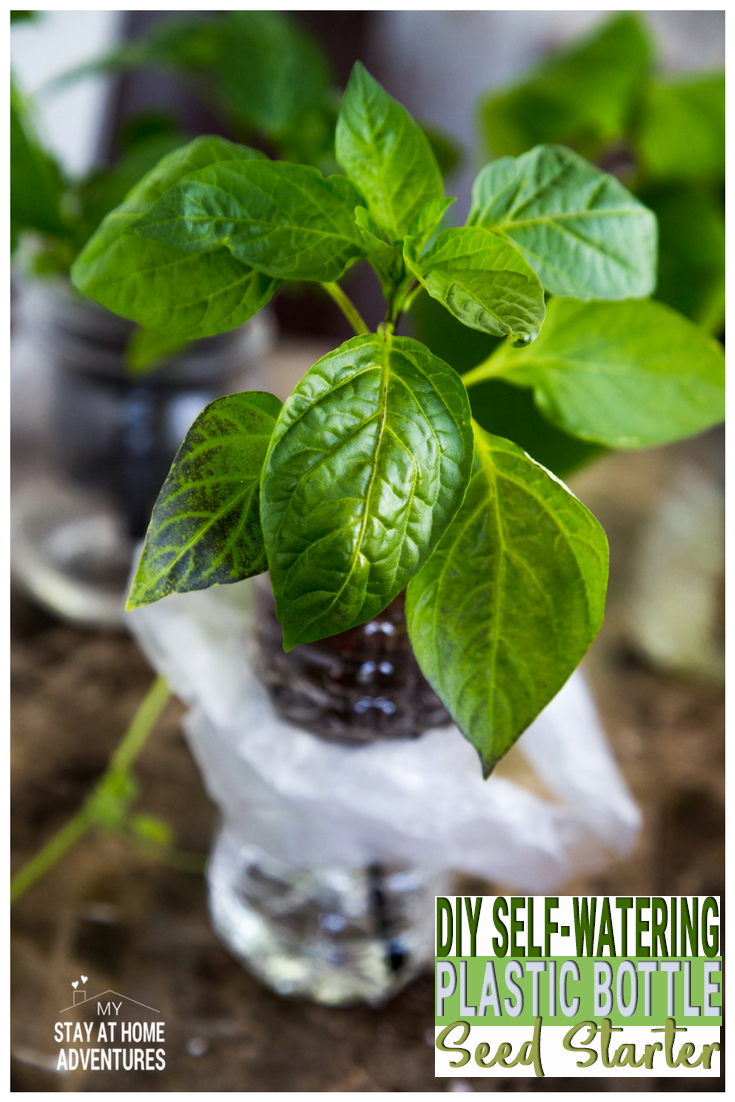
See! They are super cute!
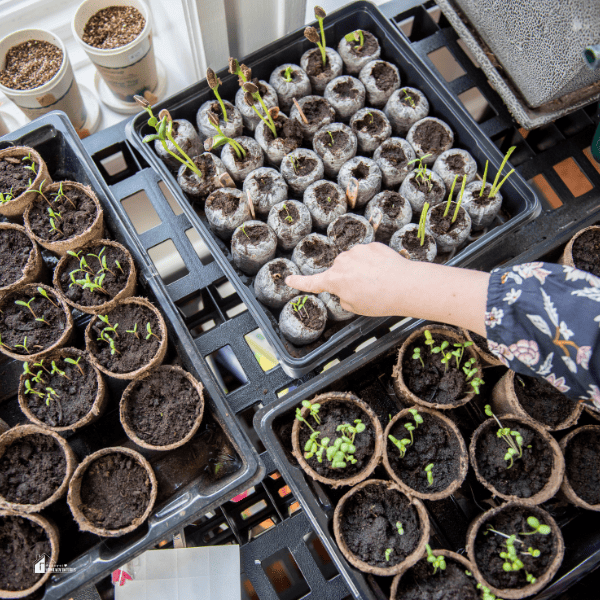
Below is the DIY self-watering plastic cup seed starter we did earlier in the spring.
We used a plastic “mason” jar from the dollar store we had lying around and a fruit cup container.
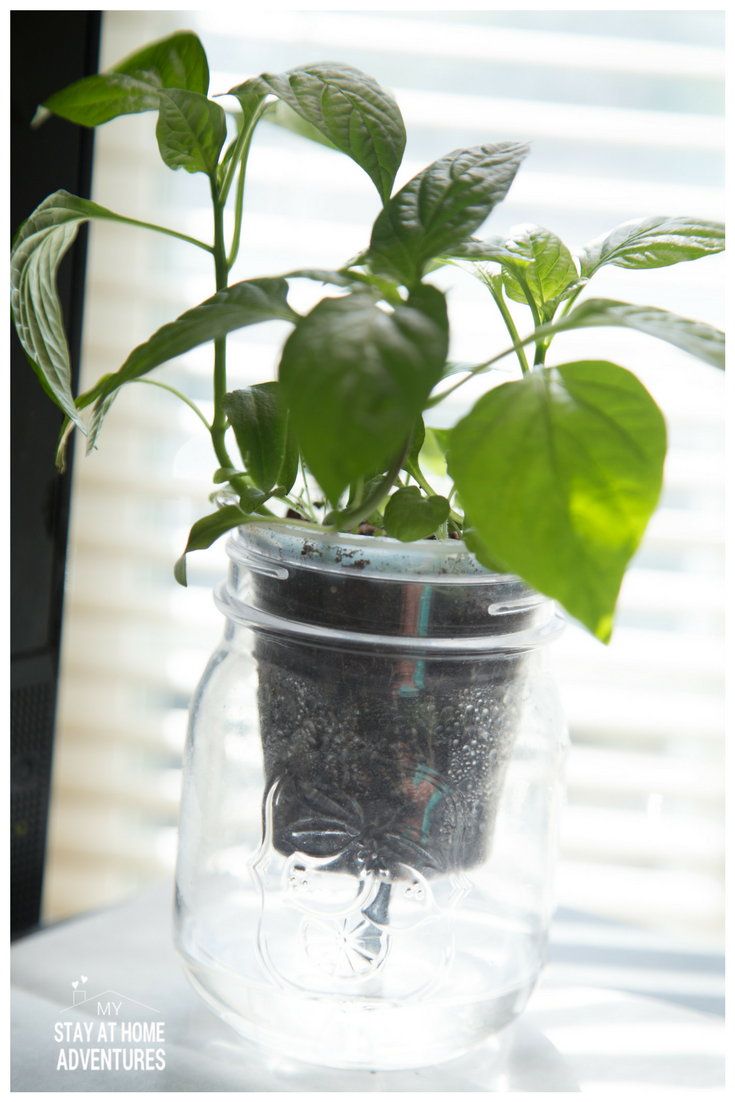
This is pretty cool to see grow, to be honest. Look at the roots growing underneath!
Conclusion
There you have it, folks, your own DIY self-watering plastic bottle seed starter! Make sure you refill your container regularly. We transplanted ours to our garden a few weeks later.
Check out these DIY Gardening Projects:


7 Comments