
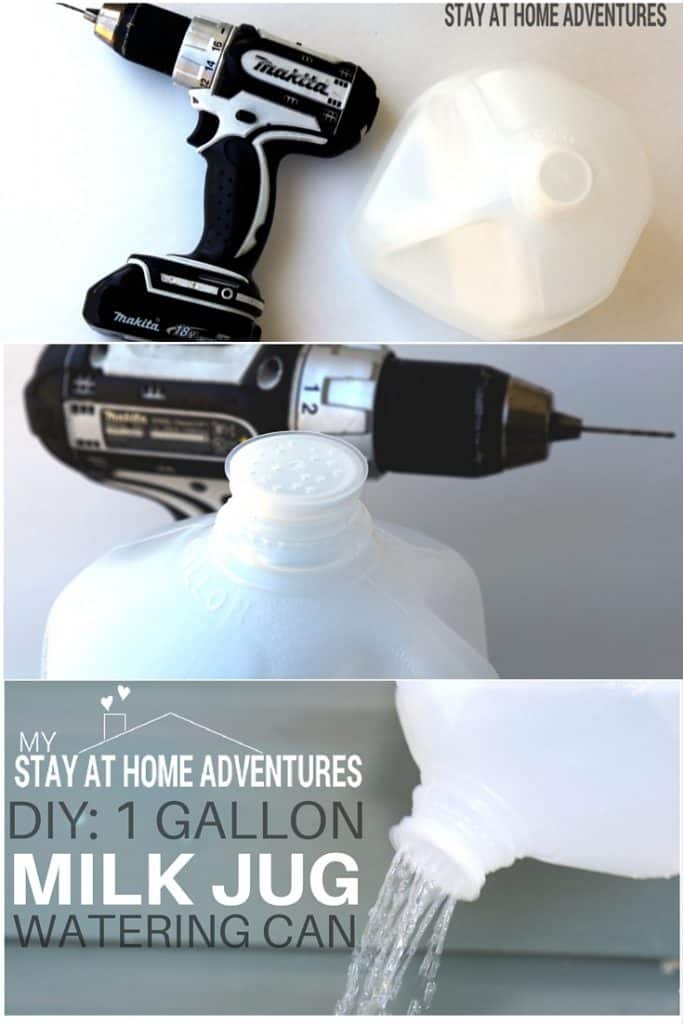
How Do You Make A Gallon Milk Jug Into A Watering Can?
This post may contain affiliate links which might earn us money. Please read my Disclosure and Privacy policies hereGardening is a great hobby that requires skill, patience, and adequate tools. Watering cans are essential for any gardener to ensure their plants get the right amount of water daily. But what if you don't have a watering can and you need to water your plants urgently?
Don't fret!
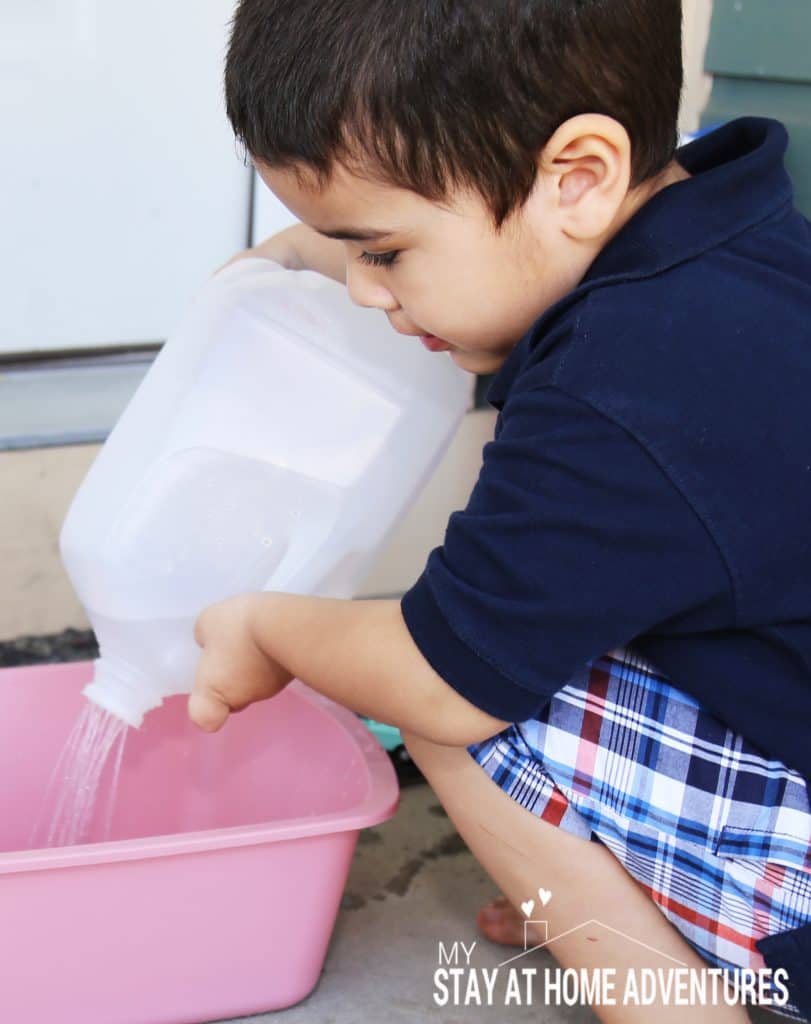
You can make a watering can using just a gallon milk jug. Yes, you heard it right! A gallon milk jug is all you need to make an effective watering can that will serve the same purpose as a store-bought one.
So, let's get started!
A cost-effective alternative
It's no secret that gardening can be an expensive hobby. The costs can add up quickly, from buying the plants themselves to purchasing the necessary tools. However, one area where gardeners can save money is by using items they already have on hand.
As mentioned earlier, repurposing an old plastic milk jug into a watering can is a simple and cost-effective alternative to buying a new watering can.
Not only does it save money, but it also reduces waste by giving a new life to an item that would otherwise be thrown away.
Overall, using a milk jug as a watering can is a win-win situation for your wallet and the environment.
Saving money by repurposing items
Another great benefit of repurposing items like a milk jug into a watering can is that it saves money. Instead of spending money on a new watering can, using items that are no longer needed and giving them a new life can help cut costs.
Beyond gardening, repurposing can be applied to various aspects of life, such as using old clothing to create rags or turning old jars into vases. Not only is it cost-effective, but it also helps reduce waste and is a sustainable practice.
By encouraging kids to repurpose items in their craft projects, they learn valuable skills, be creative, and develop an environmentally conscious mindset.
Taking something that is no longer useful and finding a new purpose for it is a win-win for both the wallet and the planet.
What are the materials?
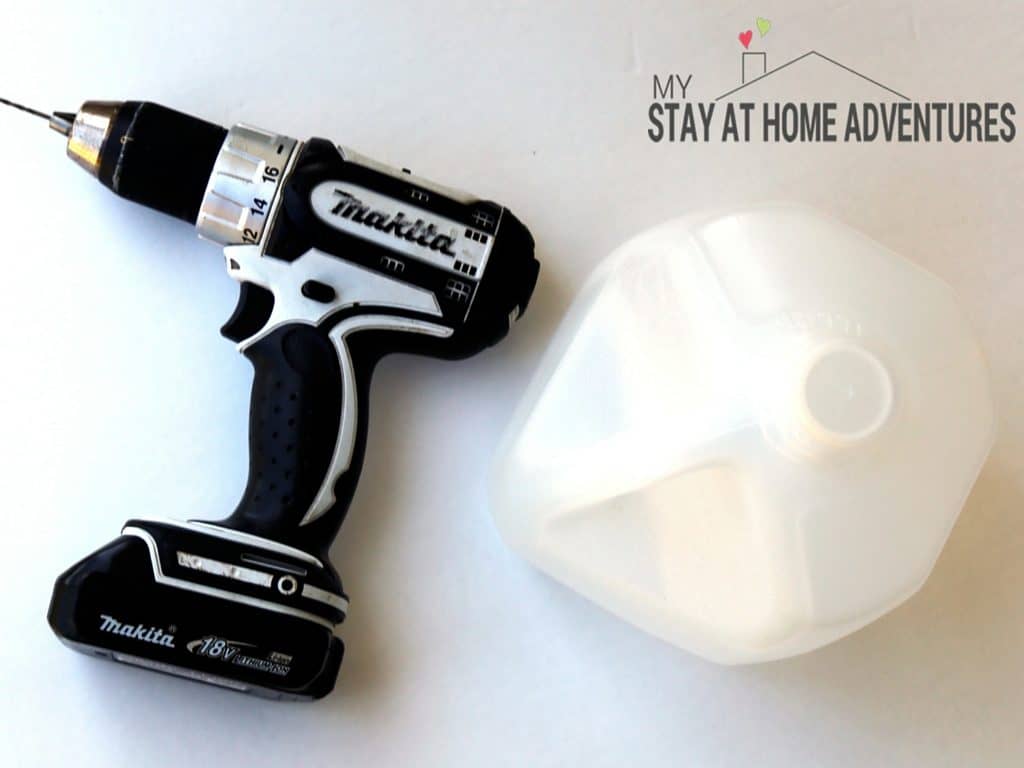
You will need a few basic materials to make a DIY plastic 1-gallon milk Jug watering can.
- 1-gallon or half-gallon plastic jug – an empty and clean 1-gallon milk jug will serve as the base for your watering can. Remove any labels or residue with warm, soapy water to give it a fresh look.
- Drill – this is for the cap to make several small holes to allow water to flow through. Additionally, creating a vent hole near the top of the jug will enable water to exit smoothly.
Cleaning the milk jug
Before turning a milk jug into a watering can, it is crucial to clean the jug thoroughly. The jug may have remnants of milk, which can cause damage to plants. Cleaning with soap and water, followed by a rinse with clean water, will eliminate any bacteria.
After cleaning, the jug should be left to dry completely to avoid mold growth. The next step is to remove the label with warm, soapy water to make the jug look brand new.
A clean and label-free milk jug can then be used to create a DIY plastic watering can for gardening. By cleaning and preparing the milk jug properly, you can ensure they have a cost-effective watering solution that is both functional and reliable.
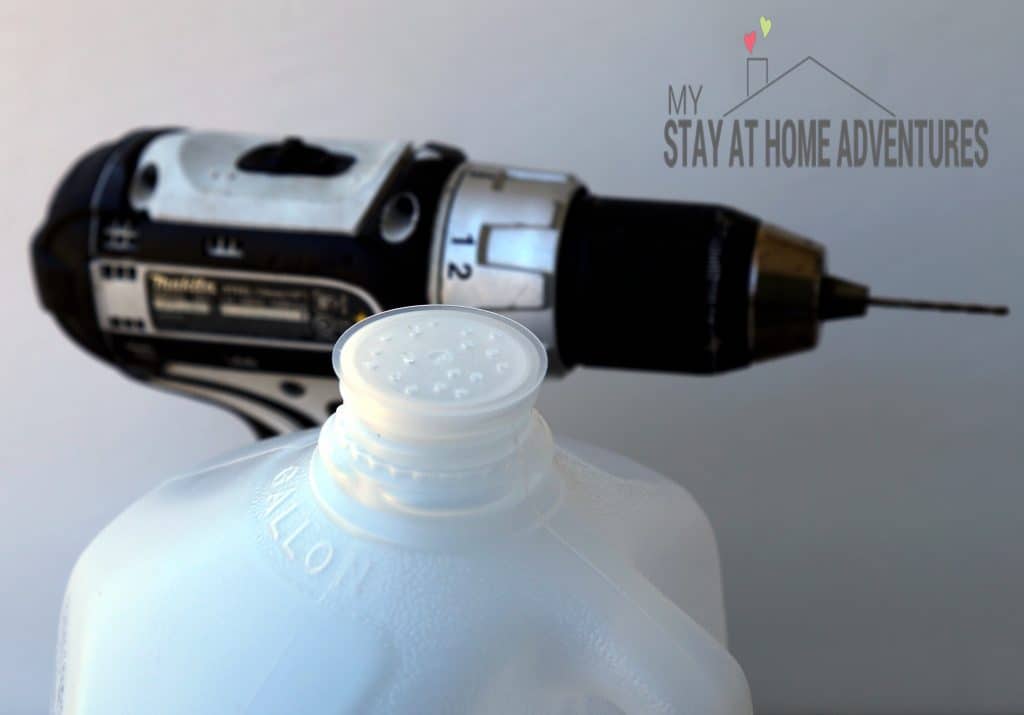
Drilling holes
After thoroughly cleaning the milk jug, the next step in making it into a watering can is to drill holes in the cap. Drip holes can be created using a small hand drill and a 1/8-inch drill bit.
It is important to test the flow rate by filling the jug and setting it in a trial plant before drilling more holes.
A few more holes can be added depending on the desired flow rate. It is recommended to pop one small hole in the handle of the bottle to allow air to get in, which helps the water flow smoothly.
By creating these holes, the formerly useless milk jug can be transformed into an effective watering that can keep plants hydrated without having to spend extra money on a new one.
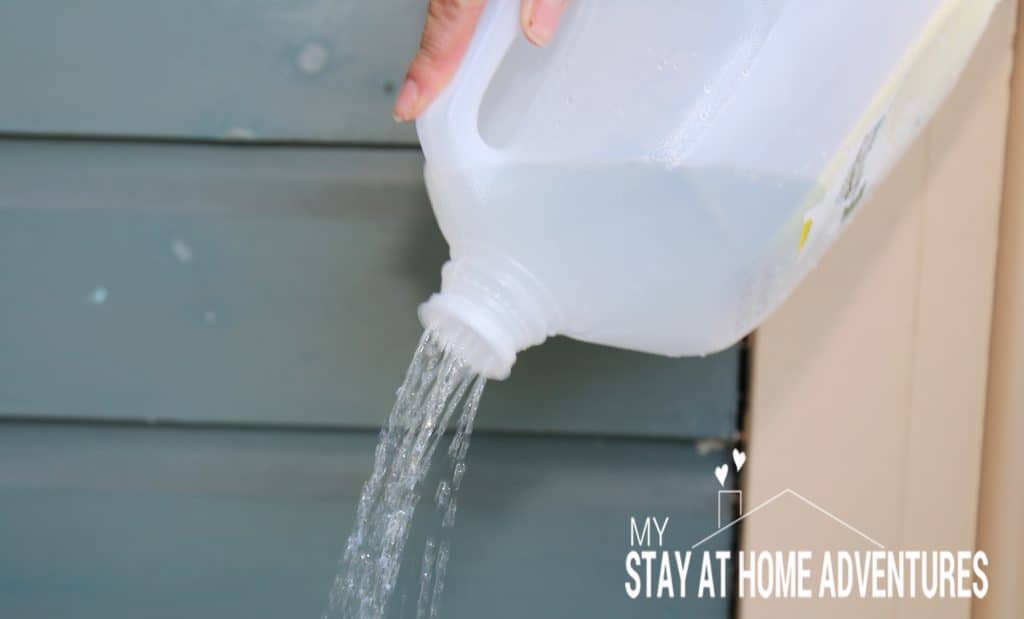
Creating a vent hole
Creating a vent hole near the top of the jug is essential when turning a plastic milk jug into a watering can. This hole helps to release the air pressure and prevent the water flow from stopping.
You can use pointed scissors or a sharp nail, or a drill to create a small hole in the handle near the top.
This hole will allow air to enter while water flows out of the jug, ensuring that your plants get consistent watering. It's important to position the hole at the top of the handle to stay above the water level inside the jug.
Half-gallon or gallon-sized jug
Choosing the right size for a milk jug watering can depend on the size of the garden. A half-gallon jug is suitable for small indoor plants or balcony gardens, while a gallon jug is better for larger gardens. It is essential to ensure the jug is comfortable to hold while watering.
A gallon-sized jug would be more cumbersome, but it will hold more water, reducing the need for frequent refilling. It is also important to note that using a smaller jug might mean more frequent trips to refill the jug.
Choosing the right size will make the gardening experience more efficient and enjoyable.
Beneficial for kids
In addition to being a cost-effective and sustainable alternative to buying watering cans, creating a milk jug watering can also benefit kids. It can be a fun and educational activity for them to repurpose items that would otherwise be thrown away.
Making their own watering can also give them a sense of ownership and responsibility over their gardening tasks.
It can also cultivate their creativity and problem-solving skills as they figure out how to drill holes and create a vent hole.
Overall, creating a milk jug watering can with kids can be a great way to bond, learn, and promote sustainable practices.


Super super cute! And so simple! I’m going to have to try this with my youngers this year.