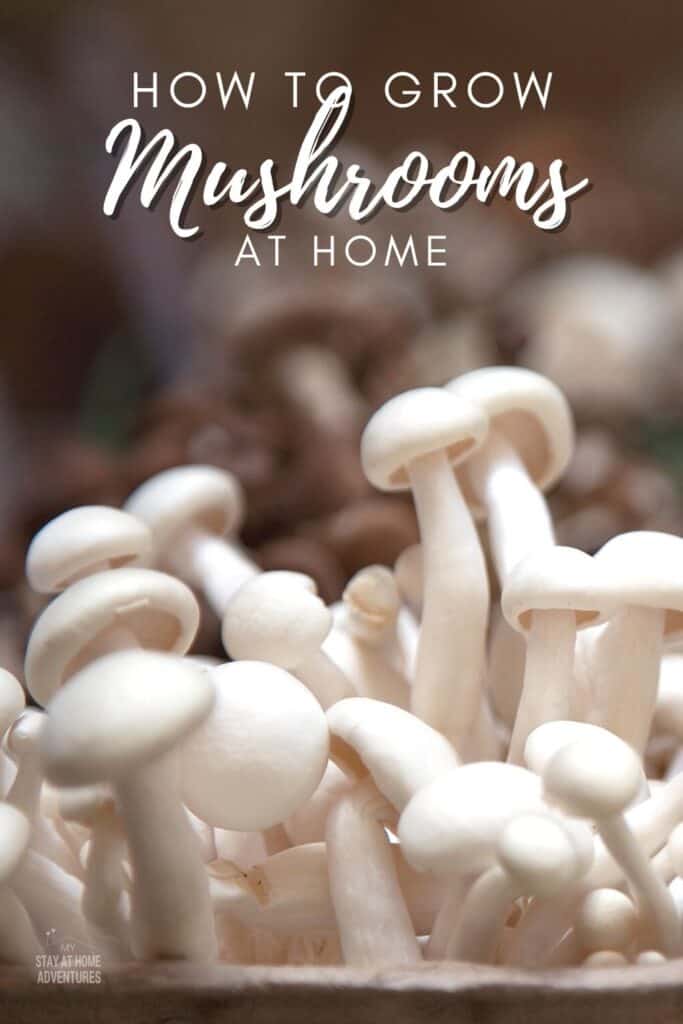
How to Grow Mushrooms at Home
This post may contain affiliate links which might earn us money. Please read my Disclosure and Privacy policies hereGrowing your own mushrooms at home can be a rewarding and tasty experience. Not only are mushrooms a delicious addition to many dishes, but they are also packed with nutrients and have been linked to numerous health benefits.
While it may seem daunting to grow your own mushrooms, it's actually quite simple with the right knowledge and tools.
You will learn the benefits of growing mushrooms at home and provide a step-by-step guide on how to do it yourself.
Whether you're an experienced gardener or new to the world of fungi, you'll find everything you need to get started right here.
What is Mushroom
Although Mushrooms can be cooked and eaten and are very nutritious, they are not plants or animals. They belong to a kingdom called Fungi (singular: fungus).
Fungi were classified as plants not so long ago. An ecologist, Robert Harding Whittaker, was the first to propose 5 Kingdoms of Life/ Living Things that separated fungi from plants.
The mushroom is a type of fungi because it does not make its own food. Plants use photosynthesis to make food with the help of chlorophyll in plants. In contrast, mushrooms don't have chlorophyll and don't produce their own food.
They also get their food by absorbing dead or decaying organic matter like dead plants. That is why they are often seen growing on dead tree stumps. Thus, they help recycle nutrients and break down dead plant materials.

Nutritional Benefits of Mushrooms
As I said, mushrooms are so popular for their low-calorie and, at the same time full of nutritional benefits. They are usually called “meat replacers” because of their protein content and flesh-like consistency.
There are 3 grams of protein, 3 grams of carbohydrates with 1 gram of dietary fiber, and 0 fat, with 22 calories in every 100 grams of mushrooms.
Moreover, the mushroom is the only known non-animal source of dietary Vitamin D, specifically vitamin D2. They contain a higher amount if they are exposed to sunlight or UV rays.
Do you know that in Shiitake Mushrooms, when dried and exposed to sunlight for 6-8 hours, the vitamin D level increased from 100 IU/100 grams to nearly 46,000 IU/100 grams? (according to a study)
Other Vitamins
- B Vitamins – B1 ( thiamin), B2 (riboflavin), B3 (niacin), B6 (Pantothenic acid), and B6 (Pyridoxine)
- Vit C
Minerals
- Potassium – helps maintain electrolyte balance that helps control blood pressure. It also aids in making sure that nerves and muscles, including the heart, function properly.
- Copper – along with Iron, helps the body to make red blood cells. It also maintains healthy blood vessels, bones, nerves, and immune functions. It can help prevent cardiovascular disease and osteoporosis.
- Iron – a component of hemoglobin, a substance in red blood cells that carries oxygen from the lungs and is then transported throughout the body. It maintains several bodily functions such as energy, focus, gastrointestinal process, immune system, and body temperature regulation.
Antioxidants
- Selenium – an antioxidant protecting body cells from damage that might lead to some cancers, heart disease, and other diseases of aging.
- Ergothioneine – a powerful antioxidant and cytoprotective property. It aids in preventing liver damage, Alzheimer's disease, diabetes, cataracts, and some heart disease. It also prevents wrinkles, protects skin from sun damage, and reduces signs of skin aging
- Glutathione – another powerful antioxidant with anti-aging properties, supports the immune system, breaks down some free radicals, aids in keeping the liver and gallbladder health, and regenerates Vitamin C and E.
- Beta-Glucans – a proven anti-cancer property, it also stimulates the host immune response to defend against viral, bacterial, fungal, or parasitic infections
Best Mushrooms to Grow at Home
There are over 10,000 different varieties of mushrooms around the world. Some are tough, woody, and gelatinous. Some give off an unpleasant smell and also with bad flavor. Various types can be hallucinogenic and poisonous; some are used for their medicinal properties.
However, there are many edible mushrooms to choose from. You'll need to know more about them and then choose the right one for you.
But because we are talking about growing mushrooms at home, here are the easiest species that you can grow.
Growing Kits are also available if you prefer them. You can find them online or check your local greeneries in and around your area.
Oysters Mushrooms (Pleurotus Ostreatus)
The oyster mushrooms prefer sawdust or pasteurized straws. It will also grow well on most farm products with cellulose and lignin.
The several types of oysters that you can grow are:
- Pink Oysters
- Blue Oyster
- Gray Oyster
- White Oyster
- Yellow Oyster
- King Oyster
- Golden Oyster
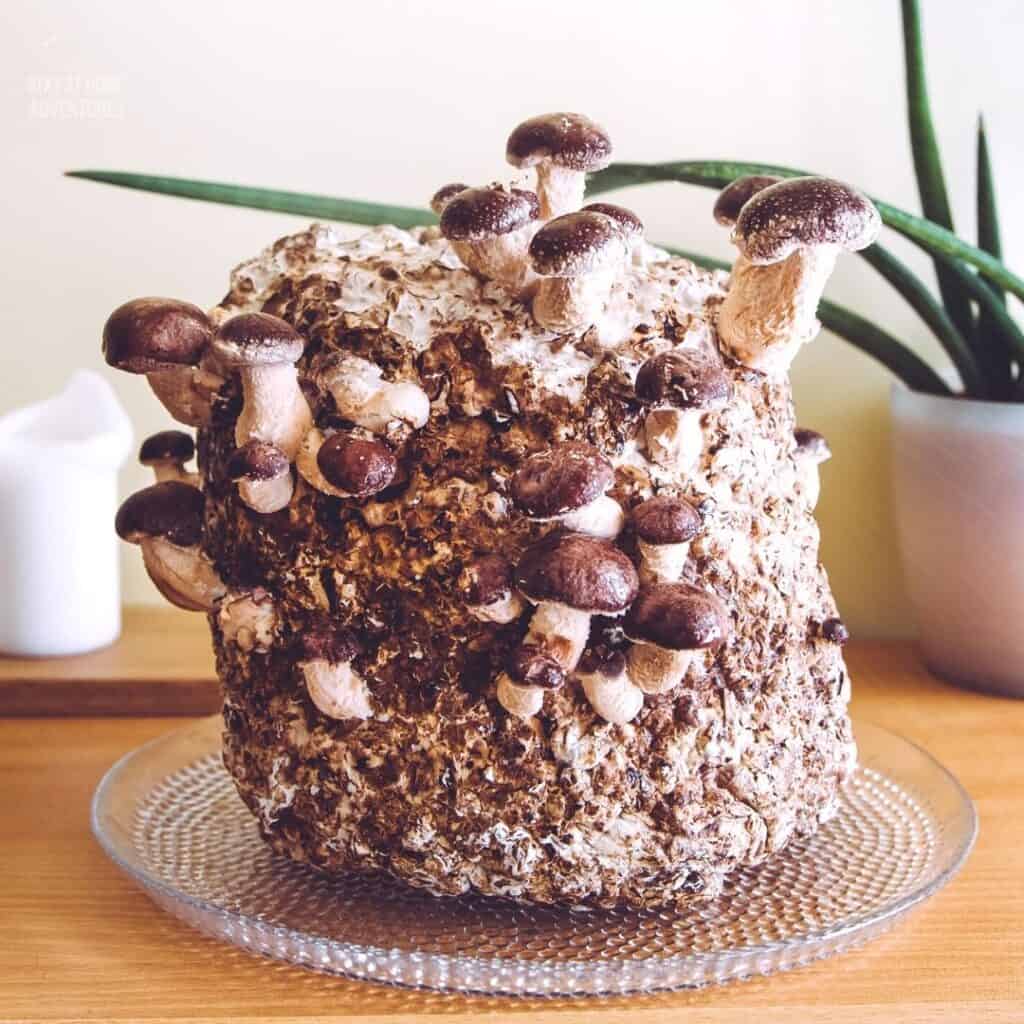
Shiitake Mushrooms (Lentinula edodes)
The second most grown mushroom in the world, 2nd to button mushroom. These are best cultivated outside on logs. A lot slower than Oysters, which will take 6-12 months from inoculation to fruiting on logs.
The best logs are oaks and sugar maple. Beech and alder are also good. They can also grow on sawdust blocks and used coffee grounds for 7 -10 weeks.
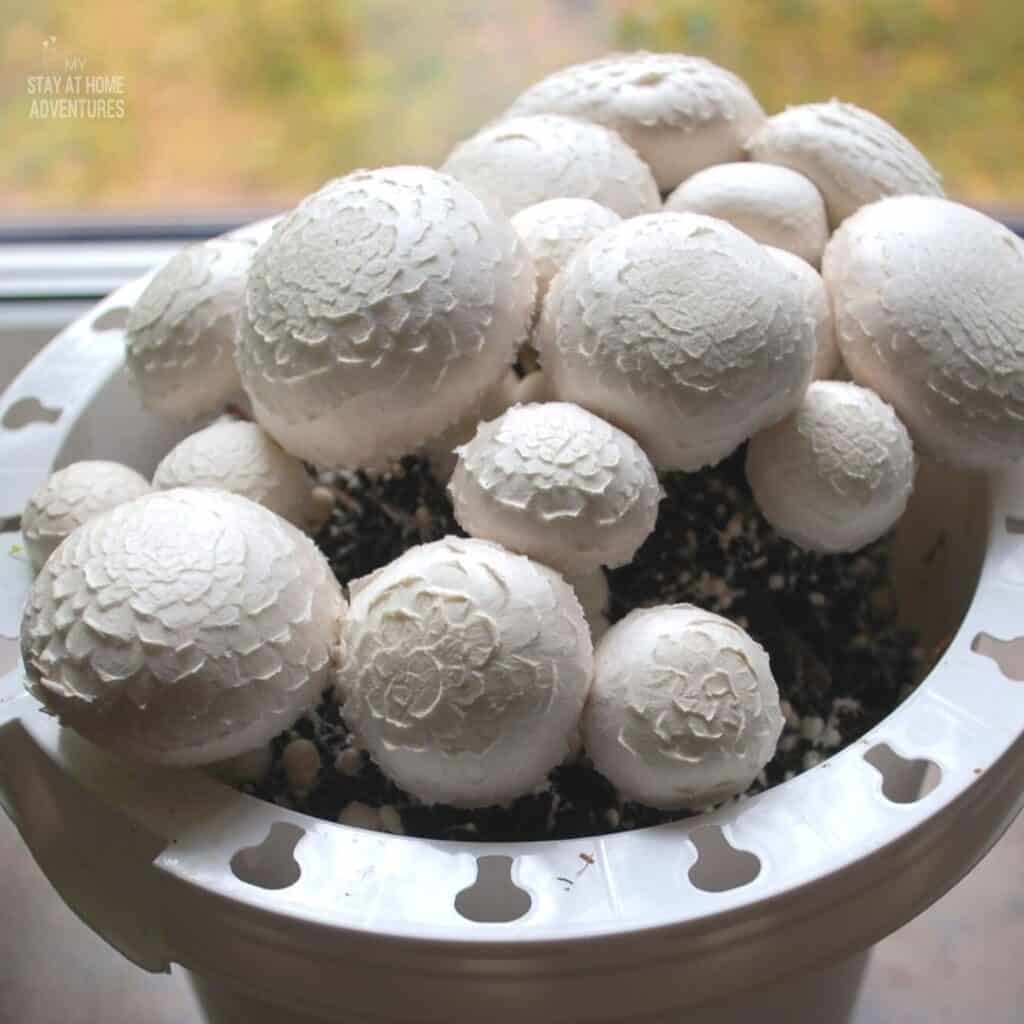
Button Mushrooms (Agaricus bisporus)
They are the easiest and most grown mushrooms indoors as they don't need sunlight. They grow best in Nitrogen-rich manure, such as horse manure, between 18-24 °C (65-75°F). It also needs to be shielded from sunlight and other disturbances.
A basement will be a great place. Some are also using closets to grow mushrooms. The bed can continue to produce from 3-6 months
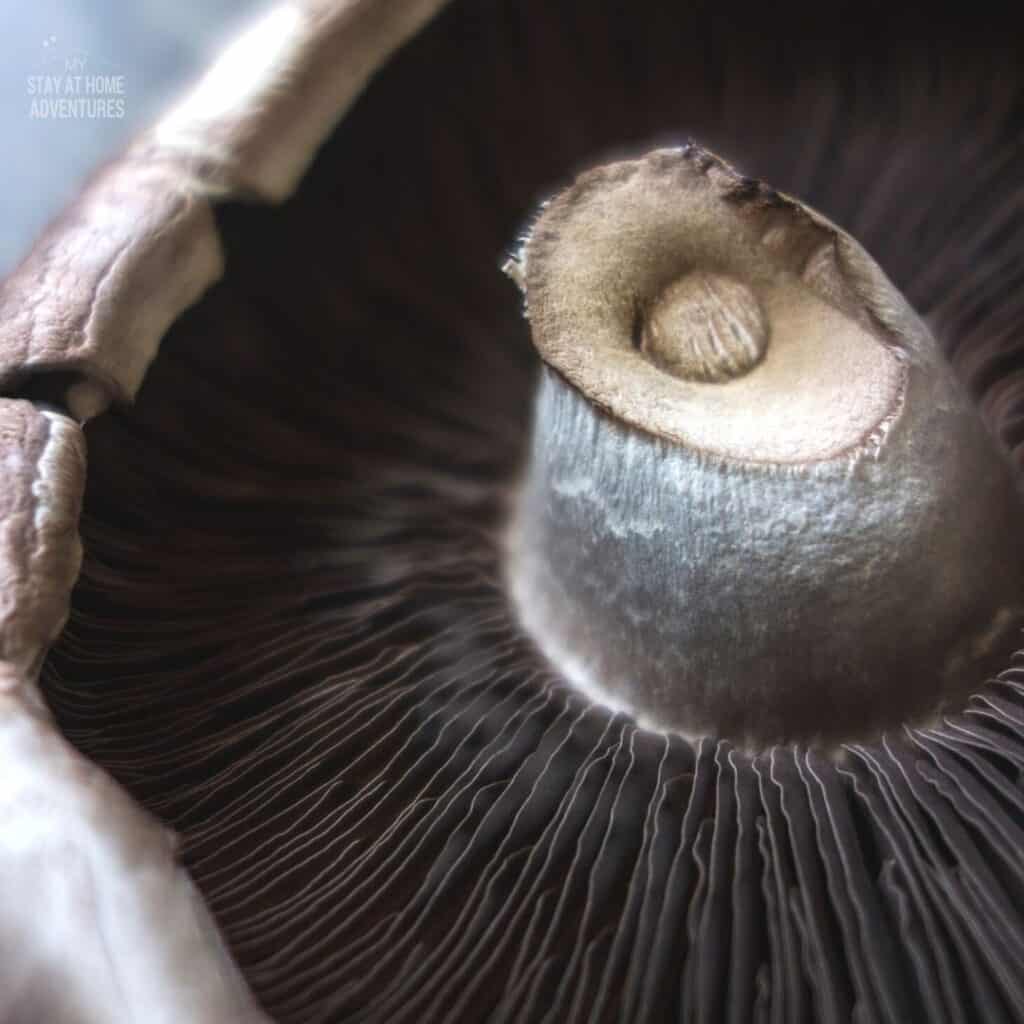
Portobello / Portabella Mushrooms (Agaricus Bisporus)
Portobello and Portabella are one and the same. It's just a matter of how you pronounce it.
These are a type of button mushroom but very large with brown caps, and meaty flesh, with intense flavor. They can be grown easily using the kit, just like the other easy-to-grow mushrooms at home. They can be grown indoors or outdoors.
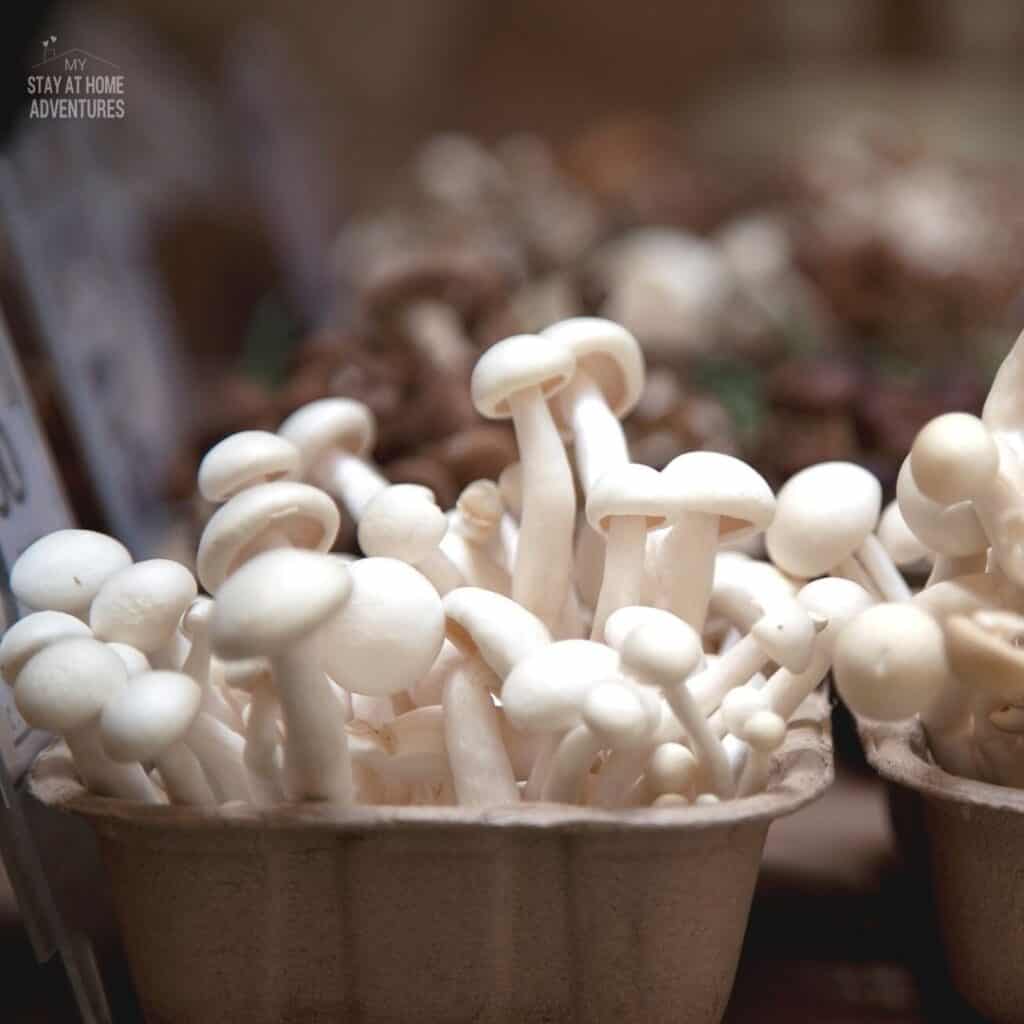
Enoki Mushrooms, aka Enokitake (Flammulina velutipes)
The noodle-like Enoki Mushrooms came from China, Japan, and Korea. It is now grown very easily using mushroom growing kits.
These delicate fungi tend to grow on rotting woods and prefer dead elms and are commonly found in woodland areas. When grown in the wild, they tend to have a small brownish cap. It is white or almost white when cultivated.
Try these recipes with mushrooms:
How to Grow Mushrooms at Home
There are several ways you can grow your mushrooms at home. It depends on the materials available.
Doing it yourself will save a lot of money, especially if you have most of the materials needed.
Another option is to buy mushroom growing kits from your local greenery, mushroom suppliers in your area, or online. This is easier because the kit provides everything you need. You will only maintain the right condition and environment for the mushroom you choose to grow.
Growing Oyster Mushrooms at home using farm wastes products
Such as rice straws, wheat straws, banana leaves, sugarcane bagasse, cotton wastes, and more, in a low-tech way.
Materials:
- Straw – medium for growing the mushrooms. You may also use other farm waste products, as stated above.
- Containers – for soaking straw
- Plastic bags – a 5L bag or reusable containers for holding the straw
- Elastic bands, string, cords, or zip ties -to constrict bag opening
- Cotton wool – to filter out contaminants
- Barrel or drum – for pasteurizing the straw
- Material liner – for holding bags within the barrel
- Gas burner – for heating barrel
- Bleach spray – to clean the growing room
- Spoon, gloves, paper towels, and face mask – to be used when inoculating straw
- A growing area – that can retain moisture in the air, shaded with some light
- Plastic sheeting – to help retain humidity & to reduce other unwanted molds. (Optional)
- Mushroom spawn – you can buy this here or Grow your Mushroom Spawn
- Sprayer – to increase the humidity within the growing room
- A thermometer and hygrometer to keep an eye on the temperature and humidity in the area.
Steps:
- Soak the Straw, drain it, and place it in plastic bags
- The length of the straw should be 5-10cm (2-4 inches). Place the straw in watertight containers, pour in clean water, and submerge the straw for 24 hours. Rinse and drain thoroughly—place in plastic bags for pasteurizing. Tie up.
2. Pasteurize
- A gas burner is suitable for this procedure. Position the drum on the gas burner. Pour about 40 L of water into the drum. Place a platform on the bottom of the drum that will keep the bags above the water while allowing the steam to rise.
- Place the material liner on the platform and then place the prepared bags of straw. Enclose the bags of straw with the liner (like wrapping the bags) and then place the lid of the drum.
- Turn on the stove to boil the water underneath the bags of straw to start steaming for 60 minutes. The temperature should reach 95°C ~200°F. Turn off the stove and allow to cool. Transfer the bags to the growing area.
3. Place in Growing Room
- The room to grow the mushrooms should be dimly lit, with high humidity, or maintain moisture in the air at the same time, ventilation is available if needed.
- It should be clean, with no growing molds and unwanted insects. To make this possible, spray the area (walls, corners, floor) with a bleach solution of 1:20 (5%)
- The room can maintain the temperature of 10°C to 30°C (50°F to 85°F)
4. Inoculate Bags
- Before you begin, ensure you are clean all over (showered, wearing clean clothes, clean hands, and wearing sterile gloves and face mask to reduce contamination.
- To begin inoculating the bags, open the bags of straw and the mushroom spawn. Place a few spoonfuls of spawn into the straw using a sterile spoon, breaking it up and mixing slightly. 1 liter of spawn can inoculate at least ten bags
- Force the air out by pressing down and packing the straws tightly to prevent air pockets between the straws. This will prevent the mushrooms from pinning under the plastic.
- Use a rubber band, cord, or zip tie to restrict the opening of the bag. Then use a piece of cotton wool and plug the bag's opening to reduce the chances of contamination and insect infestation.
5. Incubation
- Light is not required during incubation. Once inoculated, the bags should be left to incubate.
- Then arrange the bags in an area where you can move around freely and can easily inspect each of them. Place the bags on disinfected floors and shelves, or hang them.
- The spawn “runs” and spreads throughout the straw and the bag until it is fully colonized. This process should take between 1 to 3 weeks.
- Monitor bags for any signs of molds and pests. You can also spray surfaces to keep off flies and other insects. Remove bags that are infected. Blackish, greenish mold within the straw indicates ineffective sterilization.
6. Pinning and growing
- You will know that the bags are fully colonized when the initial stages of fruiting or pinning are seen.
- Make 4-6 slits at the side of the bags about 3-5 cm long using a sharp knife. After the cut, spray the bags 2 or 3 times daily with water to moisten the mushrooms. But be careful not to spray water that will go inside the bag.
- The mushrooms will soon start to grow and appear on the slits. As soon as this happens, place the bag around 10 cm apart to give room for the growing mushrooms.
- Move the bags to another area for growing and harvesting.
7. Harvesting
- Keep the humidity of the area high as the mushrooms begin fruiting, around 85-90%, as recommended. Continue monitoring the bags throughout the process. Allow air to flush through the growing area before spraying. They also need some fresh air from time to time.
- The first harvest can be around the 2nd week after the bag is cut. Once harvested, stop spraying for a while until new mushrooms appear again.
- To harvest, completely remove the mushroom by twisting it from the base.
Growing button mushrooms at home using compost materials.
Materials
- Compost – Check your local gardening stores or online, or you can make the compost yourself
- Trays or containers – size around 14×16 inches with 6 inches deep.
- Button mushroom spawn – you may buy here or Grow your Mushroom Spawn
- Heating Pad
Steps:
- Fill containers with compost and sprinkle spawn on top.
- Using a heating pad, raise the temperature of the soil to around 70°F until you see the mycelium (white, threadlike growths). That will be about 3 weeks. Then drop the temperature to 55°F to 60°F.
- Add some potting soil to cover the spawn. Spray the soil with water and then cover it with a clean damp cloth to keep the soil moist. Spray the cloth once it dried up. Button mushrooms should appear in three to four weeks.
- Harvest the Button Mushrooms when the caps open. The stalk can be cut with a sharp knife from the stem. Don't pull the mushrooms up to avoid damage to other developing fungi. You will be able to harvest continuously for about 6 months.
NOTE: Keep the area clean and disinfected when able to, as well as your hands when handling or checking the containers.
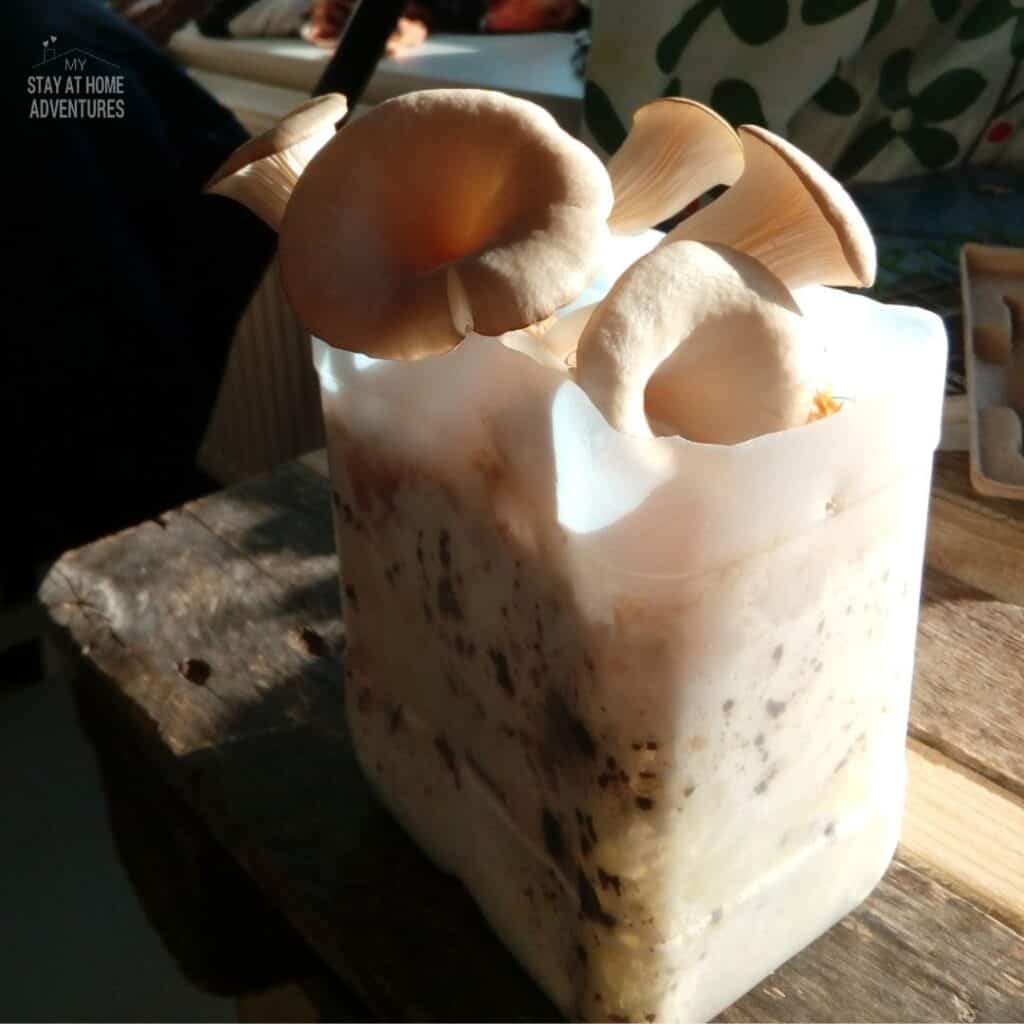
Growing Mushrooms at home using spent coffee grounds
Oyster mushrooms and shiitake mushrooms can grow best in spent coffee grounds. It can be used alone, or with an additional medium like straw, peat moss, saw dust, or cardboard.
In this option, spent coffee grounds and cardboard will be used as the medium. Coffee grounds are high in nutrients but are also prone to contamination.
On the other hand, the cardboard may be plain so that molds and bacteria are not attracted to it. The corrugated part also allows enough air for the mycelium to run easily.
Materials
- Spent Coffee Ground – your saved coffee grounds or get/request from a café. I got mine from Starbucks. Use this on the same day you get it. If you are unsure, boil the coffee grounds for 15 minutes and then strain.
- Cardboards – easier to find, but make sure they are clean. Soak in newly boiled water 1 day before using.
- 1-gallon clear plastic water container – to use as the growing container.
- Mushroom Spawn – you can choose from Oyster and Shiitake mushrooms. Although oysters are easier and most common to grow at home, I prefer shiitake for a different variety.
- 70%-99% Alcohol – for disinfection purposes to use when handling and to keep the area around the growing mushrooms clean.
- Clear plastic bags – medium size or around 12 gallons
- A Saucer – To be placed at the bottom of the plastic container to catch any excess liquid.
Steps
- Prepare the mushroom growing container:
- Get the 1-gallon plastic container. Cut the 3 sides of the ‘shoulder' of the container (this is the part below the neck or lid and the upper part of the wide body of the container), leaving 1 side still attached, so you can lift it to open the container and close it back. If the container you use is round, make a ¾ slit of that part.
- Poke around 4-6 holes on the sides of the container. About ¼” in size for air exchange, with 1 hole near the bottom to let excess water flow out if any. Then clean and disinfect the whole container inside and out.
NOTE: When making these steps, make sure your hands and the surface you are working at are clean and wiped with alcohol.
2. Layering
- Disinfect your hands, the tabletop, the surface you're working on, and anything that will be in contact with the spawn. Keep an alcohol bottle or paper towels dipped in alcohol handy.
- Have the spawn, the 1-gallon container, the cardboard (remove excess water), and the ground coffee (should not be warm or cold) ready.
- Start by putting 2 or 3 pieces of cardboard at the bottom of the disinfected container. Then sprinkle some spawn evenly on the cardboard. Then place a layer of ground coffee enough to cover the spawn completely.
- Repeat this layering until the container is filled up tightly with cardboard on the top.
- Then close the container.
- Place the container inside the plastic bag with the saucer at the bottom of the container. The plastic bag should be loose around the container to allow air and keep it moist at the same time. If excess water is seen on the saucer, throw it away to avoid the bottom layer being too soaked. Then close it loosely. There's no need to put a tie at the opening.
3. Growing mushrooms
- Place the container in the dark area for at least 2 weeks. Check occasionally to make sure it's not dry. Spray with water if needed. Remember to disinfect.
- In 4-5 days, notice that the mycelium (mushroom roots) are spreading around.
- In the 3rd week, you'll then see the primordia (baby mushrooms) coming out of the holes.
- When the little mushrooms become dense (usually within 3-4 weeks), move the container to an area with bright light, but without direct sunlight, with humidity in the air. This is going to be the growing environment for mushrooms.
- A large, clear plastic bag with 15-20 small holes over the plastic container will do the trick (remove the first plastic bag). It will then keep the humidity around the growing mushrooms.
- Another way is to place the container in a large clear organizing box or storage bin with small holes on all sides and a lid. (Remember to disinfect and keep the saucer at the bottom)
- Keep humidity inside by spraying with water every day. I placed a small bowl with a wet paper towel in it to ensure humidity and then changed it every day.
4. Harvesting
- Within a week, mushrooms grow 1″- 6″ tall and can be harvested anytime. When harvesting, twist from the base or cut with a sharp knife on the base of the mushroom. Do not pull.
- Once the grown mushrooms are harvested, return the container to the dark area and repeat the process. It will also take 1-2 weeks.
- This process can be repeated 3-5 times.
Using Mushroom Grow Kits
This is the easiest, and I would advise this for beginners. Of course, you can do the other options if the materials are just within your hands' reach. That will save a lot.
You will need to purchase Mushroom Grow kits. A complete guide is also included. If you buy from a local mushroom supplier or grower, you can also ask the seller for more advice.
Here are a few online shops where you can buy these Mushroom Grow Kits
There you go! Which options for growing mushrooms do you prefer? Did you also try any of them? Let us know your experience and advice for better mushroom growing.