How to Remove Mold on Bathroom Ceiling Like a Pro
This post may contain affiliate links which might earn us money. Please read my Disclosure and Privacy policies here
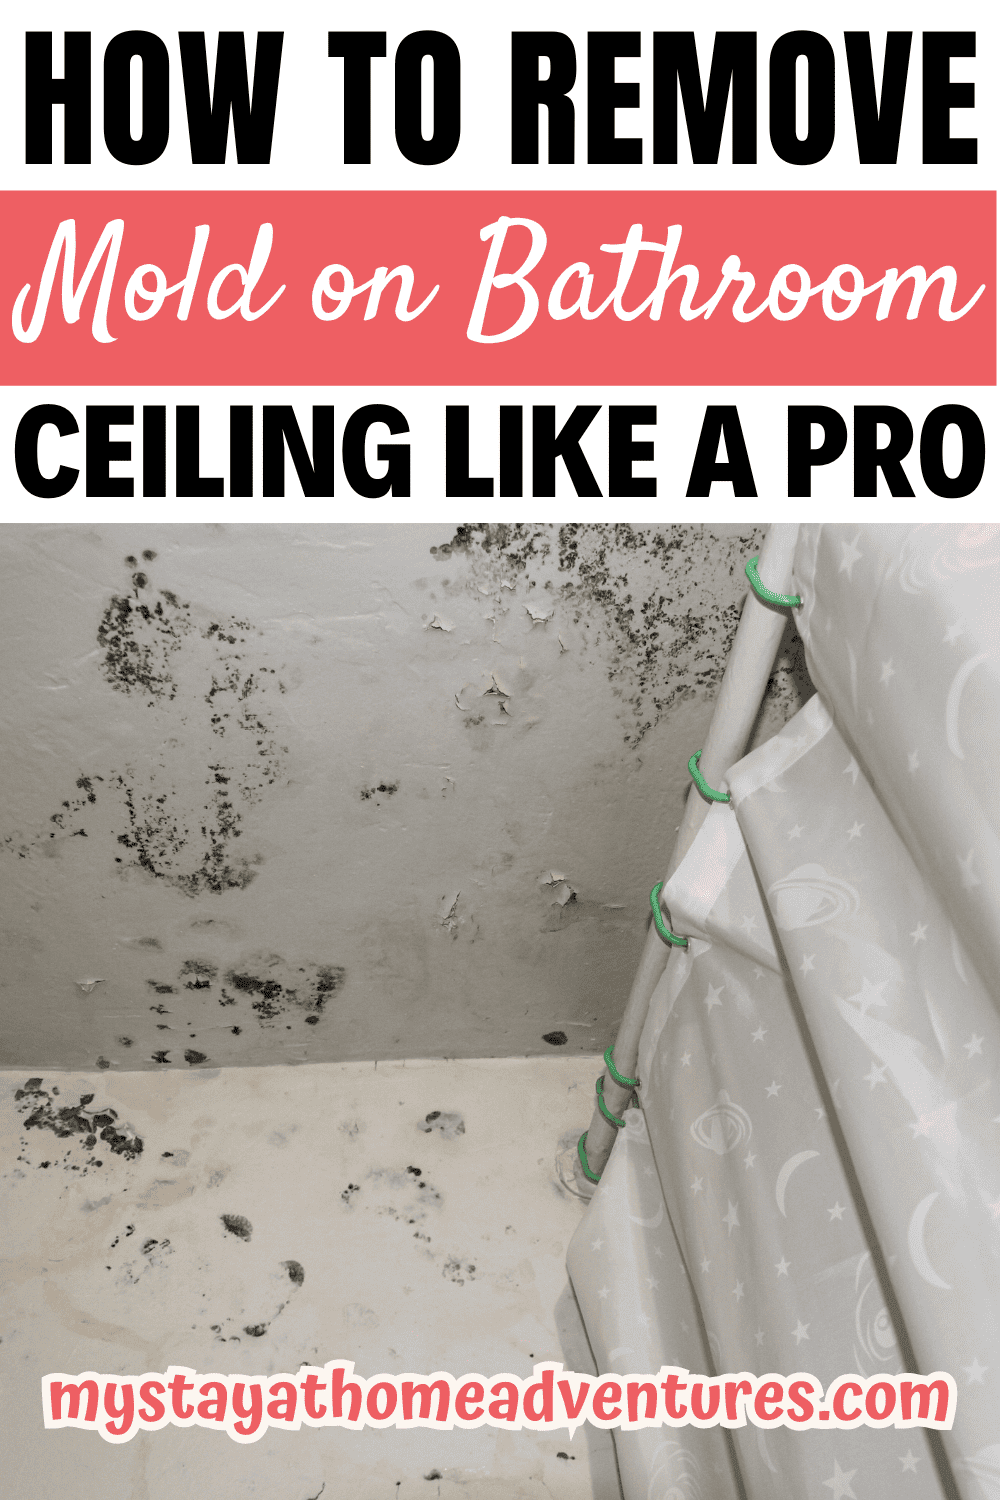
Removing mold from your bathroom ceiling doesn’t have to be a daunting task. This concise guide will show you how to remove mold on bathroom ceiling quickly and safely, with practical steps that range from home remedies to chemical solutions. Equip yourself with the know-how to not only clear the mold but also to prevent it from returning. No more distress – just clear, actionable advice that gets the job done.
Key Takeaways
- Identify the type and severity of mold on the bathroom ceiling, including less common but dangerous varieties, as early identification is crucial for effective removal and to prevent health risks.
- Use protective gear such as goggles, gloves, and a respirator when cleaning mold to prevent it from attaching to clothing, spreading, or being inhaled.
- Employ a combination of DIY methods and household products such as vinegar, baking soda, and bleach-based solutions for mold removal, and consider professional remediation services for severe infestations.
Unveiling the Enemy: Types of Mold on Your Bathroom Ceiling
Bathroom ceiling mold is a common issue many homeowners face, and it’s not just an aesthetic problem. There are various types of mold that can take up residence on your bathroom ceilings, each with unique appearances and potential health risks. Some molds, like Stachybotrys Chartarum, also known as black mold, are toxigenic and require specific removal techniques.
Common mold types often seen on bathroom ceilings include:
- Black or greenish-black mold, accompanied by a musty odor
- Alternaria, which appears green or brown and is quite common in bathrooms
- Aureobasidium, which displays colors from pink to black
- Penicillium, which appears blue-green
These mold varieties can make an unwelcome appearance on your bathroom ceiling.
The Usual Suspects: Black Mold and Mildew
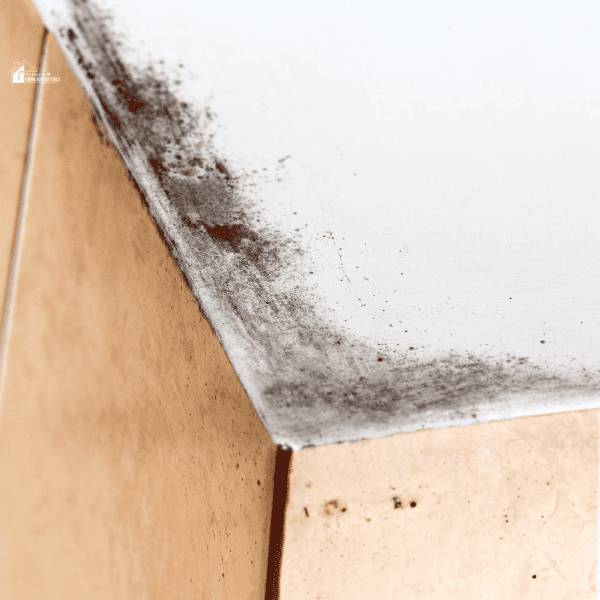
Among the different mold species, black mold and mildew are the most common foes encountered on bathroom ceilings. Black mold typically appears as black or greenish-black stains and is often accompanied by a musty odor. On the other hand, mildew presents itself as a pale white or gray thin growth, often found alongside black mold.
Aside from their unsightly appearance, these mold types pose significant health risks. Contact with black mold and mildew can trigger health complications including asthma attacks, respiratory irritation, allergic reactions, among others. Symptoms can range from coughing, sneezing, watery eyes, nasal congestion, to skin irritation.
Less Common Culprits
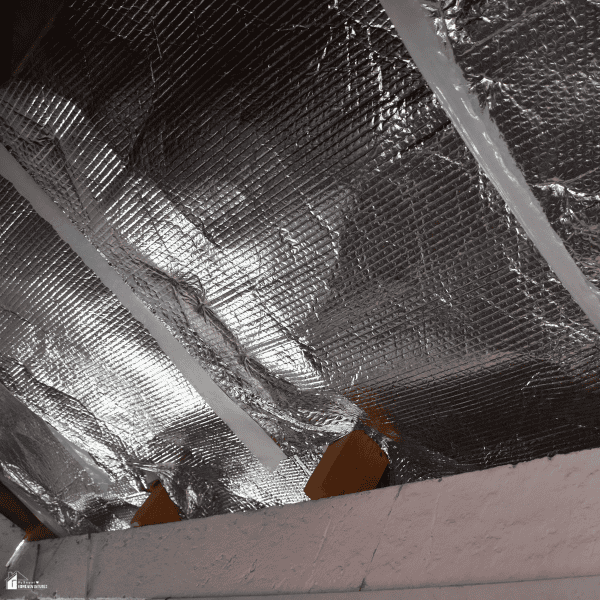
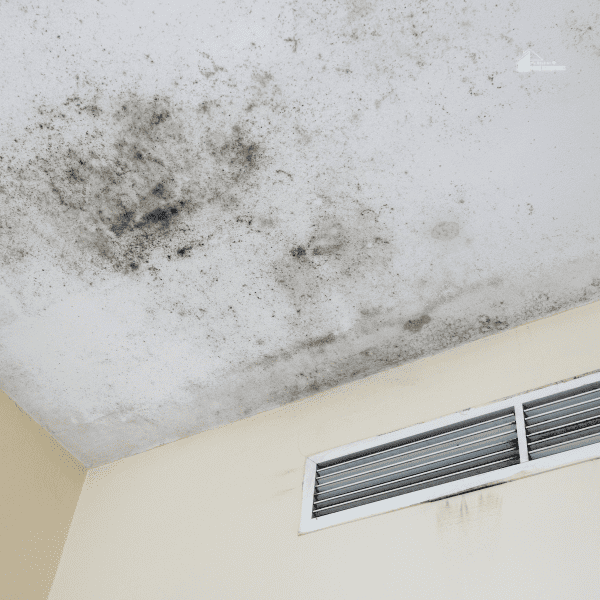
While black mold and mildew are the usual suspects, your bathroom ceiling can also harbor less common but equally dangerous mold varieties. Acremonium mold is a rare and dangerous type that can appear on bathroom ceilings. Another culprit is Trichoderma, which typically grows near HVAC units and displays a white and green wooly appearance.
Other less common culprits include Chaetomium and Ulocladium mold. Chaetomium mold starts as a cotton-like substance and changes color with time, often found after severe water damage. Ulocladium mold, on the other hand, is a black mold frequently mistaken for the more dangerous Stachybotrys but poses fewer health risks.
Despite their rarity, these mold types can still have serious health implications, making it crucial to address any mold growth promptly.
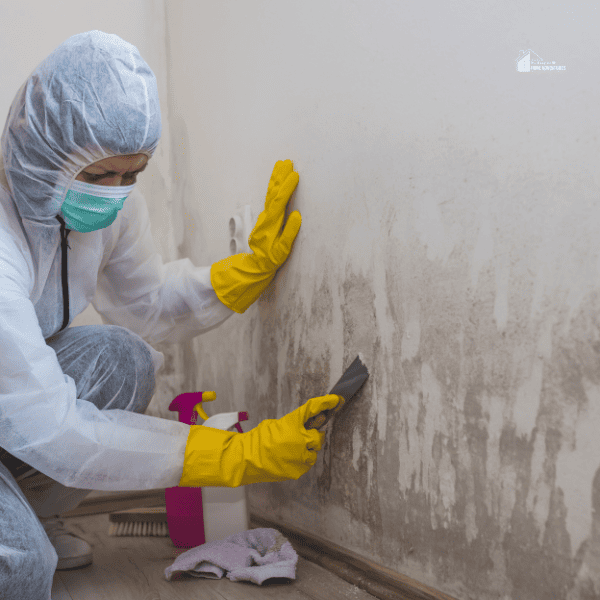
Arm Yourself: Safety First with Protective Gear
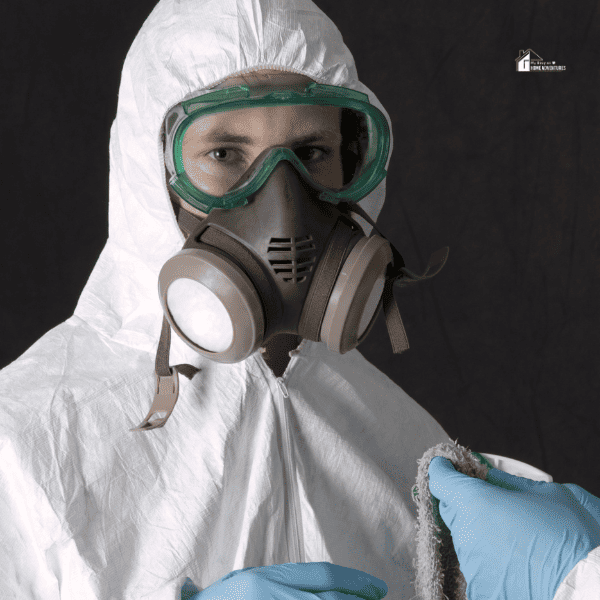
Fully understanding your problem is a significant step towards its solution. As we gear up for the mold removal process, we prioritize safety above all. Wearing Personal Protective Equipment (PPE) during mold removal is a non-negotiable requirement. This precautionary measure prevents mold spores from clinging onto clothing, spreading to other areas, and infiltrating the respiratory system.
Mold spores can easily become airborne and uncontrollable when disturbed, similar to dandelion seeds in a field. This is why protective gear, including face masks, safety glasses, and gloves, is a non-negotiable part of mold removal. For small spaces (10 sq. ft. and under), non-vented goggles, rubber gloves, and a minimum of a partial face paper respirator (N-95 recommended by EPA) should be worn, along with old clothes that can be discarded or washed separately.
Battle Plan: Preparing Your Mold Removal Arsenal
Having donned our safety gear, we can now assemble our DIY mold removal tools. You might be surprised to learn that everyday household products can effectively kill and remove mold. Common fighters in this battle include:
- vinegar
- baking soda
- bleach
- hydrogen peroxide
- essential oils
These ingredients can be used in various combinations to create effective cleaning solutions. Keeping spray bottles and scrub brushes at the ready helps in the efficient application of mold-killing solutions on bathroom ceilings. Now, let’s delve deeper into these natural and chemical warfare tactics.
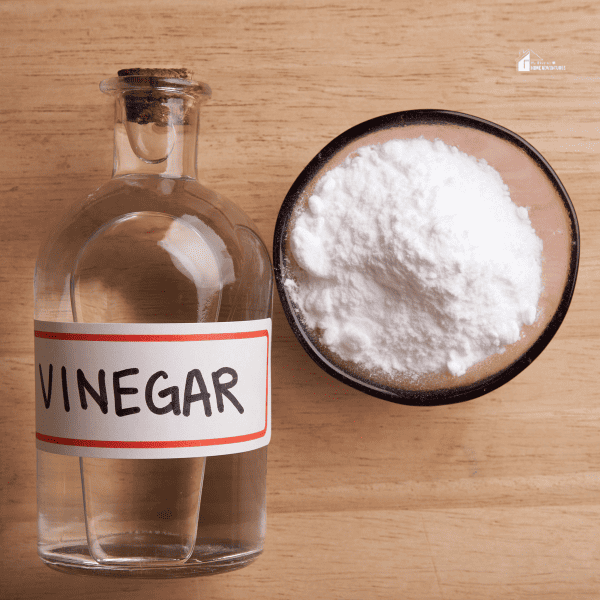
Natural Fighters: Vinegar and Baking Soda
Vinegar and baking soda are nature’s warriors in the fight against mold. In particular, white vinegar proves to be an effective agent in eliminating mold on bathroom ceilings. On the other hand, baking soda soaks up moisture and pulls out spores, assisting in the removal of mold.
For a non-toxic mold cleaning paste, blend vinegar and baking soda in a 2:1 ratio. Apply this paste to moldy areas, let it dry, and then scrub it off for best results. This natural cleaning solution is not only effective but also gentle on your bathroom ceiling, preventing any potential damage from harsh chemicals.
Chemical Warfare: Bleach Solution Mix
For more stubborn mold, a more potent approach may be necessary. That calls for our chemical tactics, featuring a powerful bleach solution mix. To create this solution, combine one tablespoon of dishwashing liquid, 1/2 cup of chlorine bleach, and one cup of warm water. The dish soap is added to increase the solution’s adherence to the ceiling surface, allowing it to stay in contact with the mold longer for more effective killing.
For heavily mold-infested grout on tiled ceilings, a stronger cleaning solution can be made by mixing one cup of bleach with one gallon of water. Remember, while bleach is a powerful agent in killing mold, it should be used cautiously to avoid damaging your bathroom ceiling.
Tactical Maneuvers: Step-by-Step Mold Removal Process
With our tools ready, let’s proceed with the step-by-step mold removal process. This process includes applying the cleaning solution, scrubbing the mold away, and rinsing and drying the area. Ensuring proper ventilation during this process by utilizing an exhaust fan or opening a window is crucial to remove moisture and fumes. Keep the fan running for at least 30 minutes afterwards to purify the air.
Start by creating a cleaning solution using one tablespoon of dishwashing liquid, 1/2 cup of chlorine bleach, and one cup of warm water for small moldy areas. Apply the cleaning solution to the moldy area using a sponge to increase contact time, or use a spray to ensure even distribution while avoiding oversaturation of the ceiling. Allow the bleach solution to soak on the mold for 10-15 minutes and then leave the solution to air dry.
Initial Strike: Applying the Cleaning Solution
Our initial action in combating mold involves efficiently applying our cleaning solution. You can use a spray bottle or a sponge for this purpose, ensuring the moldy area is sufficiently wetted without oversaturating. Remember, the goal is to kill the mold, not to create a pool on your bathroom ceiling.
Before fully applying hydrogen peroxide, which can be used as an alternative to bleach, conduct a patch test to avoid potential discoloration of the bathroom ceiling. This ensures that our cleaning process doesn’t unintentionally cause more damage to your bathroom.
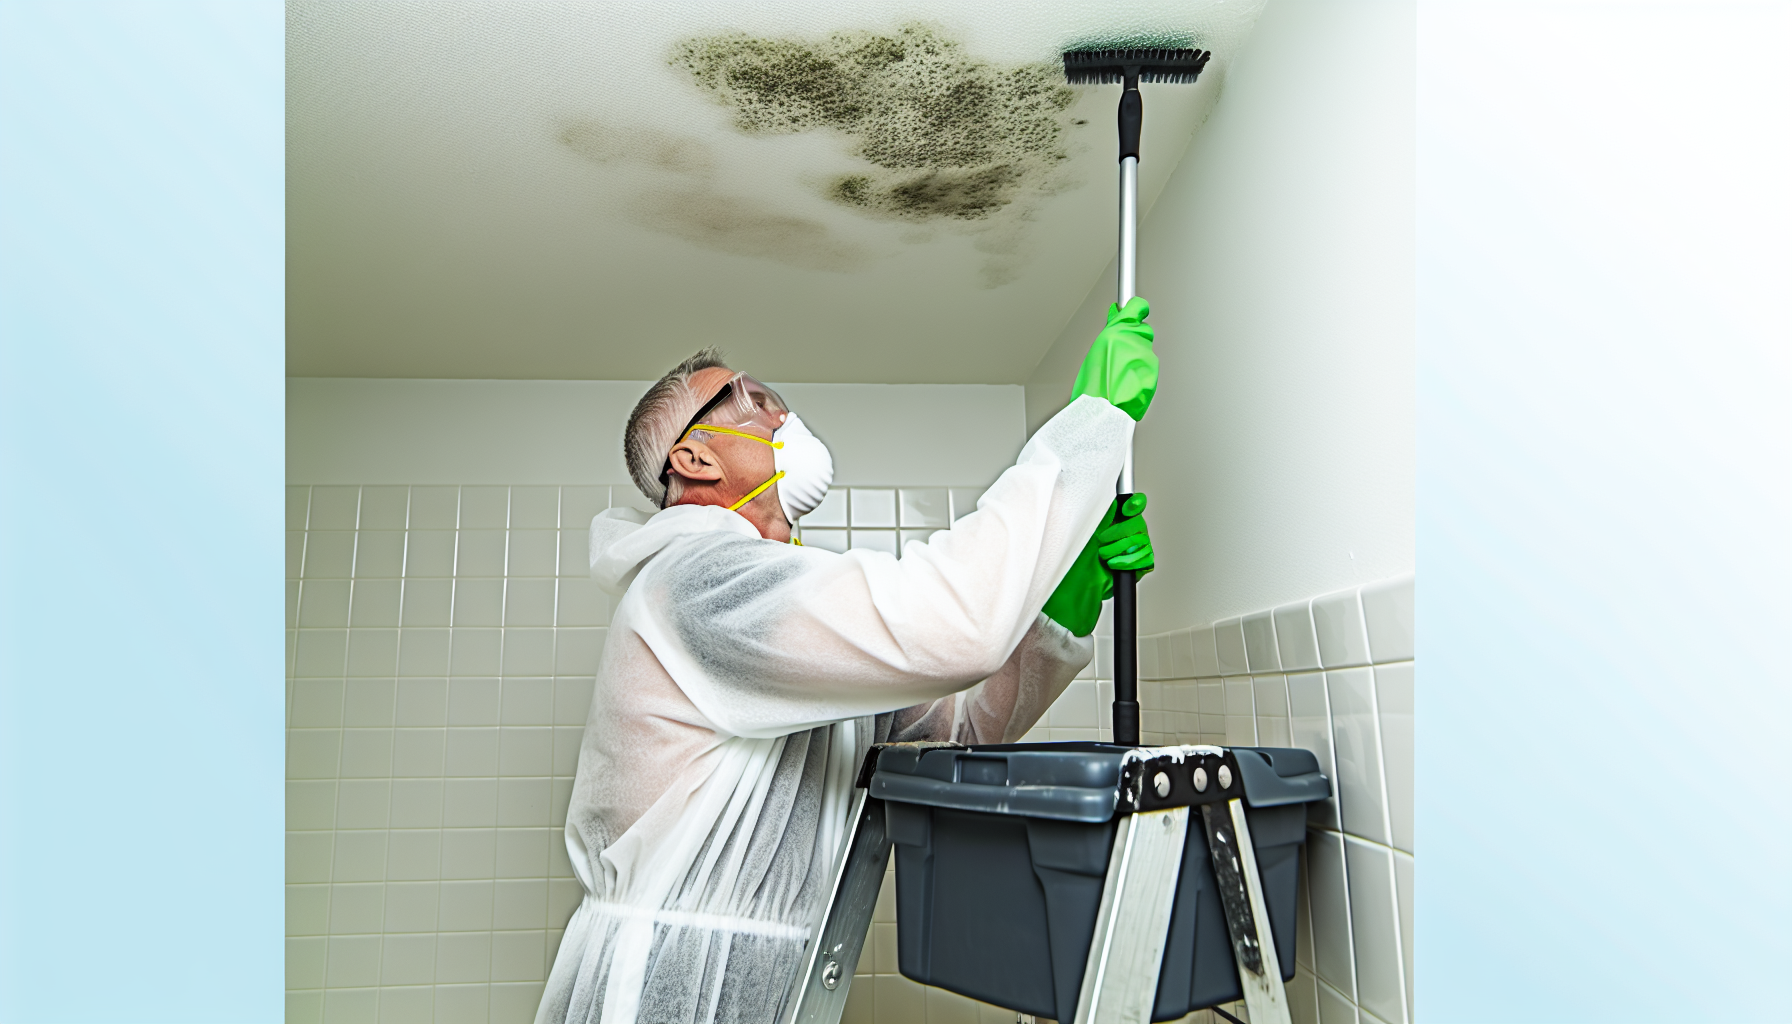
The Scrub Down: Removing Mold with Elbow Grease
The scrub down marks the onset of the real action. For this step, a soft-bristled scrub brush should be used to scrub away mold on bathroom ceilings. Apply light pressure during scrubbing to avoid lifting paint or damaging the ceiling cladding.
For tiled bathroom ceilings, more rigorous scrubbing may be necessary along the grout lines to effectively remove mold. This step requires a bit of elbow grease, but the satisfaction of seeing those black stains disappear is worth the effort. If you find that the mold returns, you might need to completely regrout your tiles.
Final Sweep: Rinsing and Drying
Following the removal process, it’s time for clean-up. It’s important to rinse the ceiling with clean or warm water after the mold removal to eliminate any remaining cleaning agent and prevent the spread of loose mold spores. A soft cloth should be used to meticulously dry the bathroom ceiling after rinsing to remove any lingering moisture.
Completing the process with a thorough, moisture-free drying of the cleaned area is vital to avert the reappearance of mold and any resultant dark spots on the bathroom ceiling. Remember, a dry bathroom is a mold-free bathroom.
Fortifying Defenses: Preventing Future Battles with Mold
With the mold successfully removed, the subsequent step is to prevent its return. It becomes vital, therefore, to bolster your defenses and implement measures to prevent future mold growth. This involves correcting the source of moisture, maintaining a dry ceiling, and regular bathroom cleaning.
Spraying a light mist of vinegar on clean bathroom ceilings and sealing any potential moisture entry points can also help avert mold recurrence. Now, let’s delve deeper into two major strategies for mold prevention: managing moisture and improving airflow.
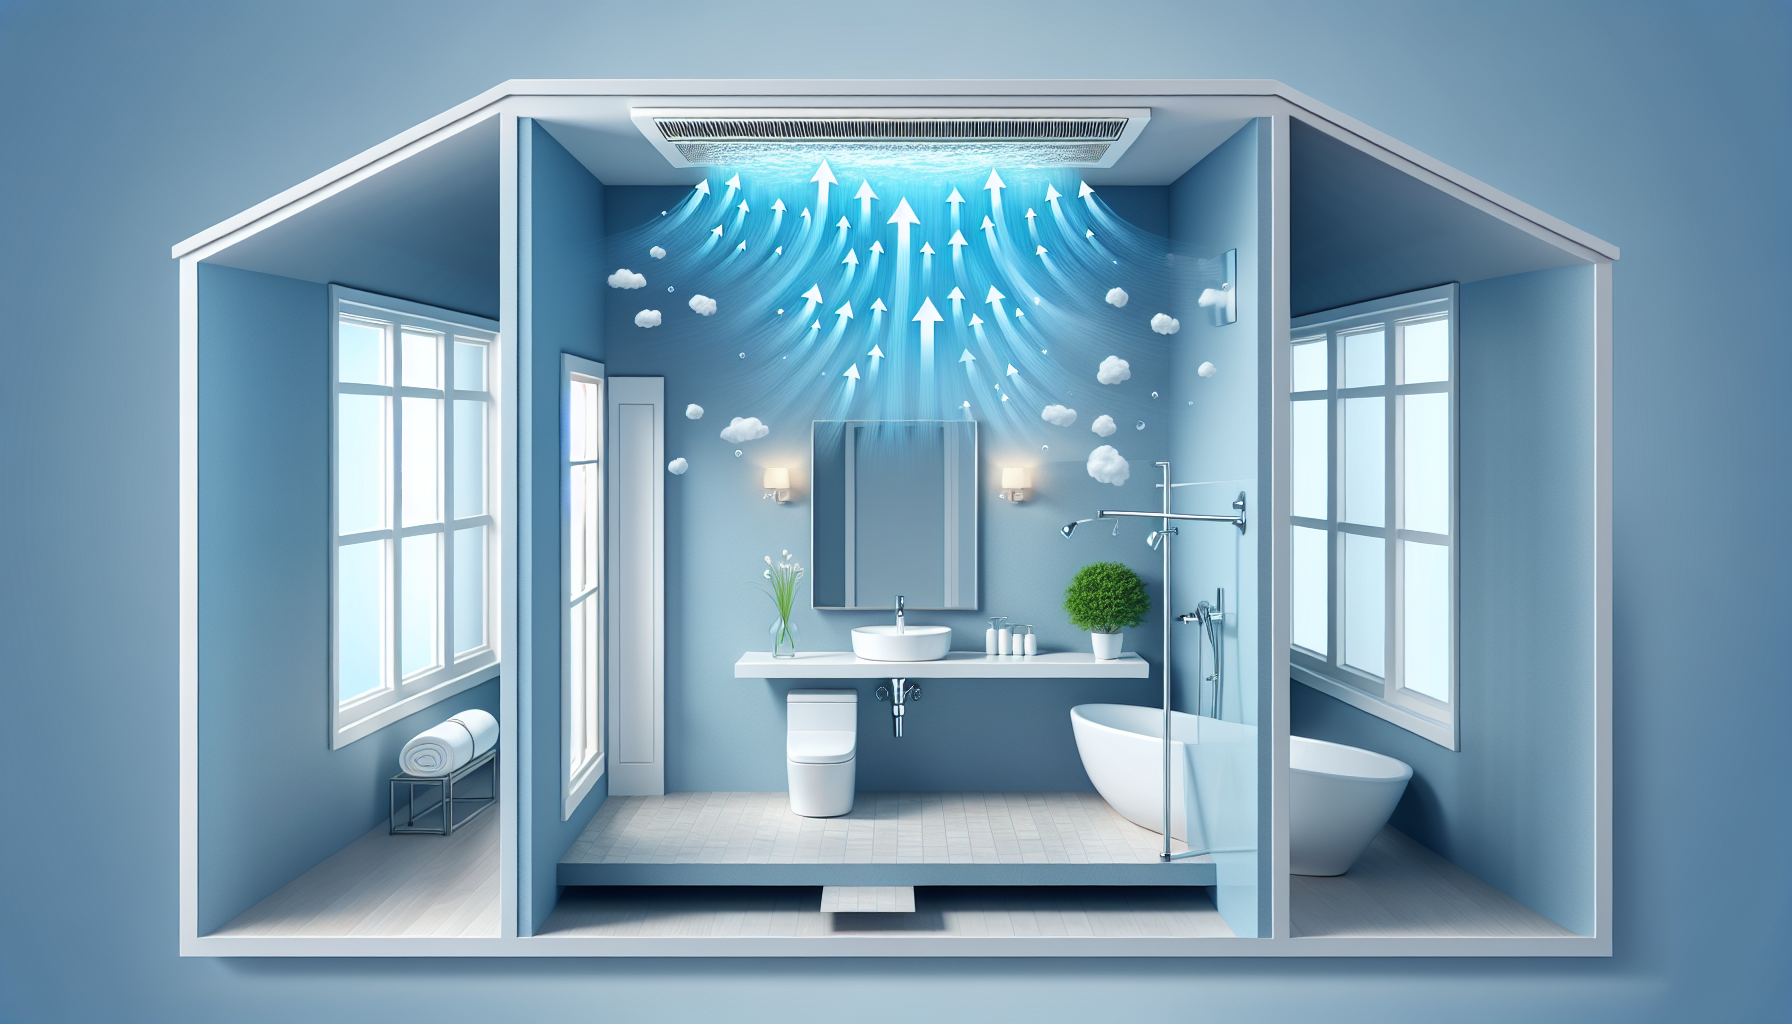
Moisture Management: Exhaust Fans and Dehumidifiers
Bathrooms inherently have high humidity. Hence, controlling moisture levels becomes key in preventing mold growth. Exhaust fans play a critical role in removing the warm, moist air that showers generate. By expelling this air outside, they reduce the risk of condensation and mold growth on cooler ceiling surfaces.
If you’re making a bathroom investment like this, you might also want to look into a shower filter, as this is a great way for you to remove impurities from the water, making your showering experience even cleaner.
Airflow Tactics: Keeping Doors Ajar and Windows Open
Enhancing airflow presents another effective strategy in combating mold. Regularly cleaning the shower or bathtub and keeping the bathroom door open helps to increase air circulation, which can prevent the buildup of moisture and reduce the risk of mold formation.
If your bathroom has windows, keeping them open whenever possible can also aid in moisture management. Additionally, installing a circulation fan in conjunction with the vent fan can further enhance airflow and prevent mold growth in the bathroom’s nooks and crannies, especially in cases of poor ventilation.
Calling in Reinforcements: When to Hire Professional Mold Remediation Services
Despite our best efforts, there are times when mold infestations can spiral out of control, exceeding our DIY capabilities. In such cases of severe mold infestation, it could become necessary to enlist the help of professional mold remediation services.
Professional services for mold removal offer the following benefits:
- Comprehensive removal of mold, including eradicating unseen spores
- Advice on how to prevent future mold issues
- Adherence to safety protocols and guidelines issued by the Environmental Protection Agency
When choosing a service for mold remediation, consider factors such as the company’s reputation, years of experience, and their compliance with EPA standards.
Summary
We have journeyed through the world of bathroom ceiling mold, from unveiling the enemy and arming ourselves with protective gear, to launching an attack and finally fortifying our defenses against future invasions. The battle against mold is indeed a continuous one, but with the right knowledge, tools, and tactics, we can keep our bathrooms mold-free and maintain a healthy living environment.
Frequently Asked Questions
Is mold on bathroom ceiling harmful?
Yes, mold on the bathroom ceiling can be harmful as it can lead to health problems such as coughing, sneezing, watery eyes, nasal congestion, skin irritation, asthma, and respiratory illnesses. It's important to address it promptly to avoid these issues.
Can vinegar kill mold on bathroom ceiling?
Yes, vinegar can effectively kill mold on your bathroom ceiling without signaling the spores to retreat, allowing for efficient removal of the mold.
What is the best mold killer for bathroom ceiling?
Use a homemade cleaning solution of diluted bleach or white vinegar to remove mold from your bathroom ceiling. Make sure to wear a protective mask and gloves to avoid touching or inhaling mold spores.
How do you get rid of mould on bathroom ceiling?
To remove mould from your bathroom ceiling, create a solution of warm water and detergent, or use diluted bleach or white vinegar. Wear a protective mask and gloves before cleaning to avoid touching or inhaling mould spores.
What are the common types of mold found on bathroom ceilings?
The common types of mold found on bathroom ceilings are black or greenish-black mold, Alternaria (green or brown), and less commonly Aureobasidium and Penicillium. It's important to address these molds promptly to prevent health issues and damage to the ceiling.