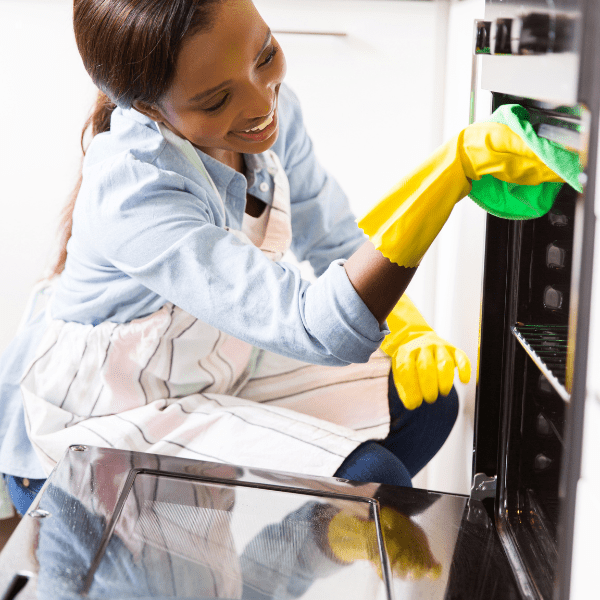
How To Clean an Oven Without Oven Cleaner
This post may contain affiliate links which might earn us money. Please read my Disclosure and Privacy policies hereAre you looking for ways to clean your oven without using harsh chemicals? If so, you’ve come to the right place! We’ll show you how to use everyday ingredients and items around your home to get your oven sparkling. Keep reading to learn more!
Using oven cleaner to clean your oven is not recommended, especially if it is a self-cleaning oven. Oven cleaners can be quite toxic, and any residue left behind can release dangerous fumes during the self-cleaning cycle.
Instead, you can clean your oven every three months with a DIY cleaner made of baking soda, vinegar, and water. Regularly cleaning your oven will help it operate more efficiently and last longer.
In addition, burners and grates should be soaked in hot, soapy water to remove grease and food remains. Using oven cleaner in a self-cleaning oven could corrode the oven's special enamel coating.
Gather Supplies
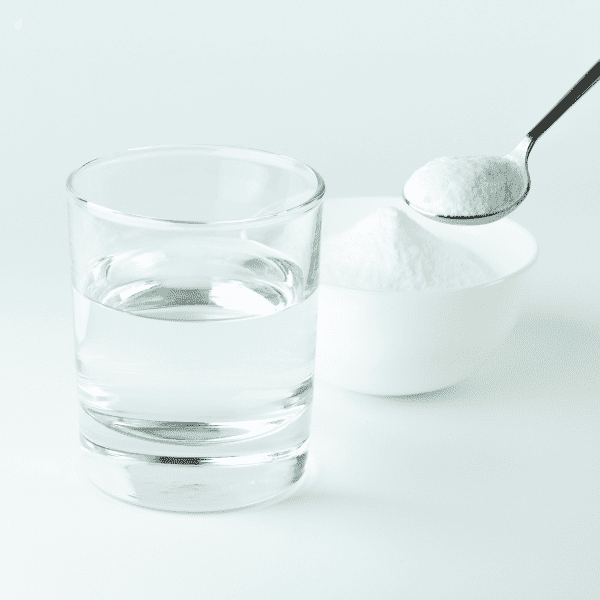
Now that you know that you don't need oven cleaner, it’s time to gather the supplies you’ll need. You’ll need baking soda, white vinegar, a spray bottle, a bowl, and a sponge. The baking soda and white vinegar will combine to create a natural cleaning solution that will effectively remove grease, grime, and baked-on food from your oven walls, racks, and door panel.
Be sure to have a spray bottle on hand to spritz your oven walls with the vinegar solution as you go. A bowl will be helpful to mix the baking soda and water together, and a sponge will be necessary to scrub away the grime. Once you have all the necessary supplies, you’re ready to begin cleaning your oven without oven cleaner!
The form you have selected does not exist.
Prepare the Oven
Now that you have the necessary supplies, it’s time to prepare your oven for cleaning. Begin by removing any oven racks and the oven window, if possible. For safety, make sure to wear protective gloves when handling the racks.
Once the racks and window are removed, vacuum or sweep inside the oven to remove any crumbs and debris. This will help the natural cleaning solution to be more effective.
Mix the Natural Cleaning Solution
Once you have gathered your supplies and prepared the oven, it's time to mix the natural cleaning solution. Baking soda is one of the most effective natural cleaners for ovens. To make a natural oven cleaner, mix together a 1/2 cup of baking soda with 1/3 cup of water in a small bowl. This mixture will create a thick paste that can be easily spread over the oven surfaces. Once you have the paste, you can start cleaning the oven.
You might enjoy these posts:
Apply the Cleaning Solution
Now that you've prepped the oven and mixed your natural cleaning solution, it's time to apply it! Start by sprinkling a generous layer of baking soda over the surface of the oven. Make sure to cover all of the stained areas.
Once the baking soda is evenly spread, spray the surface with a light water mist or a 3:1 water to white vinegar solution. This will help create a paste with which you can scrub the oven walls. Let the mixture sit for 15-20 minutes to give it time to break down the grease and grime before you start scrubbing.
Scrub the Oven Walls
Now that you have applied the natural cleaning solution to your oven walls, it's time to scrub them. Using a non-abrasive sponge or a microfiber cloth, gently scrub the walls in a circular motion. For tougher stains, you may need to use a brush. Make sure to be gentle and not scratch the surface of your oven. Once you have finished scrubbing the walls, you can move on to cleaning the racks.
Clean the Racks
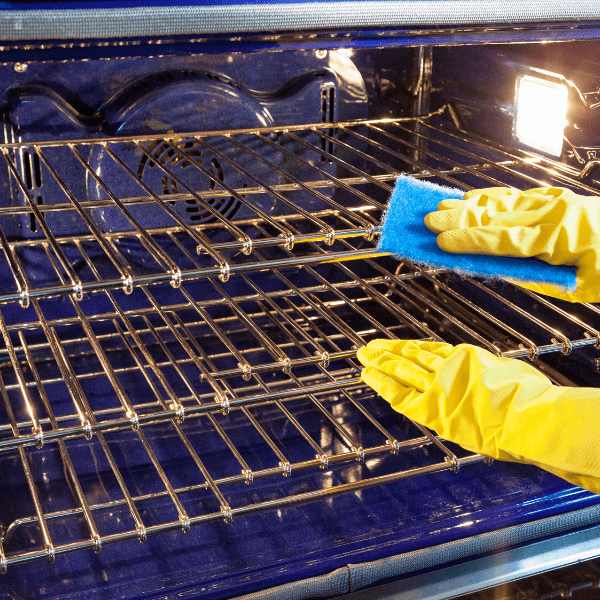
After you have scrubbed the oven walls with the baking soda and vinegar solution, it's time to move on to the racks. Be sure to use gloves and protective eyewear when handling the racks, as they can be sharp and dangerous. Start by placing the racks in a sink or bathtub and filling with hot water.
Add a few tablespoons of baking soda and let the racks soak for a few minutes. This will help to break down any baked-on grime. After soaking, use a sponge or cloth to scrub the racks with the baking soda solution. You may need to use a scouring pad if you have particularly tough spots. When all of the grime is removed, rinse the racks with hot water and dry them with a clean cloth.
Clean the Door Panel
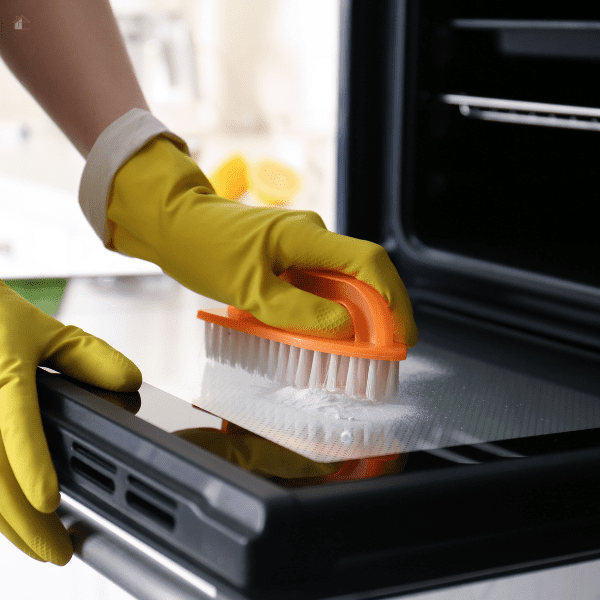
Now that the walls and racks of your oven are clean, it's time to tackle the door panel. To do this, start by cleaning off any remaining residue from the walls with a damp cloth or sponge. Then, mix together a paste of baking soda and water and spread it on the door panel.
Let the paste sit for 15-20 minutes to start breaking down the grease and grime. Once it has had time to work its magic, use a damp cloth to scrub the door panel. Finally, use a dry cloth to wipe off the baking soda paste. With a few simple steps, your oven door panel will shine like new!
Clean the Window and Seals
Once you have successfully cleaned the oven walls, racks, and door panel, the last step is to clean the window and seals. To do this, you must make a paste using baking soda and water. Simply mix 1/2 cup of baking soda with 1/3 cup of water to create a spreadable paste.
Then, apply the paste to the window, seal, and let it sit for 15-20 minutes. After the paste has had time to work its magic, use a wet cloth or sponge to wipe away the residue. You may need to use a bit of elbow grease, but your window and seals should soon be shining like new!
Remove Remaining Residue
Once you have finished scrubbing the oven walls, cleaning the racks, and cleaning the door panel, it is time to remove any remaining residue. Baking soda, vinegar, and water effectively loosen grime and residue.
To remove the remaining residue, start by spraying the areas with a 3:1 water to white vinegar solution and then sprinkle baking soda liberally over the stain. Let sit for 15-20 minutes after your oven has cooled, and then wipe up the baking soda and dissolved food with wet paper towels. This process should help to effectively remove any remaining residue, leaving your oven sparkling clean!
Reassemble and Enjoy!
Now that your oven is clean and sparkling, it's time to reassemble it and enjoy the results of your hard work! Before you reassemble, wipe down all surfaces with a damp cloth to remove any remaining residue. Once all surfaces are clean, you can begin to reassemble your oven.
You may need to refer to your oven's manual for instructions on properly reassembling your oven. After your oven is reassembled, you can enjoy the results of your hard work! You can now cook delicious meals with a clean oven, free from stubborn grime or stains.