
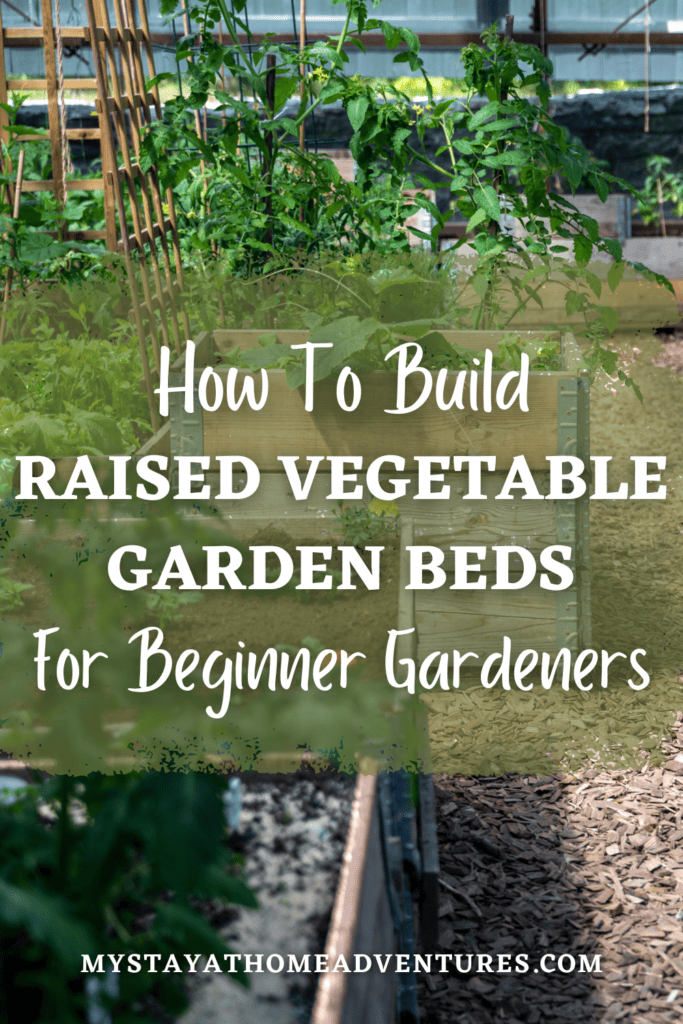
How To Build Raised Vegetable Garden Beds For Beginner Gardeners
This post may contain affiliate links which might earn us money. Please read my Disclosure and Privacy policies here
Building a raised garden bed is an exciting project for beginner gardeners who want to cultivate their own vegetables. Constructing a raised garden bed with a step-by-step guide can be an enjoyable and rewarding experience. I will explore why building your own raised garden bed is a great choice and its numerous benefits.
By following the planning and measuring steps, selecting the right materials and tools, and learning about soil and fertilizer, you will be well-equipped to create your own flourishing vegetable garden.
So, let's get started on this green thumb adventure!
Why build your own raised garden bed?
Building your own raised garden bed offers numerous benefits and is a rewarding experience for any aspiring gardener. By constructing your own raised garden bed, you have complete control over the design, size, and materials used. It allows you to customize the bed to fit your specific gardening needs and preferences.
Also, building your own raised garden bed is a cost-effective option compared to buying pre-made ones. Plus, it gives you the satisfaction of creating something beautiful and functional with your own hands.
Oh, and also, pair your raised vegetable garden bed with a self watering flower box; it's a dynamic duo that leads to efficient watering and booming growth.
So why not embark on this DIY gardening adventure?
Benefits of having a raised garden bed
A raised garden bed offers several advantages for beginner and experienced gardeners. First and foremost, it provides better control over the soil quality and drainage, directly contributing to healthier plants. Raised beds also make gardening easier, eliminating the need for bending or kneeling down, thus reducing strain on your back and knees.
Also, these beds can extend the growing season by allowing you to plant earlier in the spring and protect delicate plants from frost. Lastly, raised garden beds are aesthetically pleasing and can enhance the overall look of your outdoor space.
Planning and Measuring
Once you have chosen the best location for your raised garden bed, it's time to start planning and measuring. This step is crucial to ensure that your garden bed fits perfectly in the designated area. Begin by measuring the length and width of the space and then decide on the size and shape of your raised bed.
Consider factors such as accessibility, sunlight exposure, and any existing structures nearby. Taking these measurements and considerations into account will help you create a raised garden bed that is functional and aesthetically pleasing.
Choosing the best location for your raised garden bed
When it comes to building a raised garden bed, one of the most important considerations is choosing the right location. The ideal spot should receive ample sunlight throughout the day, preferably six to eight hours. It's also crucial to ensure that the area has good drainage to prevent waterlogging.
Also, accessibility and convenience are key factors to consider, as you'll want easy access to your garden for planting, watering, and harvesting. Take some time to observe your outdoor space and find a spot that meets these criteria for a successful and flourishing raised garden bed.
Measuring the area and deciding on size and shape
When it comes to building your own raised garden bed, one important step to consider is measuring the area where you plan to place it. By accurately measuring the space, you can determine your garden bed's ideal size and shape. Consider factors such as available sunlight, accessibility, and any existing landscape features.
This will help you decide whether a rectangular or square shape will work best and allow you to choose the dimensions that will accommodate the number of plants you intend to grow. Taking the time to measure and plan ahead will ensure that your raised garden bed fits perfectly into your outdoor space.
Materials and Tools
To build your own raised garden bed, you will need to gather the right materials and tools. When it comes to materials, you have a few options. The most common choice is wood, such as cedar or redwood, which is durable and naturally rot-resistant. You can also consider using composite lumber or concrete blocks for a longer-lasting bed.
As for tools, you will need basic carpentry tools like a saw, drill, measuring tape, and screwdriver. Also, consider using a level to ensure the bed is constructed evenly. With these materials and tools on hand, you're ready to move on to the next step of building your raised garden bed!
Choosing the right materials for your raised garden bed
One of the key factors to consider when building a raised garden bed is choosing the right materials. The type of material you select will have an impact on the durability, appearance, and functionality of your garden bed. There are several options to choose from, including wood, cinder blocks, and composite materials.
Wood is a popular choice for raised garden beds due to its natural aesthetic appeal and affordability. Cedar and redwood are highly recommended for their resistance to rotting and insect damage. If you opt for treated lumber, make sure it is safe for use with edible plants.
Cinder blocks are another option that provides durability and ease of construction. They create a sturdy framework for your raised garden bed and can be stacked to the desired height. However, keep in mind that cinder blocks may not offer as much insulation against extreme temperatures as other materials.
Composite materials, such as recycled plastic or composite boards, are a sustainable alternative that offers long-lasting durability. They are resistant to rotting, insect damage, and warping. While composite materials may be more expensive initially, they require minimal maintenance over time.
Consider your budget, desired aesthetic, and the specific needs of your plants when choosing the materials for your raised garden bed. Remember that it's important to select materials that are safe for growing edible plants if you plan on growing vegetables or herbs in your garden bed.
In the next section, we will discuss the essential tools needed for constructing your raised garden bed.
Essential tools needed for construction
To build your own raised garden bed, you'll need a few essential tools. Don't worry. You don't need a fancy workshop or an extensive collection of tools. Here are the basics:
- Measuring tape: A reliable measuring tape is crucial for accurate measurements of the area where you plan to build your raised garden bed.
- Power drill: This tool will come in handy for drilling pilot holes and attaching screws during the construction process.
- Level: A level ensures that your raised garden bed is straight and even, preventing any wobbling or tilting.
- Saw: Depending on the materials you choose, a saw may be necessary to cut the wood boards or other materials to the desired length.
- Hammer: For securing nails and other fasteners, a hammer is an essential tool to have in your arsenal.
- Screwdriver: Whether you're using screws or bolts, a screwdriver will be needed to tighten them securely into place.
Remember, investing in quality tools will ensure that your raised garden bed construction goes smoothly and efficiently.
Building the Base
Now that you have planned and measured the area, it's time to start building the base of your raised garden bed. The base is an essential component as it provides stability and support for the entire structure. There are a couple of options for building the base, depending on the materials you have chosen.
One popular method is using wood boards. Lay the boards on the ground in the shape and size of your desired garden bed. Use a level to ensure that they are even and adjust if necessary. Secure the boards together by drilling pilot holes and then attaching screws or nails.
Another option is using cinder blocks or concrete blocks to create the base. Place the blocks in a rectangle shape, making sure they are level and evenly spaced. This will provide a sturdy foundation for your raised garden bed.
No matter which method you choose, make sure to take into consideration any slopes or uneven ground in your chosen location. Leveling the base will help ensure that your raised garden bed is stable and properly aligned.
Once you have completed building the base, you can move on to constructing the walls of your raised garden bed.
Laying the foundation of your raised garden bed
Once you have chosen the perfect location for your raised garden bed and measured out the area, it's time to lay the foundation. This step is crucial to ensure the stability and longevity of your garden bed. Start by clearing away any grass or weeds from the site. Next, level the ground using a rake or shovel.
This will provide a flat surface for your garden bed to rest on. You can also consider placing a layer of landscape fabric or cardboard at the bottom to prevent weeds from growing up into the bed. Finally, add a layer of gravel or sand to improve drainage and create a solid base for your garden bed. Once the foundation is complete, you can move on to constructing the walls of your raised garden bed.
Constructing the base using wood boards or cinder blocks
Once you have measured and chosen the location for your raised garden bed, it's time to start building the base. There are a few options when it comes to constructing the base – wood boards or cinder blocks.
If you opt for wood boards, make sure they are sturdy and treated for outdoor use to prevent rotting. Lay out the boards in the desired shape and connect them at the corners using screws or nails. This will create a solid foundation for your raised garden bed.
Alternatively, you can use cinder blocks to construct the base. Arrange them in a square or rectangular shape, stacking them on top of each other. It's important to ensure that they are level and stable before proceeding.
Both options have their advantages – wood boards offer flexibility in size and shape, while cinder blocks provide durability and stability. Choose the option that best suits your needs and budget.
No matter which material you choose, be sure to double-check that your base is level before moving on to constructing the walls of your raised garden bed. This will ensure that your plants have an even growing surface and allow for proper drainage. In the next section, we will explore how to build the walls of your raised garden bed using various materials.
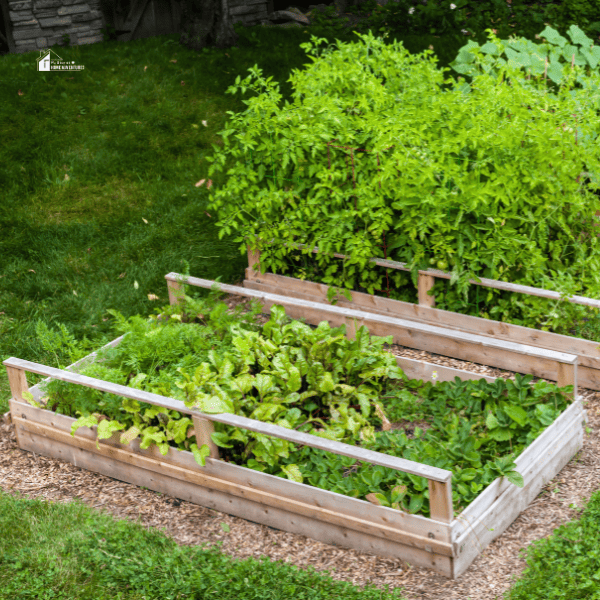
Building the Walls
Once you have established the base of your raised garden bed, it is time to start building the walls. The walls will provide the necessary height to contain the soil and create a defined space for your plants to thrive.
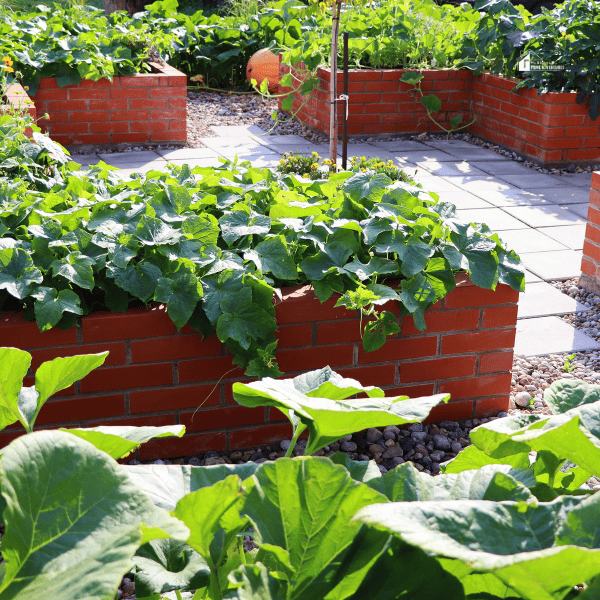
You can use various materials to build the walls of your raised garden bed. Wood is a popular choice for its versatility and affordability. You can easily construct the walls using wooden boards, ensuring they are securely fastened together. Alternatively, you can explore other materials, such as bricks or concrete blocks, for a more durable and long-lasting structure.
When constructing the walls, make sure they are sturdy enough to hold the weight of the soil once it is added. You can use corner brackets or metal reinforcements to reinforce the corners and prevent them from bowing outwards over time.
Building strong and stable walls will create a secure environment for your plants and ensure that your raised garden bed lasts for years.
Adding height to your raised garden bed
Now that you have constructed the base of your raised garden bed, it's time to think about adding some height. Adding height to your raised garden bed has several benefits. First, it allows for better drainage, preventing water from pooling at the bottom. Second, it can make planting and harvesting easier by reducing the need to bend down.
You can add height to your raised garden bed in a few different ways. One option is to simply stack additional layers of wood or other materials on top of the base. Another option is to attach trellises or cages to the sides of the bed, providing support for climbing plants such as tomatoes or cucumbers.
Whichever method you choose, be sure to secure the added height firmly in place to prevent any accidents or damage to your plants.
Constructing the walls using wood or other materials
Once the base of your raised garden bed is complete, it's time to construct the walls. The most common and budget-friendly option is to use wood boards. Choose high-quality, rot-resistant lumber that will withstand the elements. Measure and cut the boards according to the dimensions of your bed, then attach them securely to the base using nails or screws.
If you prefer alternative materials, there are various options available. Some gardeners opt for recycled materials such as old pallets or reclaimed wood, while others use concrete blocks, bricks, or even metal panels. Whichever material you choose, make sure it is sturdy and provides enough height for your plants to thrive.
Before attaching the walls, ensure that they are level and properly aligned. This will help maintain overall stability and prevent any unevenness in the bed.
Remember to leave openings between the boards or materials for proper drainage and air circulation. If using wood boards, consider treating them with a non-toxic sealant or paint to protect against moisture and extend their lifespan.
By completing this step of constructing the walls, you are one step closer to having a fully functional raised garden bed that is both practical and aesthetically pleasing.
Soil and Fertilizer
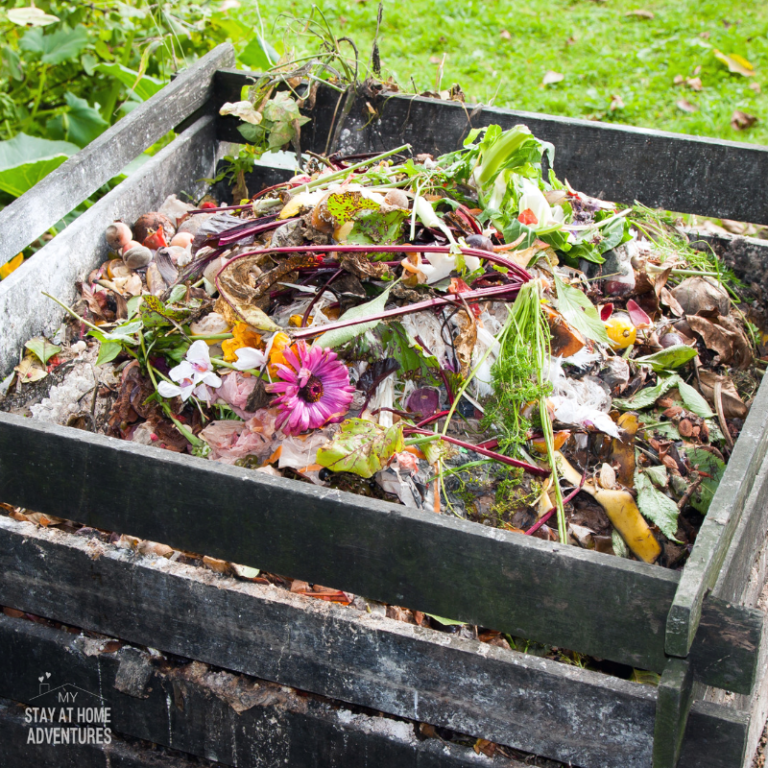
Choosing the right soil and using fertilizer are crucial steps in building your raised garden bed. The quality of soil affects the growth and health of your plants. Look for a well-draining, nutrient-rich soil that is suitable for the types of plants you intend to grow. Consider adding organic matter like compost or peat moss to improve fertility and water retention.
Also, applying fertilizer periodically will provide essential nutrients to support optimal plant growth. Remember to choose a fertilizer appropriate for your plants' specific needs and follow the instructions for application. Your raised garden bed will thrive with healthy and productive plants with good soil and proper fertilization.
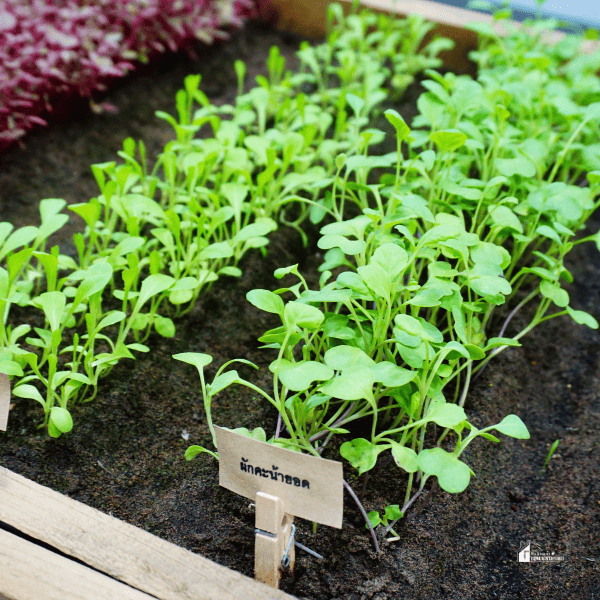
Choosing the right soil for your plants
Choosing the right soil for your plants is essential for the success of your raised garden bed. The soil's quality and composition will directly affect your plants' growth and development. When selecting soil, it is important to consider factors such as drainage, nutrient content, and pH levels. Opt for a well-draining soil mix that is rich in organic matter.
Adding compost or aged manure to your soil can improve its fertility and provide essential nutrients to your plants. Also, consider testing the pH levels of your soil to ensure it is suitable for the types of plants you wish to grow. Overall, choosing the right soil will create an optimal growing environment for your plants and contribute to a thriving garden bed.
Adding fertilizer to improve plant growth
Once your raised garden bed is built and ready for planting, the next step is to consider the soil and fertilizer. Fertilizer plays a crucial role in providing the necessary nutrients for healthy plant growth. It helps plants develop strong roots, produce vibrant flowers, and yield bountiful fruits and vegetables.
When choosing a fertilizer for your raised garden bed, it's important to select one that is suited for your specific plants' needs. There are different types of fertilizers available, including organic and synthetic options. Organic fertilizers are derived from natural sources such as compost, manure, or bone meal, while synthetic fertilizers are chemically formulated.
To determine the right fertilizer for your plants, consider factors such as the type of crops you're growing, their nutrient requirements, and any existing deficiencies in the soil. Conducting a soil test can help identify any nutrient imbalances or deficiencies that need to be addressed.
When applying fertilizer to your raised garden bed, follow the instructions provided on the packaging. It's important not to over-fertilize, as excessive amounts can burn the plants' roots and harm their overall health. Remember that moderation is key when it comes to fertilizing.
Some gardeners prefer to use organic fertilizers due to their environmentally friendly nature. These types of fertilizers not only nourish plants but also improve soil health over time. Organic options such as compost or well-rotted manure can be incorporated into the soil before planting or used as top dressings during the growing season.
In addition to adding fertilizer, proper watering techniques are essential for optimal plant growth in a raised garden bed. Be mindful of providing enough moisture without overwatering, as excess water can lead to root rot or attract pests.
Using suitable fertilizer and proper watering techniques ensures that your raised garden bed thrives with lush vegetation and abundant harvests. Don't forget to monitor your plants' progress throughout the growing season and adjust fertilizer application as needed.
With a well-nourished garden, the rewards of your efforts will be evident in the healthy and vibrant plants that flourish in your raised vegetable garden beds.
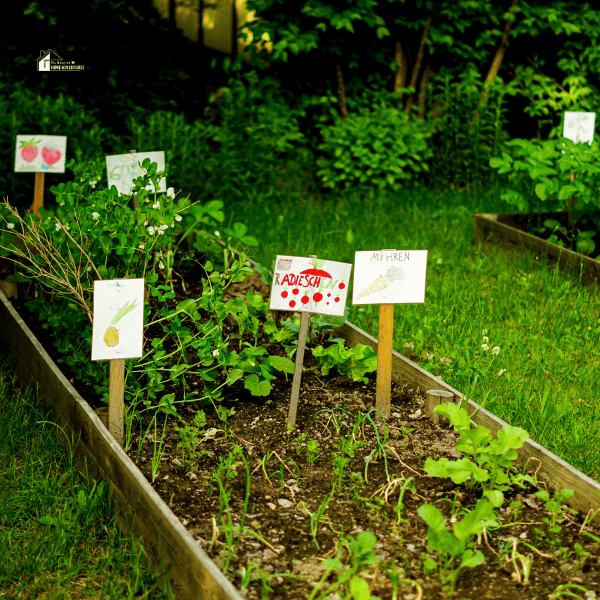
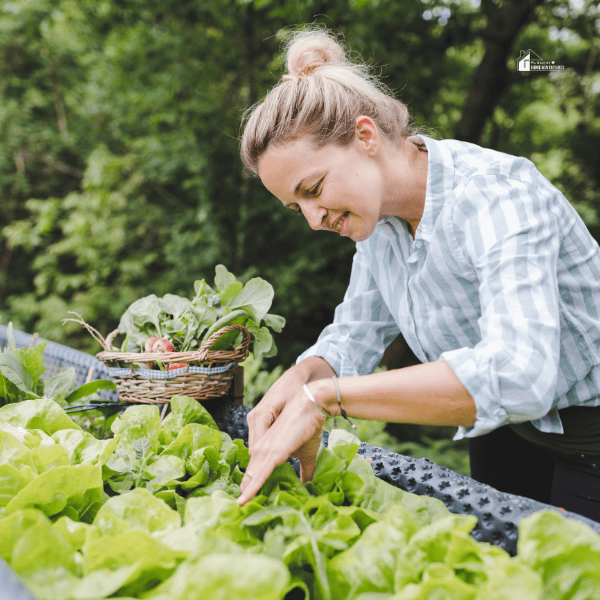
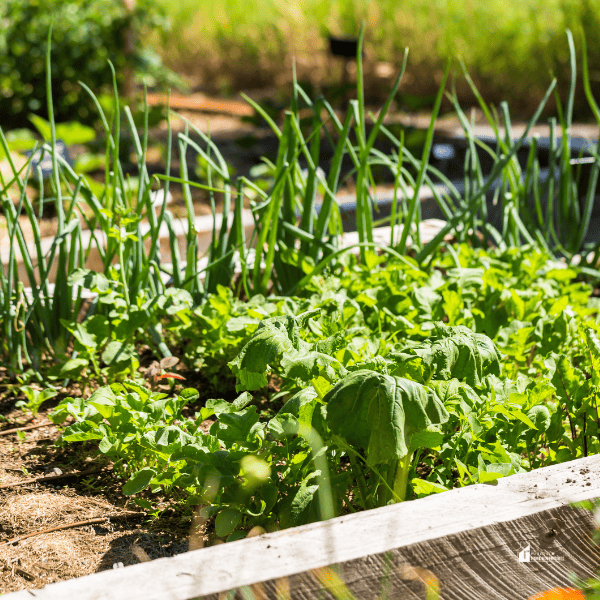
Planting and Maintenance
Once your raised garden bed is constructed, it's time to dive into the fun part – planting and maintaining your garden. Start by selecting the right plants for your raised bed based on the amount of sunlight, soil type, and climate in your area. Follow the instructions on seed packets or plant labels for proper spacing and planting depth.
As your plants grow, make sure to water them regularly and provide any necessary support, such as stakes or trellises. Keep an eye out for weeds and remove them promptly to prevent competition with your plants.
In addition, regular pruning will help keep your plants healthy and encourage better growth. Finally, don't forget to harvest your crops when they are ripe for the picking!
Tips for planting and maintaining your raised garden bed
Once you have successfully built your raised garden bed, it's time to start planting and caring for your plants. Here are some important tips to ensure successful growth and maintenance:
- Choose the right plants: Consider the climate and sunlight conditions of your garden. Select plants that thrive in these conditions to ensure healthy growth.
- Space your plants properly: Give each plant enough space to grow and spread their roots. Overcrowding can lead to competition for nutrients and hinder growth.
- Mulch your soil: Adding a layer of mulch around your plants helps retain moisture, suppress weeds, and regulate soil temperature.
- Provide adequate watering: Raised beds can dry out quickly, so make sure to water regularly. Monitor the moisture levels and adjust accordingly based on weather conditions.
- Fertilize appropriately: Use organic fertilizers or compost to enrich your soil with essential nutrients. Follow recommended dosages and apply them as needed throughout the growing season.
- Regularly weed your garden bed: Weeds can steal valuable nutrients from your crops, so stay on top of weed removal to maintain a healthy environment for your plants.
- Prune when necessary: Some plants may require pruning to encourage healthy growth and improve airflow. Remove dead leaves, branches, or any diseased parts promptly.
- Monitor for pests and diseases: Regularly inspect your plants for signs of pests or diseases. If detected, take appropriate measures such as using natural pest control methods or seeking professional advice if necessary.
- Harvest at the right time: Different crops have different harvesting times. Be sure to research the ideal harvest period for each plant in order to enjoy the best flavor and nutritional value.
By following these tips, you'll be well on your way to a successful and productive raised garden bed that yields a bountiful harvest year after year! Happy gardening!
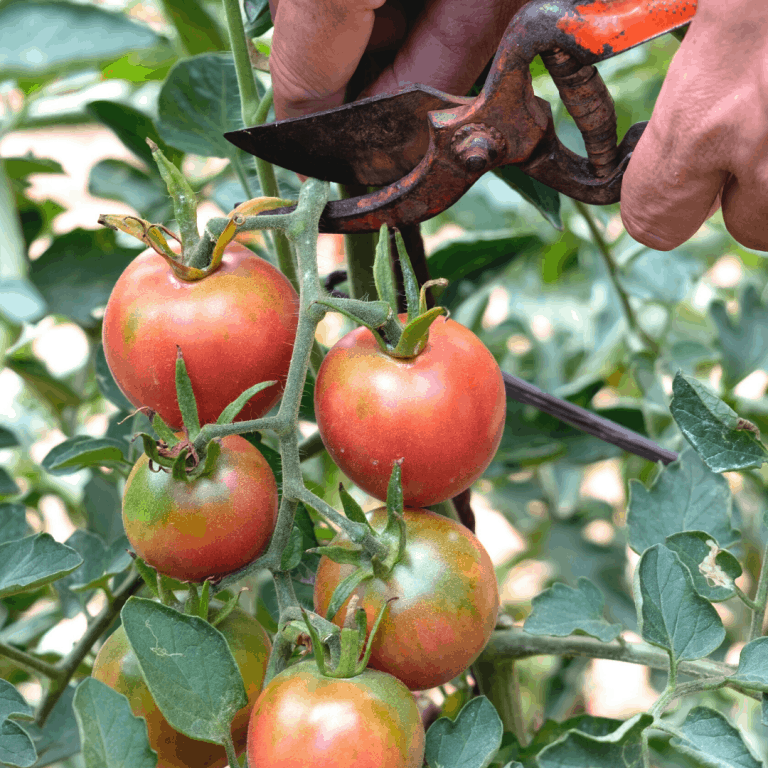
Watering, pruning, and harvesting
Once you have successfully planted your vegetables in your raised garden bed, it's important to know how to properly care for them. One essential task is watering, which should be done regularly to ensure that your plants receive enough moisture. Keep an eye on the weather and adjust your watering schedule accordingly.
Pruning is another important aspect of maintenance, as it helps promote healthy growth and prevents overcrowding. Regularly inspect your plants and remove any damaged or diseased leaves or branches.
Lastly, harvesting is the exciting part! As your vegetables mature, carefully pick them to enjoy the fruits of your labor. Remember to harvest them at the right time for optimal flavor and texture.
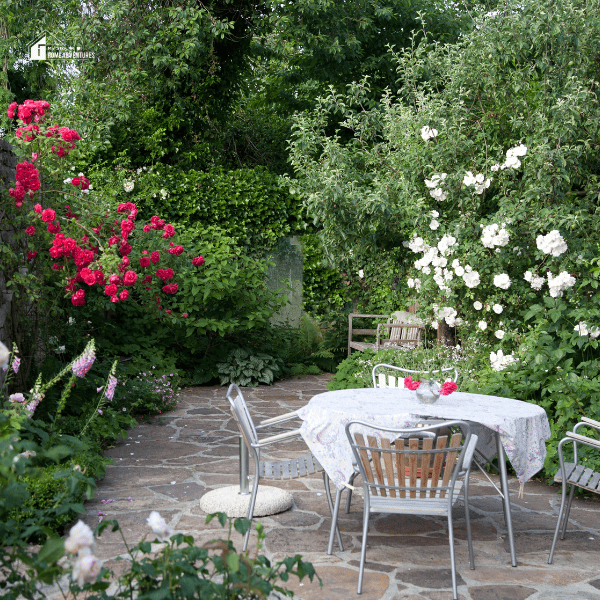
Enhancements and Modifications
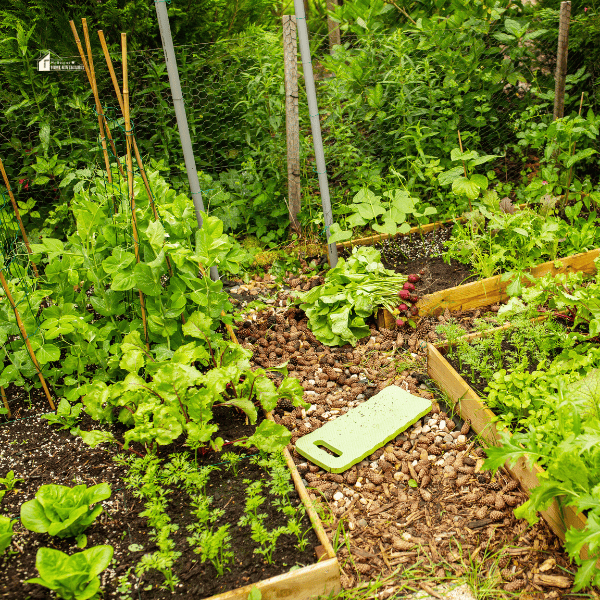
After you have built your raised garden bed, you may want to consider enhancing it with some additional features or making modifications to better suit your gardening needs. One popular enhancement is adding trellises to support climbing plants such as tomatoes or cucumbers. This not only saves space but also adds vertical interest to your garden.
Another option is to install covers or netting to protect your plants from pests or extreme weather conditions. Also, you can make modifications like adding a drip irrigation system for convenient watering or incorporating compartments within the bed for different plant varieties. The possibilities are endless when it comes to enhancing and customizing your raised garden bed!
Adding features to your raised garden bed, such as trellises or covers
Once you have successfully built your raised garden bed, you may want to consider adding some enhancements to improve its functionality and aesthetics. One popular addition is a trellis, which provides support for climbing plants such as tomatoes, cucumbers, and beans. Not only does it maximize vertical space, but it also adds visual interest to your garden.
Another option is to install covers or netting to protect your plants from pests or harsh weather conditions. This will help ensure the health and longevity of your plants, allowing them to thrive in a controlled environment.
Making modifications to better suit your gardening needs
Once you have built your raised garden bed, you may find that there are certain modifications you would like to make to suit your gardening needs better. Luckily, raised garden beds are highly customizable and can be easily modified to meet your specific requirements.
One common modification is adding trellises or supports for climbing plants such as tomatoes or cucumbers. This can help maximize vertical space and allow your plants to grow upwards, saving valuable ground space.
Another modification you might consider is adding covers or netting to protect your plants from pests or harsh weather conditions. This can help extend the growing season and ensure the health and productivity of your plants.
Also, you may want to experiment with different soil amendments or fertilizers to optimize the growth of your plants. Raised garden beds give you the flexibility to tailor the soil composition according to the specific needs of different plant varieties.
Lastly, don't hesitate to adjust based on your physical abilities or limitations. Consider adding a raised platform or bench to make gardening more accessible and enjoyable.
Remember, the beauty of building your own raised garden bed is that you can continuously adapt and modify it over time. Explore different options and find what works best for you and your garden.
Conclusion
Building your own raised garden bed can be a rewarding and fulfilling experience for both beginner and experienced gardeners. It provides a practical way to cultivate plants and offers numerous benefits, such as improved soil quality, better drainage, and easy access to gardening activities.
By following the step-by-step guide outlined in this article, you can create a beautiful and productive raised garden bed that is customized to your needs. So why wait? Start building your own raised garden bed today and enjoy the joys of growing your own fresh produce.
Happy gardening!
7 Comments