
Puerto Rican Bolitas de Queso Recipe (Fried Cheese Balls)
This post may contain affiliate links which might earn us money. Please read my Disclosure and Privacy policies here

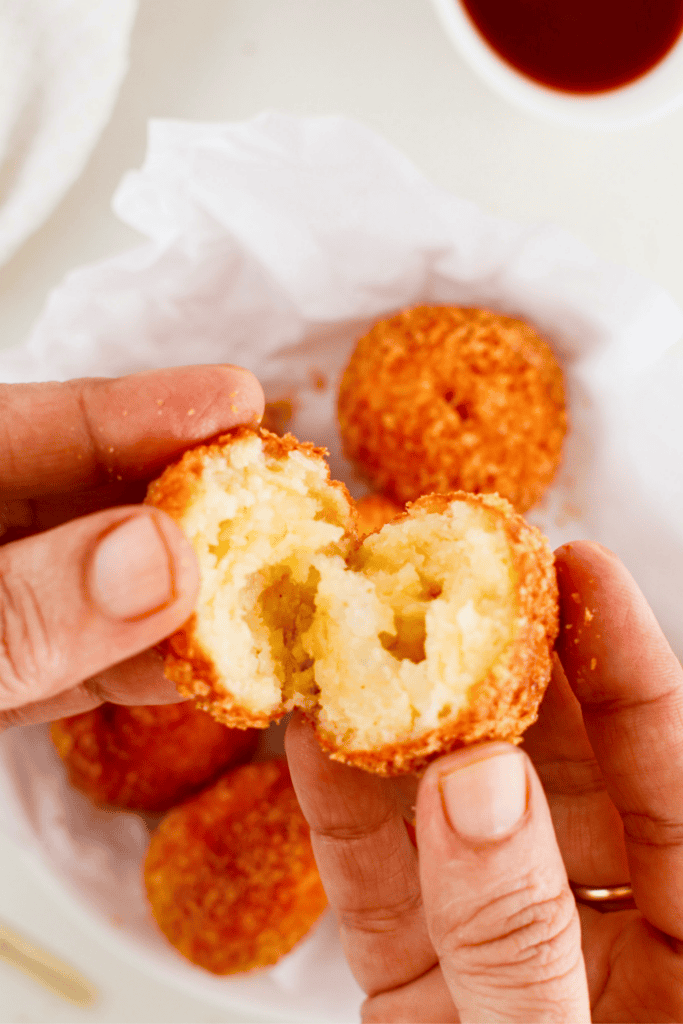
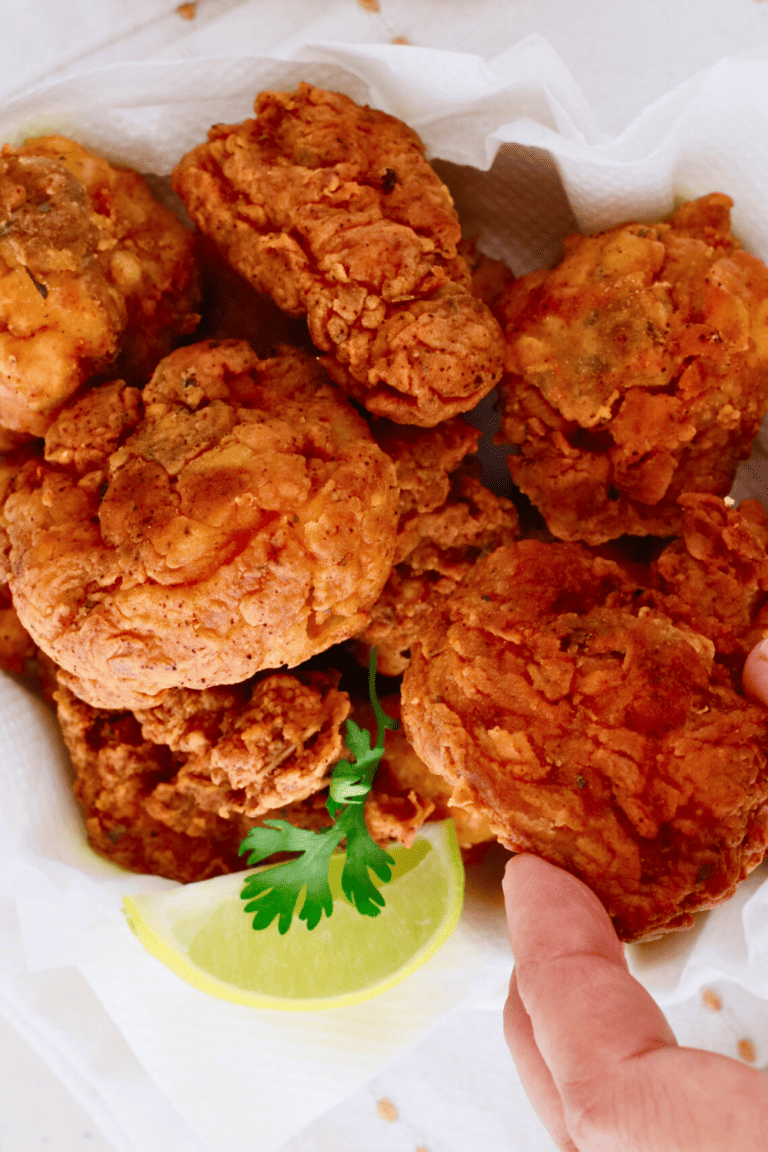
Crispy on the outside and warm and cheesy in the center, these Puerto Rican bolitas de queso are an easy appetizer or snack made with simple ingredients.
Bolitas de queso, or fried cheese balls, are perfect for parties, family gatherings, game nights, or whenever you want something savory and cheesy. They are coated in breadcrumbs and fried until golden brown, giving you that crispy outside with a soft, cheesy center.
They are also easy to prepare ahead of time. You can shape and bread the cheese balls, chill them, and fry them when you are ready to serve.
What Are Bolitas de Queso?
Bolitas de queso translates to “little cheese balls” in Spanish. They are made with a simple cheese mixture that is shaped into small balls, coated in breadcrumbs, and fried until golden and crispy.
They are enjoyed as a snack or appetizer in Puerto Rican and other Latin American households, and there are plenty of variations depending on the cheese and seasonings used.
For this recipe, I like combining mozzarella and cheddar. Mozzarella gives you that melty center, while cheddar adds more flavor.
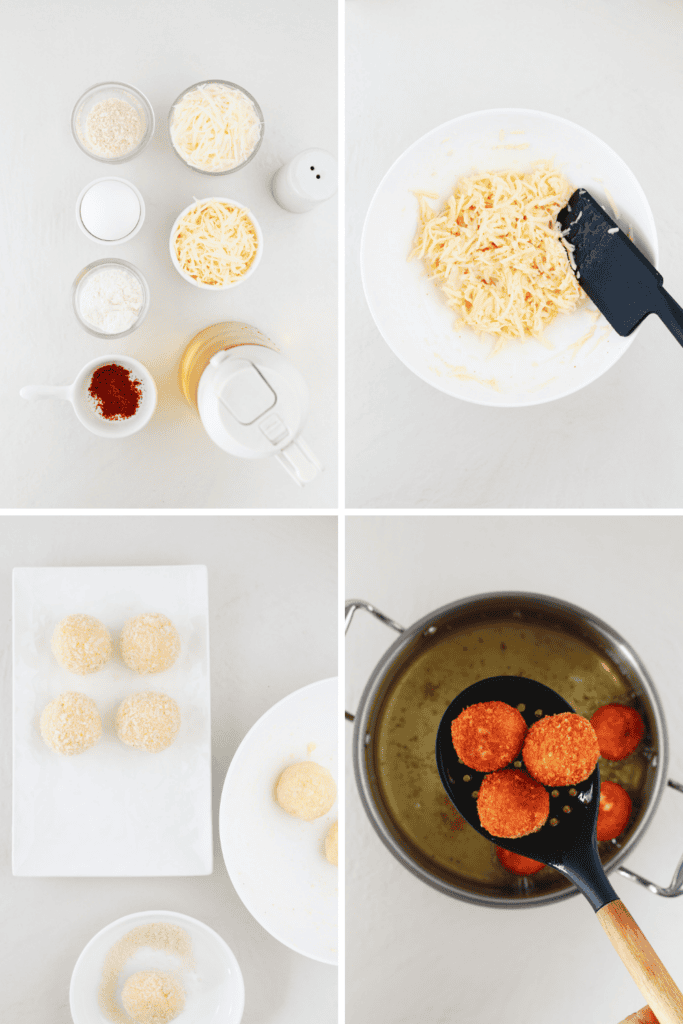
How to Make Bolitas de Queso
Making bolitas de queso is pretty simple, even if you have never made fried cheese balls before.
Start by preparing the cheese mixture until everything comes together into a soft dough that can be shaped with your hands.
Roll the mixture into small balls, keeping them close to the same size so they cook evenly. Coat each one completely in breadcrumbs.
Once they are breaded, refrigerate the bolitas for about 15 minutes before frying. This is one step you do not want to skip. Chilling helps the cheese balls hold their shape and keeps them from falling apart once they hit the hot oil.
Fry them in small batches until they are golden brown and crispy on the outside. Transfer them to a paper towel-lined plate to drain before serving.
You will find the exact measurements and complete instructions in the recipe card below.
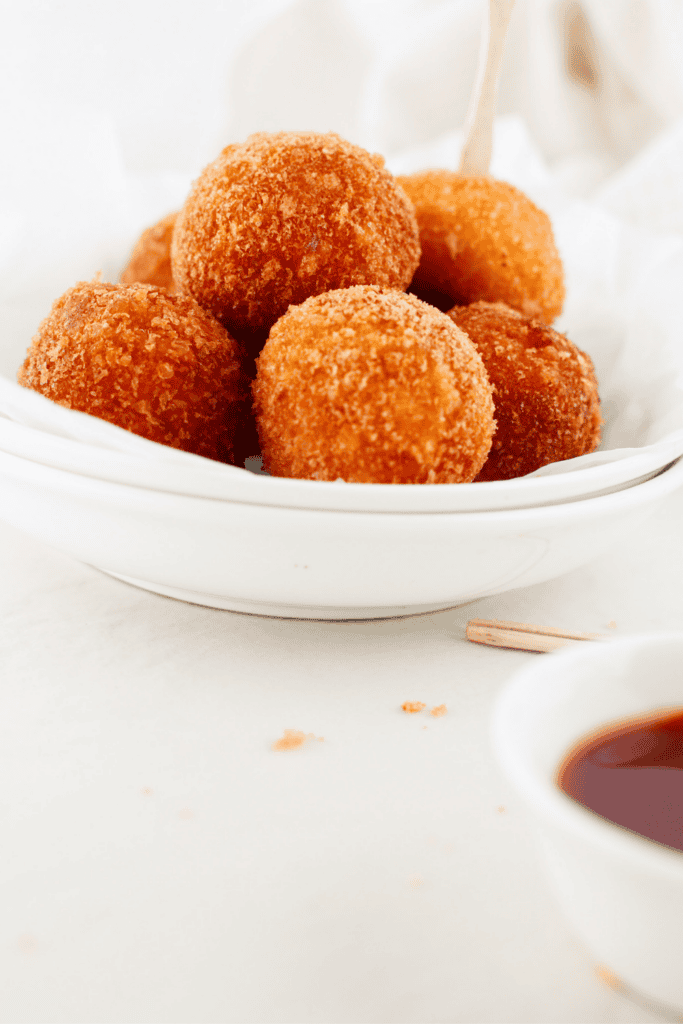
Tips for Making the Best Bolitas de Queso
The biggest tip for this recipe is to chill the cheese balls before frying them. That short time in the refrigerator makes a big difference in helping them stay together.
If the mixture feels too wet or sticky to shape, add a little more flour, one tablespoon at a time, until it becomes easier to handle.
You can also change up the cheese. Mozzarella gives the bolitas a softer, meltier center, while cheddar gives them a stronger cheese flavor. A combination of the two works really well.
For a little extra flavor, you can add dried parsley, oregano, or a small amount of garlic powder.
And try not to overcrowd the pot while frying. Cooking a few bolitas at a time gives you more room to turn them and helps them cook evenly.
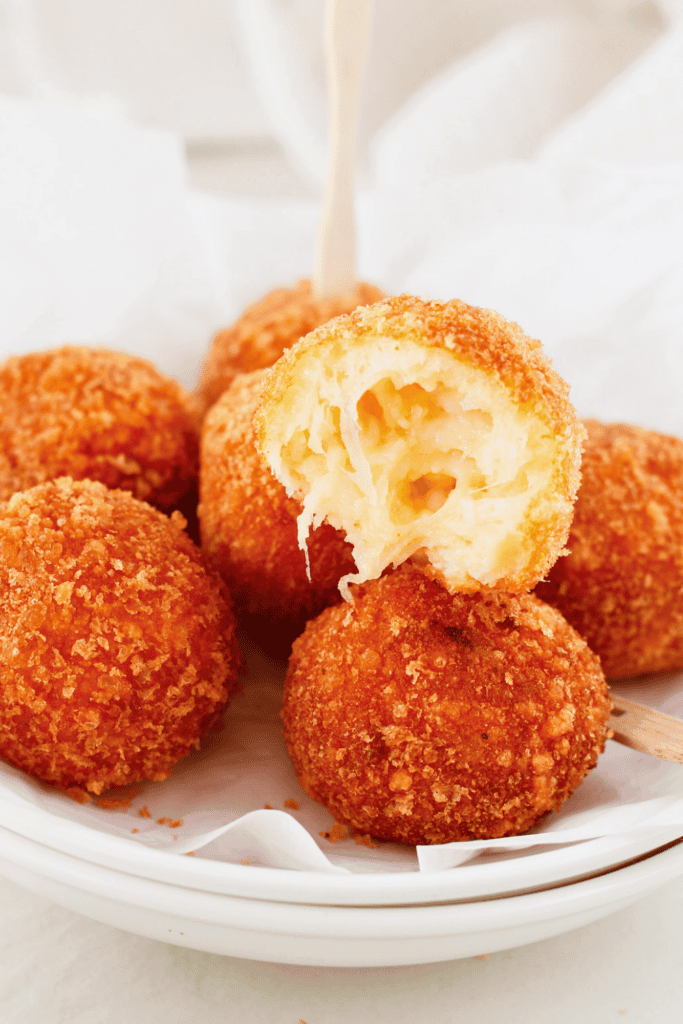
What to Serve With Bolitas de Queso
Bolitas de queso are delicious straight from the plate while they are still warm, but they are even better with a good dipping sauce.
My Puerto Rican Mayo Ketchup Sauce is an easy choice for serving alongside crispy fried cheese balls.
If you want something cool and refreshing to balance the fried bolitas, try my Ensalada de Pepino. The cucumber, tomato, onion, and citrus flavors make a nice contrast to the warm cheese.
For something sweet afterward, my Puerto Rican Fruit Salad is another easy addition to the meal.
Frequently Asked Questions
Can I make bolitas de queso ahead of time?
Yes. You can shape and bread the cheese balls ahead of time and store them in an airtight container in the refrigerator for up to two days before frying.
This is especially helpful if you are making them for a party or family gathering and want to get some of the prep done ahead of time.
Can I freeze bolitas de queso?
Yes. Shape and bread the bolitas, place them on a tray, and freeze them until solid.
Once frozen, transfer them to a freezer-safe bag or container. You can fry them from frozen when you are ready to serve them, although they may need a little extra cooking time.
Why are my bolitas de queso falling apart?
One of the most common reasons is skipping the chilling time.
Refrigerating the breaded cheese balls for about 15 minutes helps them firm up enough to hold their shape during frying.
If the cheese mixture itself feels very wet or difficult to roll, add a little more flour before shaping the balls.
What dipping sauces go with bolitas de queso?
Puerto Rican mayo ketchup is one of my favorite options, but you can serve these with plenty of other sauces.
Garlic aioli, marinara sauce, spicy ketchup, sriracha mayo, cilantro-lime crema, or your favorite hot sauce can all work well.
You can also put out a couple of different sauces and let everyone choose their favorite.
How do I store leftover bolitas de queso?
Store leftover bolitas de queso in an airtight container in the refrigerator for up to three days.
To help the outside crisp back up, reheat them in the oven at 350°F for about 8 minutes. You can also reheat them in an air fryer at 400°F for about 4 to 5 minutes.
The microwave will work if you are in a hurry, but the breadcrumb coating will be softer.
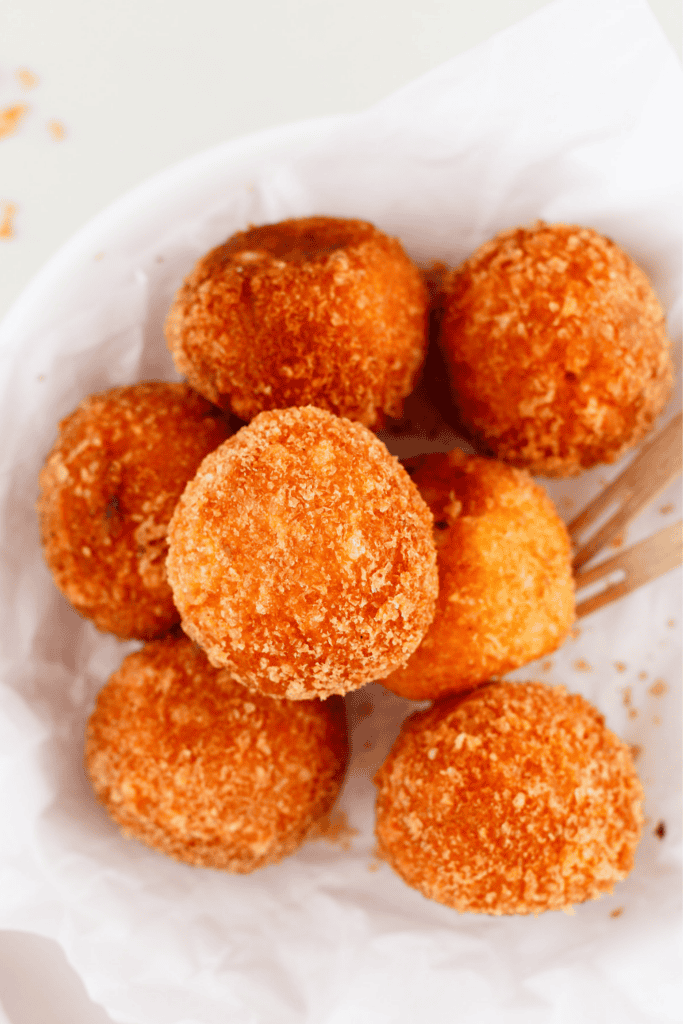
Make These Puerto Rican Fried Cheese Balls
These Puerto Rican bolitas de queso are simple enough for an afternoon snack but also make a great appetizer for parties and family gatherings.
Serve them while they are still warm and crispy with your favorite dipping sauce, and do not be surprised if they disappear quickly.
If you make this bolitas de queso recipe, leave a rating or comment below and let me know how they turned out.
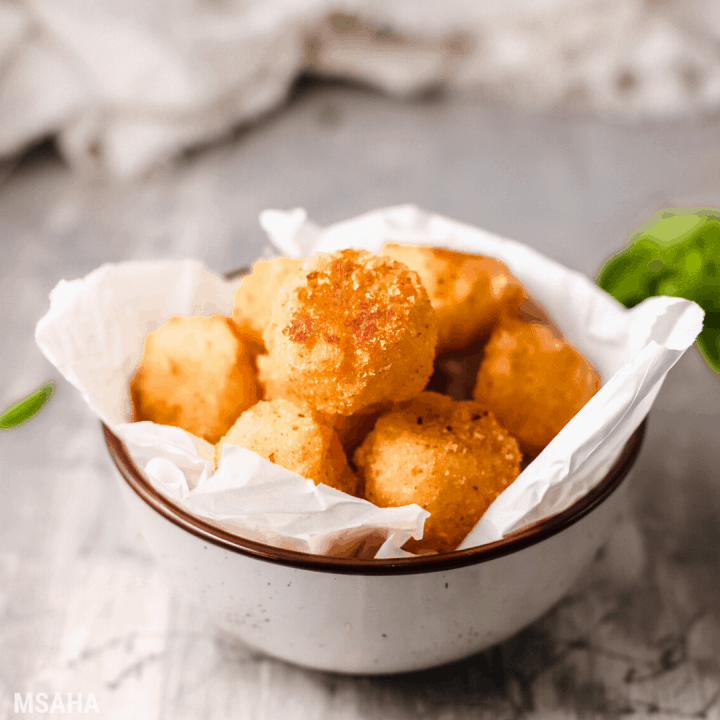
Bolitas De Queso Recipe / Fried Cheese Balls
Ingredients
- 2 cups shredded cheese - mozzarella and cheddar or favorite cheese
- 1 Egg
- 4 tbsp flour
- Pinch of salt
- ½ tsp paprika
- ½ cup breadcrumbs
- Vegetable oil
Instructions
- In a medium mixing bowl, crack the egg and whisk it well. Add a pinch of salt and a sprinkle of paprika, then mix again until combined.
- Add the shredded cheese to the bowl and stir until the cheese is coated with the egg mixture.
- Slowly add the flour, a little at a time, and mix everything together with a spoon or your hands until a soft, sticky dough forms.
- Scoop out about a tablespoon of the dough and roll it between your palms to form a small ball.
- Roll the ball in breadcrumbs until it's fully coated, then place it on a tray. Repeat until all the dough is used up.
- Place the tray in the fridge and chill the cheese balls for about 15 minutes. This helps them hold their shape while cooking.
- In a small pot, heat vegetable oil over medium heat. You’ll know it’s ready when a small breadcrumb dropped in sizzles right away.
- Carefully place the cheese balls into the hot oil, a few at a time, and fry for about 4 minutes or until golden brown and crispy. Turn them gently with a spoon to fry evenly on all sides.
- Use a slotted spoon to remove the cheese balls and place them on a paper towel-lined plate to drain excess oil.
- Serve hot and enjoy!
Notes
- Chilling the cheese balls before frying helps them stay round and prevents them from falling apart in the oil. Don’t skip this step!
- You can mix up the cheese types—mozzarella gives a melty texture, while cheddar adds sharp flavor. A blend works best!
- If the dough feels too wet or sticky, add a little more flour, one tablespoon at a time, until it's easier to handle.
- For extra flavor, mix in a bit of dried herbs, like parsley or oregano, or even a pinch of garlic powder.
- To reheat leftovers, place in the oven at 350°F for 8 minutes or in the air fryer at 400°F for 4–5 minutes. They’ll crisp right back up.
- These can be frozen before frying. Just shape, bread, and freeze on a tray. Once frozen solid, transfer to a freezer bag and fry directly from frozen when ready.
- Try different dipping sauces like garlic aioli, marinara, or sriracha mayo to switch up the flavor.
Nutrition Information:
Yield: 20 Serving Size: 1Amount Per Serving: Calories: 87Total Fat: 6gSaturated Fat: 3gTrans Fat: 0gUnsaturated Fat: 2gCholesterol: 24mgSodium: 131mgCarbohydrates: 4gFiber: 0gSugar: 0gProtein: 4g
These nutritional calculations might not be accurate. Please speak with a licensed nutritionist to assist you.

You had me at “cheese!” I know my kids will love this recipe as much as I will. Looking forward to making it this weekend.