
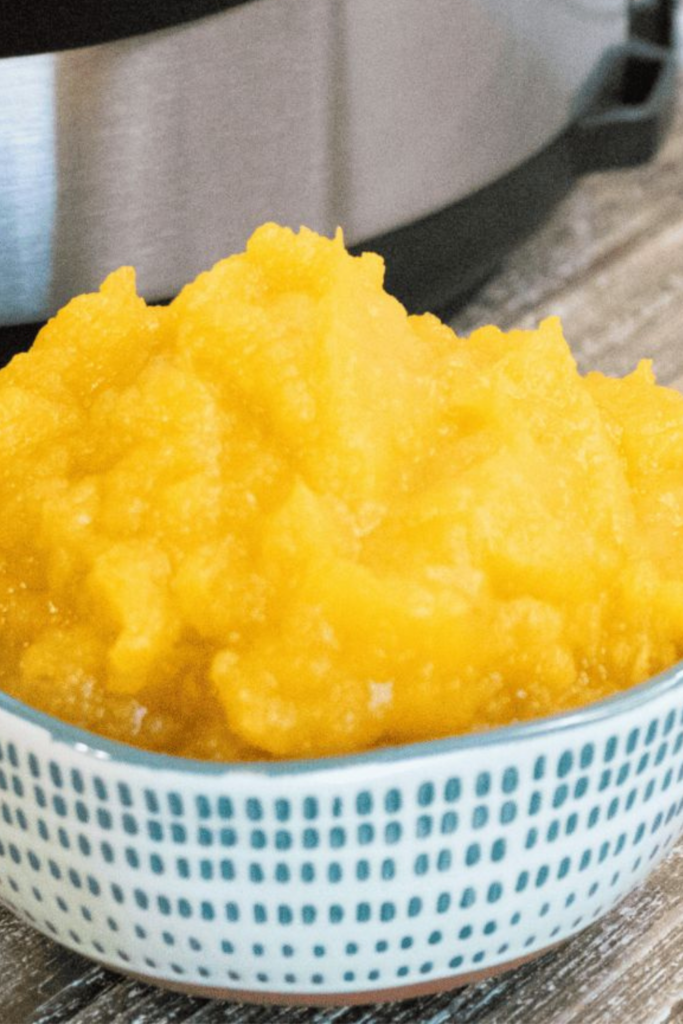
Instant Pot Pumpkin Puree Recipe
This post may contain affiliate links which might earn us money. Please read my Disclosure and Privacy policies here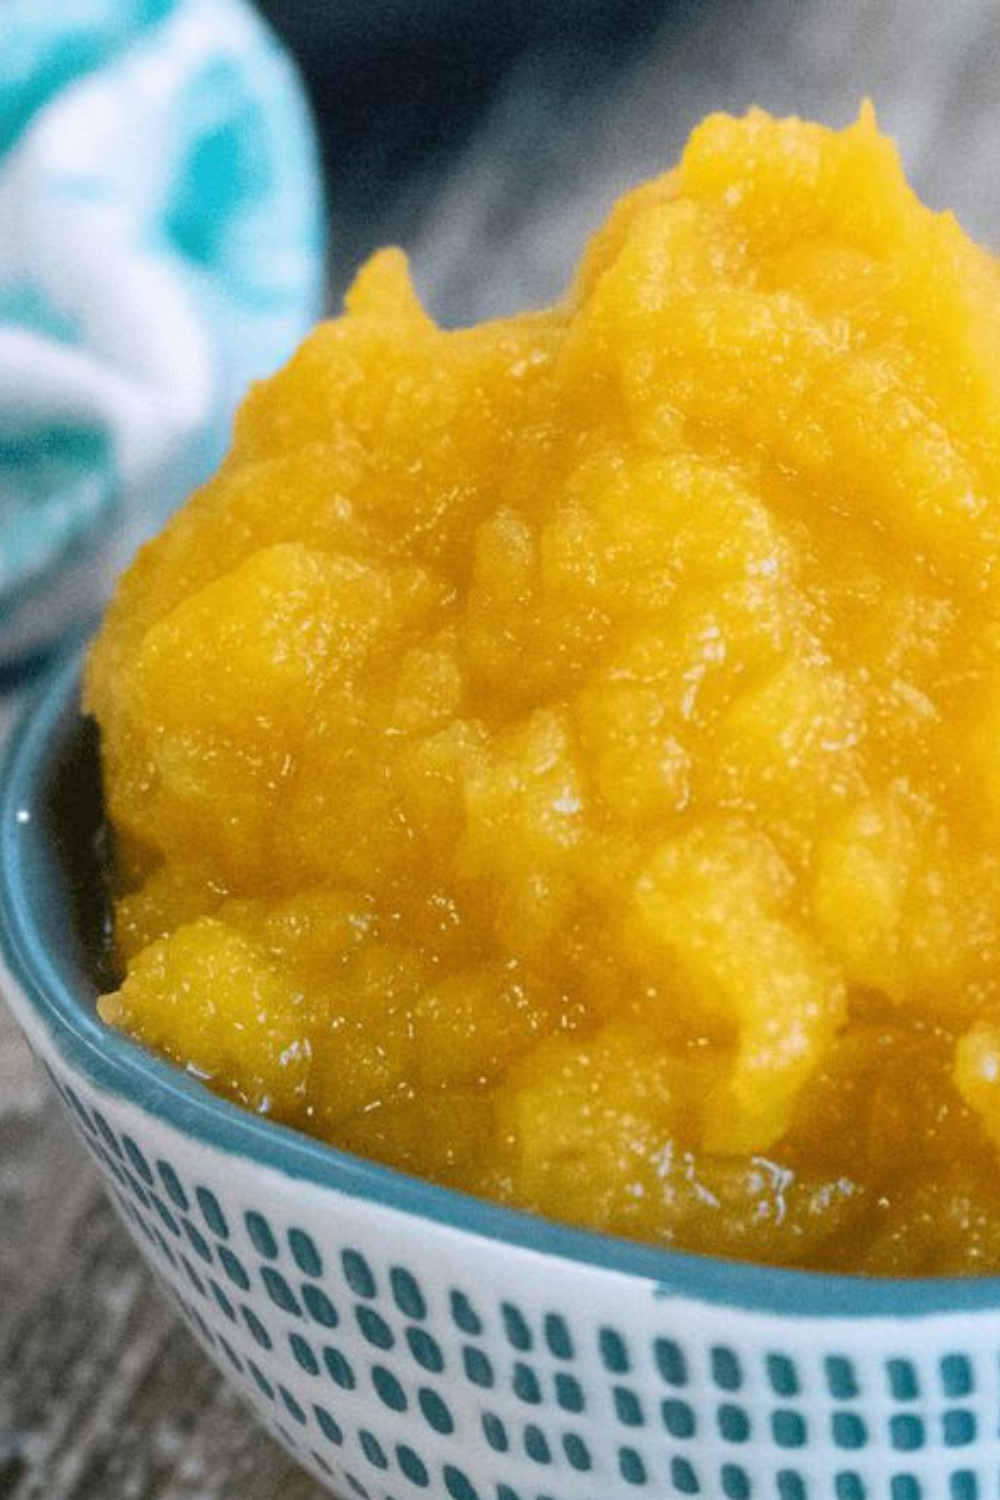
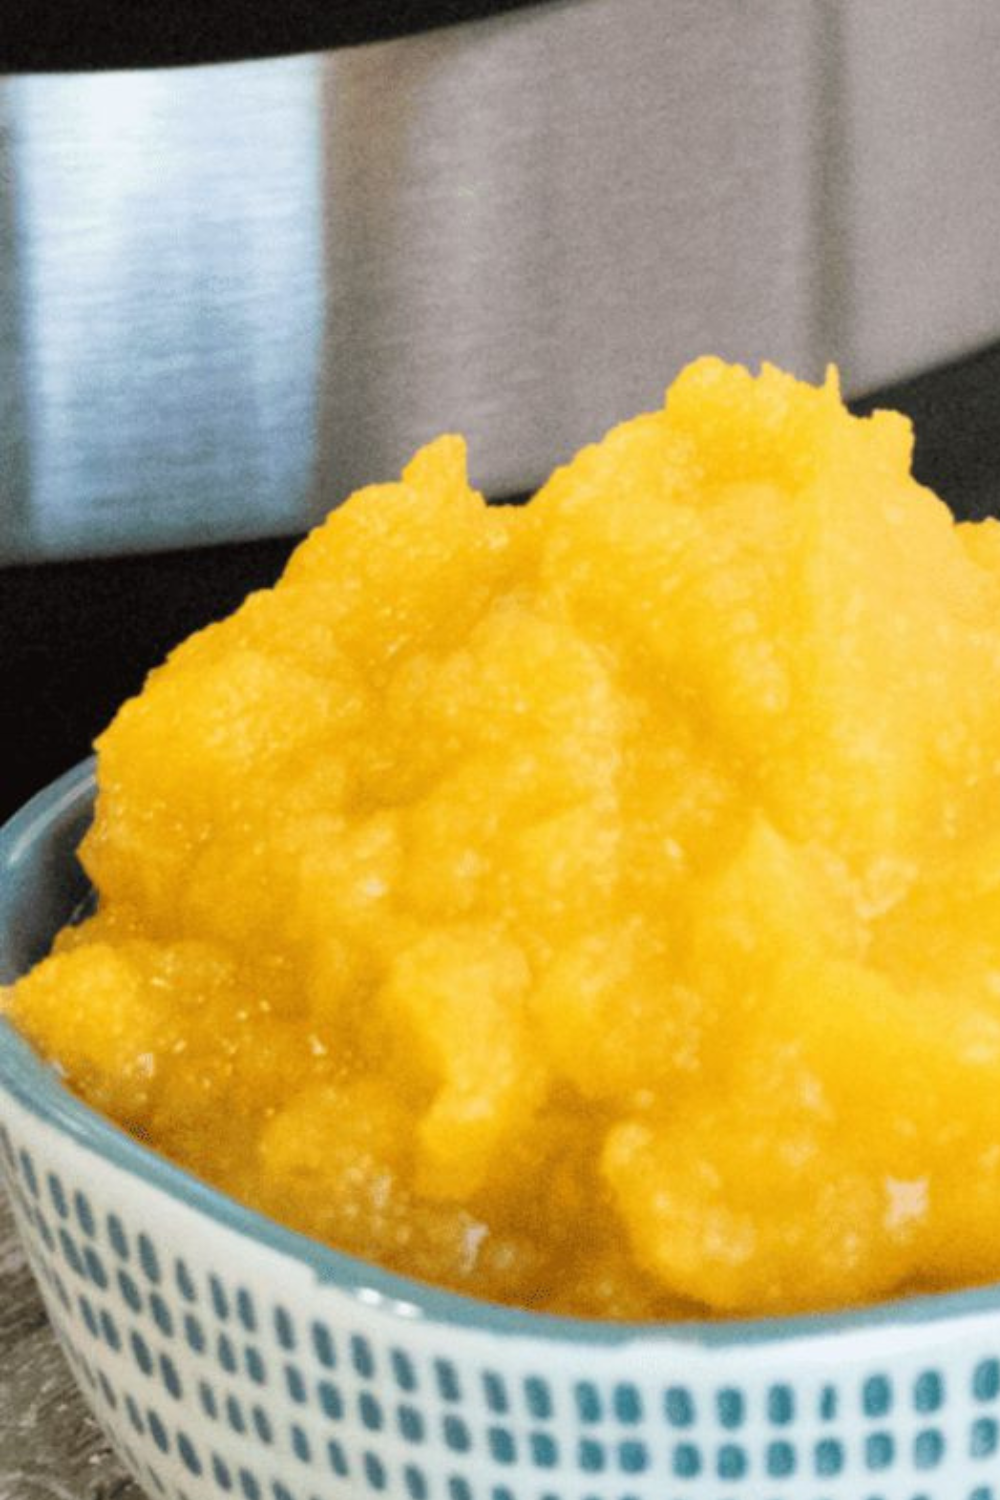

If you’ve ever wanted to make your own fresh pumpkin puree but felt unsure where to start, you're in the right place. Using an Instant Pot makes the process quick, simple, and stress-free—even if you’ve never tried it before. I like making this in batches during the fall and freezing it so I’m always ready for last-minute baking, soups, or smoothies.

Making Instant Pot pumpkin puree at home means you control the quality—no added preservatives or strange aftertastes. Plus, it fills your kitchen with that cozy fall aroma without turning on the oven. It’s perfect for all kinds of seasonal recipes, and once you try it this way, I think you’ll love how easy it is.
Pumpkin puree pairs wonderfully with cinnamon, maple syrup, and warming spices, but it’s not just for pies. I personally love adding a spoonful to my morning oatmeal, or stirring it into pasta sauce for a creamy, earthy flavor, or blending it into smoothies for extra fiber and nutrients.
What is Instant Pot Pumpkin Puree?
Pumpkin puree is simply pumpkin flesh that has been cooked until soft and then blended until smooth. It’s a staple in fall cooking and baking—used in everything from muffins to lattes, pies to pancakes. Not all pumpkins are created equal, though.
The best kind for making puree is a pie pumpkin, also known as a sugar pumpkin. These are smaller, sweeter, and less watery than decorative carving pumpkins.
Before I started using the Instant Pot, I would roast pumpkin in the oven, then scoop and blend. It worked, but it took forever. Once I tried making pumpkin puree in the Instant Pot, I never looked back. It’s hands-off, fast, and doesn’t require peeling the pumpkin ahead of time. That’s a huge win in my book.
Ingredients to Make This Instant Pot Pumpkin Puree
This recipe is incredibly simple, which is part of its charm. You don’t need much—just a pumpkin and some water. But every ingredient plays a key role in making this smooth and flavorful.
Pumpkin – Choose a sugar pumpkin or pie pumpkin. I recommend sticking to this variety because they always give me the smoothest, sweetest results. They’re perfect for both sweet and savory recipes.
Water – This helps the Instant Pot create steam and build pressure. Without it, the pumpkin won’t cook evenly.
That’s really it! The best part is that you don’t need to peel or chop the pumpkin before cooking—just remove the stem if it’s too tall to fit.
How to Make Fresh Pumpkin Puree in the Instant Pot
Even if you’ve never made anything like this before, don’t worry. I’ll walk you through every step so you feel totally confident. Making fresh pumpkin puree ideas like this one really opens the door to so many seasonal recipes.
- Get the pumpkin ready.
Wash the outside of your sugar pumpkin to remove dirt. If the stem is long, trim it with a knife so the lid can close properly. You don’t need to cut the pumpkin in half unless it’s too large to fit. - Add water and set up the pot.
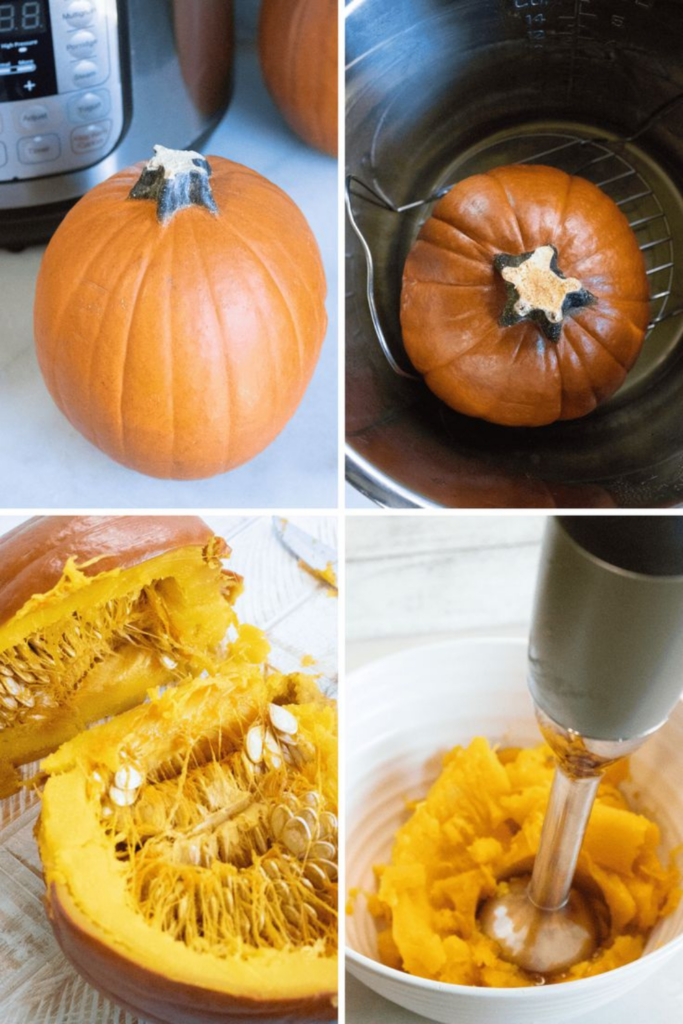
Pour 1 cup of water into the bottom of your Instant Pot. Place a trivet or steamer rack inside so the pumpkin doesn’t sit directly on the pot. - Place the pumpkin.
Put the whole pumpkin on the trivet. It might wobble a bit—that’s okay as long as the lid closes and seals. - Seal and cook.
Lock the lid in place and set the pressure valve to “Sealing.” Choose Manual or Pressure Cook and set it for 13 minutes at high pressure. - Natural release.
Once the timer is done, let the pressure release naturally. This usually takes around 10–15 minutes and ensures the pumpkin continues to soften without getting mushy. - Remove and cool.
Carefully lift out the hot pumpkin with tongs or a large spoon. Let it cool until you can handle it comfortably. - Peel and scoop.
The skin should come off easily. I just pull it away with my hands or a spoon. Scoop out the seeds and stringy parts—sometimes I save the seeds to roast later. - Blend the flesh.
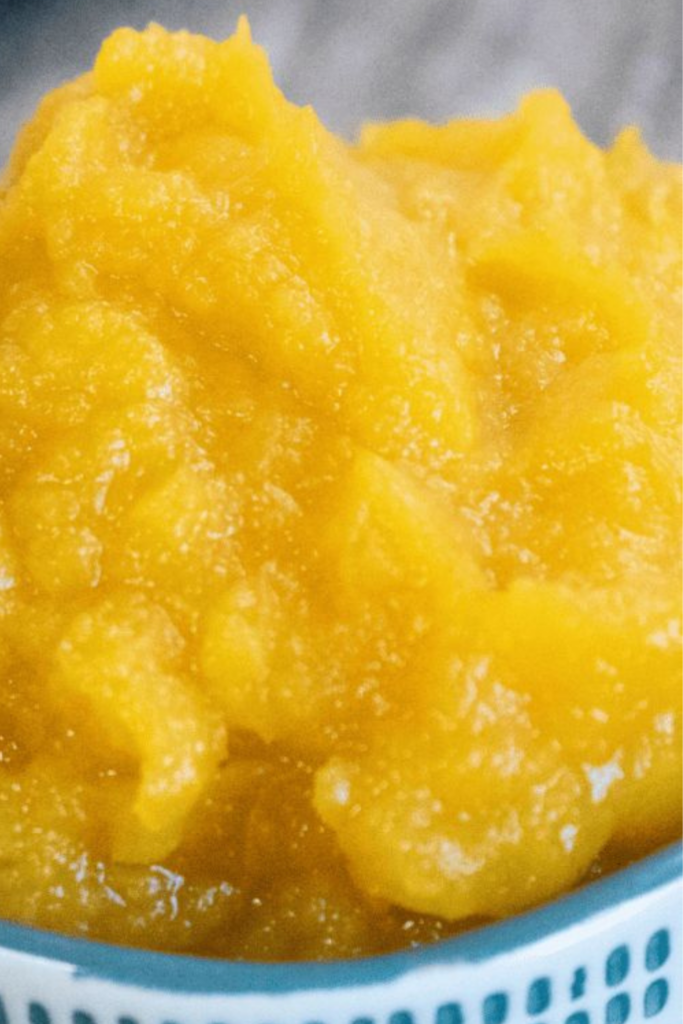
Add the cooked pumpkin flesh to a food processor or high-speed blender. Blend until smooth. I usually scrape the sides once or twice to make sure it’s even. - Store and use.
Transfer your puree to a container and refrigerate it if you're using it soon. I freeze mine in ½ cup portions—it’s the perfect amount for muffins or lattes and prevents waste.
Tips for Making This Fresh Pumpkin Puree
- Use sugar or pie pumpkins—they're sweeter and have the right texture.
- No peeling needed before cooking, which saves time and effort.
- If your pumpkin is too big to fit, cut it in half and remove the seeds before cooking.
- A good blender or food processor will give you the smoothest puree.
- Let the puree cool fully before storing to prevent condensation in the container.
- I usually freeze mine in silicone trays or bags labeled with the date for easy access.
- This method works great for baby food—no added salt or sugar needed.

Frequently Asked Questions
Can I use a different type of pumpkin?
You can, but I’ve tried using large carving pumpkins and the results weren’t great. They tend to be stringy and watery, with less flavor. Sugar pumpkins give you the best color, consistency, and taste for recipes.
How should I store the leftover puree?
Once cooled, I recommend storing the puree in airtight containers in the fridge for up to 4 days. For longer storage, freeze it in measured portions. I like using silicone trays to make small cubes, which are perfect for recipes or even tossing into smoothies.
Can I make more than one pumpkin at a time?
Yes, if you have an 8-quart Instant Pot, you can usually fit two small pumpkins. Just make sure there’s space for the lid to close and for steam to circulate. I don’t change the cook time—it still takes 13 minutes on high pressure.
Have you tried making instant pot pumpkin puree? Then make sure to rate and review the recipe. I’d love to hear how it worked for you and what you used your homemade pumpkin for. It’s one of my favorite fall kitchen basics—and now that I use the Instant Pot, it’s also one of the easiest!
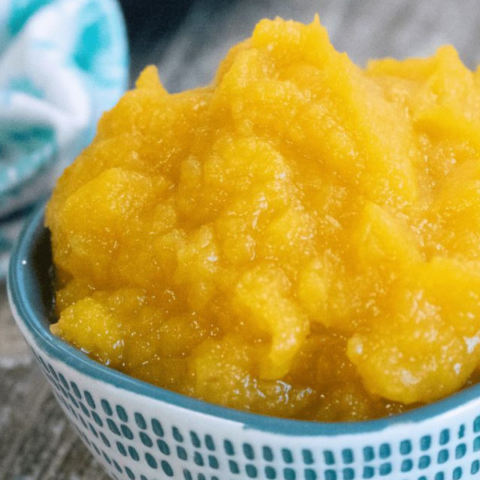
Instant Pot Pumpkin Puree
Making instant pot pumpkin puree is one of the easiest ways to enjoy fresh pumpkin at home. If this is your first time trying it, there’s no need to worry—this method is simple and doesn’t require peeling or chopping in advance. All you need is a sugar pumpkin, a bit of water, and your Instant Pot. The result is a smooth, flavorful puree that’s perfect for baking, cooking, or freezing for later.
Ingredients
- 1 small pumpkin pie pumpkin
- 1 cup water, for Instant Pot
Instructions
- Add water to the inner pot. Place the pumpkin on a trivet in the inner pot. Remove the stem if needed so it doesn’t touch the inside of the lid.
- Close the Instant Pot lid and turn the pressure valve to seal. Cook on manual high pressure for 13 minutes.
- Allow for a natural pressure release.
- Carefully remove the pumpkin from the Instant Pot. Remove peels.
- Use a blender to puree the pumpkin to a smooth consistency.
- Store in an airtight container in a refrigerator and use within a couple of days or freeze.
Notes
- Use a small sugar pumpkin (also called a pie pumpkin) for the best flavor and texture. Avoid large carving pumpkins—they're too watery and stringy.
- If your pumpkin is too tall to fit in the Instant Pot, trim the stem or cut it in half.
- There's no need to peel the pumpkin before cooking. The skin will come off easily once it’s done.
- Let the pressure release naturally to avoid overcooking the pumpkin.
- Blend the cooked pumpkin until smooth using a food processor or blender.
- Store leftovers in the fridge for up to 4 days or freeze in ½ cup portions for future recipes.
- This puree works great in pies, muffins, baby food, soups, and more.
Recommended Products
As an Amazon Associate and member of other affiliate programs, I earn from qualifying purchases.

Nutrition Information:
Yield: 2 Serving Size: 1Amount Per Serving: Calories: 186Total Fat: 7gSaturated Fat: 1gTrans Fat: 0gUnsaturated Fat: 4gCholesterol: 17mgSodium: 165mgCarbohydrates: 29gFiber: 3gSugar: 15gProtein: 3g
These nutritional calculations might not be accurate. Please speak with a licensed nutritionist to assist you.
![Coquito Recipe With No Eggs (Puerto Rican Christmas Drink) [Video]](https://www.mystayathomeadventures.com/wp-content/uploads/2020/07/coquito-recipe-without-egg-768x768.png)
4 Comments