Go Green Vertically: How to Build a Living Wall
This post may contain affiliate links which might earn us money. Please read my Disclosure and Privacy policies here
Living walls offer benefits beyond their striking appearance. They purify indoor air, increase humidity, and reduce stress by bringing nature indoors.
Best of all, they work perfectly in apartments, offices, or any space where floor space is limited but vertical potential remains untapped. Here is your straightforward guide to building one.
Step 1: Choose Your Location
Light determines whether your living wall thrives or fails. Most plants need adequate light to survive, so evaluating your space is the critical first step.
Bright, indirect light near east or west-facing windows is ideal for most foliage plants. Direct sun from a south-facing window works well for succulents and sun-loving herbs.
Low-light areas such as north-facing walls or dark corners require hardy, shade-tolerant choices. If you have no natural light available, do not despair. You can install vertical grow lights.
Before committing to a wall, consider three practical factors. First, ensure your wall is strong enough to support the weight of soil, water, and plants. Second, think about how you will access the wall for watering and maintenance. Third, choose a spot you will see and enjoy every day.
Step 2: Select Growing System
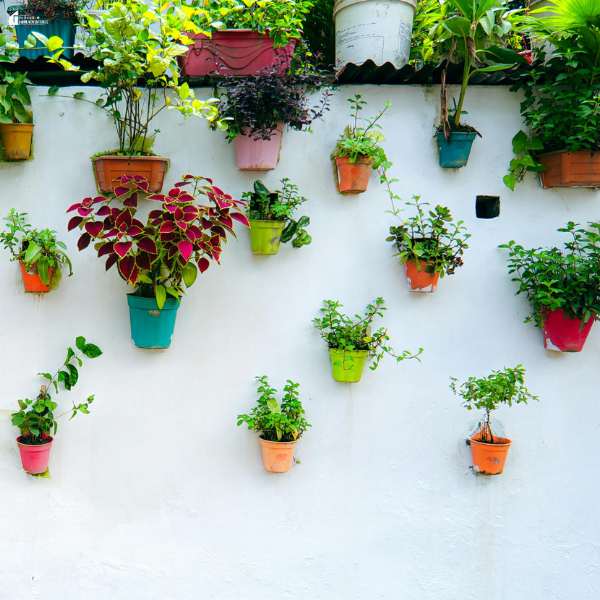
Your choice of system depends on your budget, skill level, and desired aesthetic. For beginners seeking simplicity, modular felt panels are an excellent choice. These pre-made pockets hang directly on the wall and require minimal setup, working well for small herb gardens.
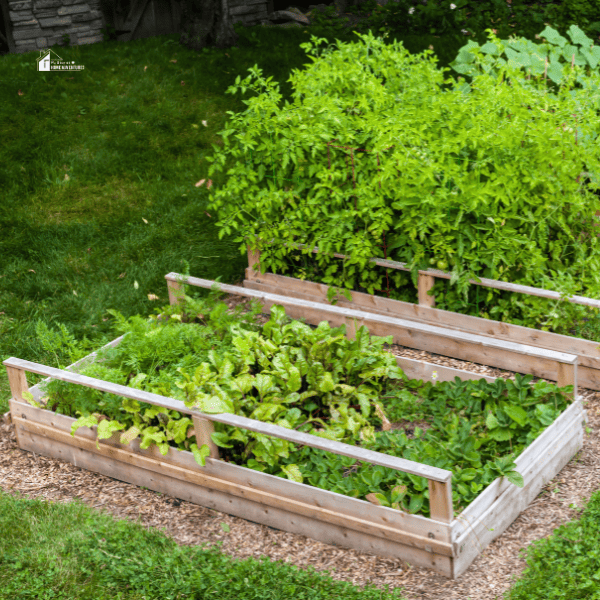
If you enjoy DIY projects, consider building a wooden pallet planter. You can attach landscaping fabric to create planting pockets and lean the finished piece against the wall for a rustic look. For maximum flexibility, a simple shelving unit allows you to arrange and rearrange pots easily.
Advanced gardeners might prefer a hydroponic system. These soil-free setups circulate nutrient-rich water through a vertical column and can produce impressive yields of greens and herbs in a tiny footprint.
Step 3: Prepare Wall and Structure
Proper installation prevents disasters later. If you are mounting directly to the wall, you must first install a waterproof backing. This protective layer, typically made of PVC or heavy plastic, prevents moisture damage to your wall and the structure behind it.
Next, create a drainage system. Most living walls require a collection tray at the bottom to catch excess water. Without proper drainage, you risk overwatering your plants and damaging your floors.
Finally, secure your chosen system firmly to the wall using appropriate anchors and hardware. Remember that wet soil is heavy, so never underestimate the weight your wall must support.
Step 4: Choose the Plants
Selecting plants with similar needs and grouping plants that share preferences together in the same system.
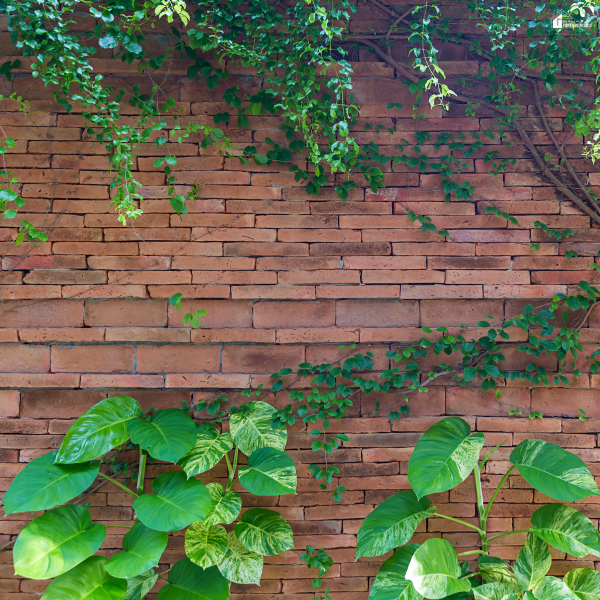
Foliage plants form the backbone of most living walls. Ferns, pothos, philodendrons, and peperomias offer varied textures and colors while remaining forgiving for beginners. Trailing plants like string of hearts or creeping fig cascade beautifully downward, softening the edges of your installation.
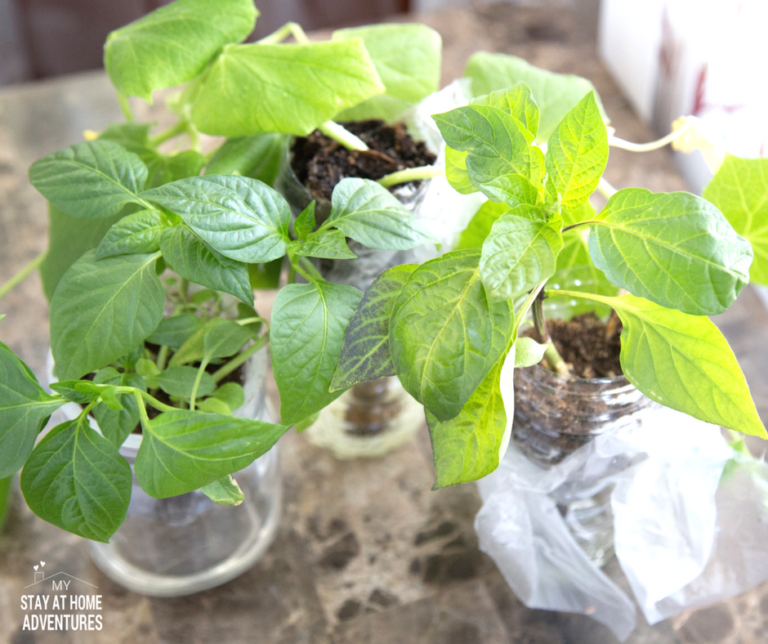
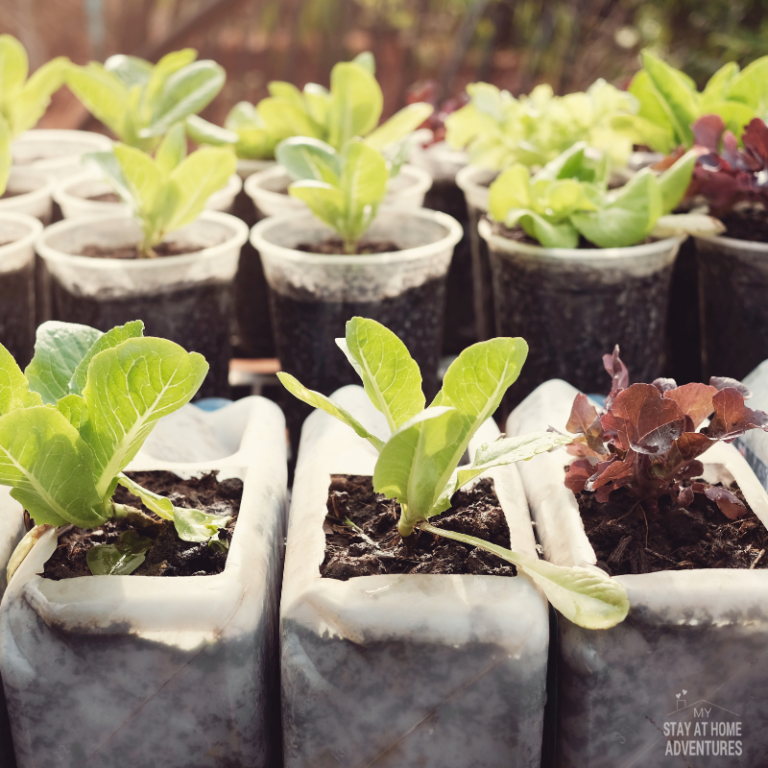
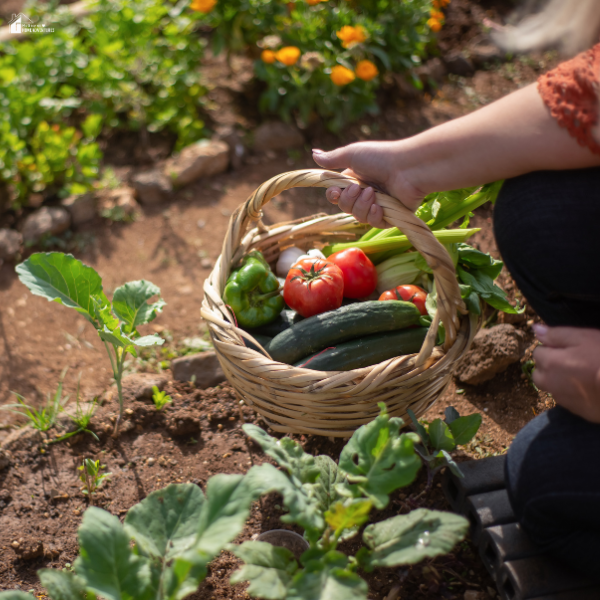
For edible options, culinary herbs are ideal candidates. Basil, mint, chives, oregano, and parsley all grow well vertically and provide fresh flavors for your cooking. Leafy greens such as lettuce, kale, and spinach also adapt well to vertical systems, especially hydroponic setups.
Step 5: Plant and Maintain
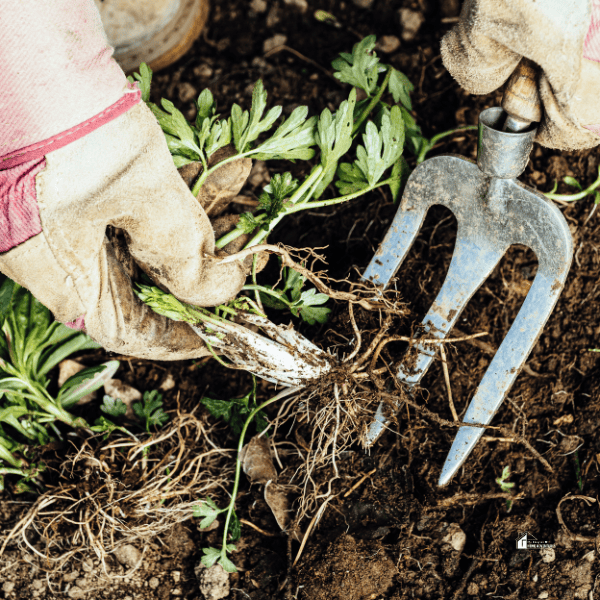
When planting, space your plants according to their mature size. Crowding leads to poor air circulation and increased disease risk. Use a lightweight, well-draining potting mix rather than garden soil, which becomes too heavy and compact in vertical applications.
Watering requires more attention than traditional gardens. Check moisture levels frequently by inserting your finger into the soil. Water thoroughly until excess drains from the bottom, then allow the soil to dry slightly before watering again. A long-spouted watering can helps reach upper plants without dripping everywhere.
Feed your living wall every four to six weeks during the growing season using diluted liquid fertilizer. Nutrients wash out quickly in vertical systems, so regular feeding keeps plants vigorous.
Prune regularly to maintain shape and remove yellow or dying leaves. Good air circulation prevents fungal problems, so consider placing a small fan nearby if your wall sits in a stagnant corner.
Final Thoughts
Building a living wall requires some upfront effort, but the reward is a stunning, living masterpiece that grows more beautiful with time. Start small, choose plants you love, and watch your blank wall transform into a thriving ecosystem.